
Deployment Guide: Citrix Workspace Environment Management
Overview
Citrix Workspace Environment Management (WEM) uses intelligent resource management and profile management technologies to deliver the best possible performance, desktop logon, and application response times for Citrix Virtual Apps and Desktops and Citrix DaaS deployments. It is a software-only, driver-free solution. This guide provides high-level instructions to install and configure WEM, and suggested leading practices for an on-premises deployment.
Workspace Environment Management (WEM) has the following architecture:

Infrastructure services. The infrastructure services are installed on a multi-session OS. They synchronize various back-end components (SQL Server and Active Directory) with front-end components (administration console and agent).
Administration console. The Workspace Environment Management administration console is installed on a single-session or multi-session OS. It connects to the Infrastructure Services. You use the administration console to manage your Workspace Environment Management installation. For example, you create and assign resources, manage policies, authorize users, and so on.
Agent. The Workspace Environment Management agent connects to the Workspace Environment Management Infrastructure Services and enforces settings you configure in the administration console. You can deploy the agent on a Virtual Delivery Agent (VDA). Doing so lets you manage single-session or multi-session environments. You can also deploy the agent on a physical Windows endpoint.
SQL Server Database. Workspace Environment Management requires an SQL Server database to store its settings. The database can be hosted in an SQL Server Always On availability group if necessary. (For more information, seeSystem requirements.
Microsoft Active Directory Server. Workspace Environment Management requires access to your Active Directory to push settings to your users.
NOTE:
- Infrastructure services cannot be installed on a domain controller.
- 不能安装在infrastructur代理e server. The agent installer fails in this scenario.
- The Transformer feature is not supported on multi-session OSs.
Prerequisites
Before you install WEM in your environment, verify that you meet all system requirements. For more information, seeSystem requirements.
Installation
Citrix recommends that you install the latest version of WEM. You can download the latest WEM installer from the Citrix Virtual Apps and Desktops downloads page//m.giftsix.com/downloads/citrix-virtual-apps-and-desktops/. On that page, access the installer under Components of the latest version of Citrix Virtual Apps and Desktops.
Deploying WEM consists of installing and configuring three core components: Infrastructure Service, Administration console and Agent. The following procedures detail how to install and configure these components:
Install the Infrastructure Services
Download the latest WEM installer. Extract the zip file to a convenient folder.
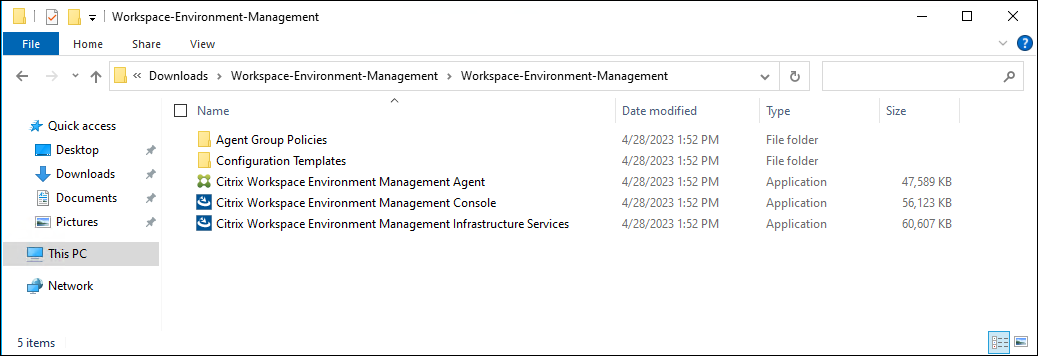
RunCitrix Workspace Environment Management Infrastructure Services.exeon your Infrastructure Services server.
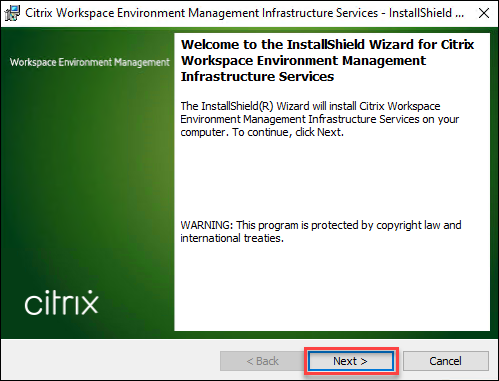
On theWelcome to the InstallShield Wizard for Citrix Workspace Environment Management Infrastructure Servicespage, clickNext.
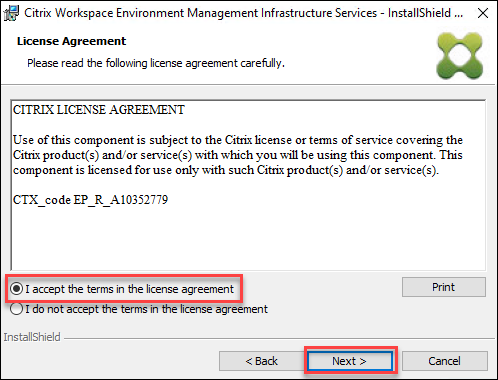
On theLicense Agreementpage, selectI accept the terms in the license agreementand then clickNext.
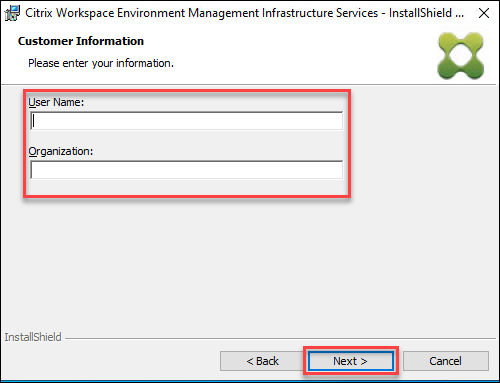
On theCustomer Informationpage, type your User name and Organization and then clickNext.
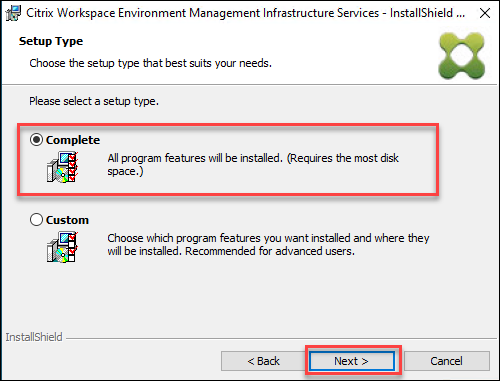
On theSetup Typepage, selectCompleteand then clickNext.
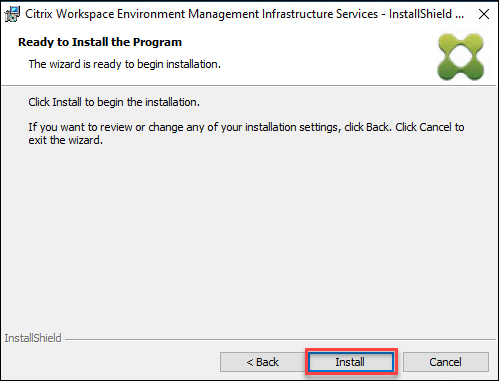
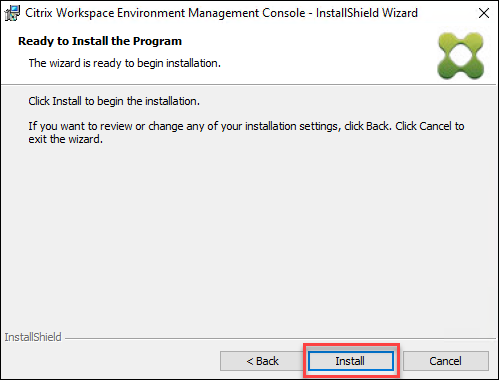
On theReady to Install the Programpage, clickInstall.
ClickFinish.
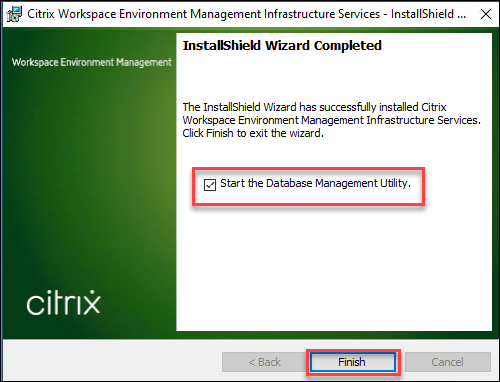
NOTE:
By default, the Start the Database Management Utility option is selected, and the utility starts automatically. You can also start the utility from theStartmenu atCitrix>Workspace Environment Management>WEM Database Management Utility.


Create a WEM Database
Start theWEM Database Management Utilityfrom theStartmenu at Citrix > Workspace Environment Management > WEM Database Management Utility.
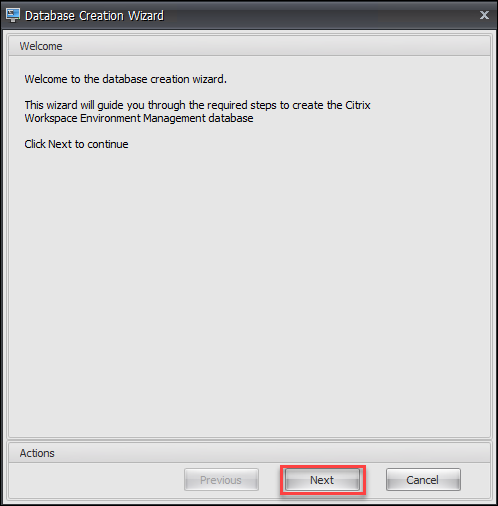
In the database management utility, clickCreate Databaseto create a WEM database for your deployment. The database creation wizard appears.

NOTE:
If you are using Windows authentication for your SQL Server, run the database creation utility under an identity that has system administrator permissions.
On theWelcomepage, clickNext.
On theDatabase Informationpage, type the required information and then click Next.
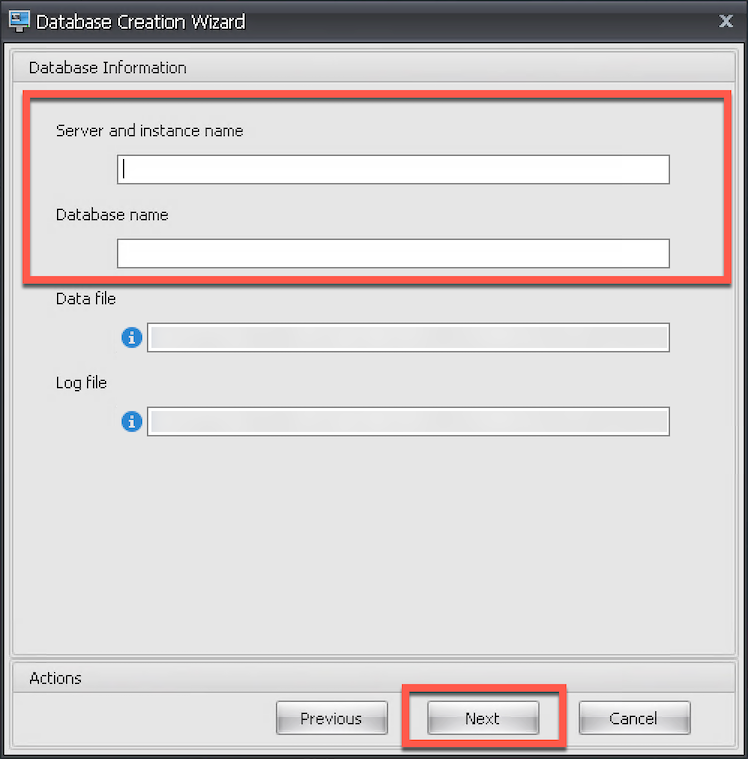
NOTE:
- For the server and instance name, type the machine name, fully qualified domain name, or IP address.
- For the file paths, type the exact paths specified by your database administrator. Make sure that any auto-completed file paths are correct.
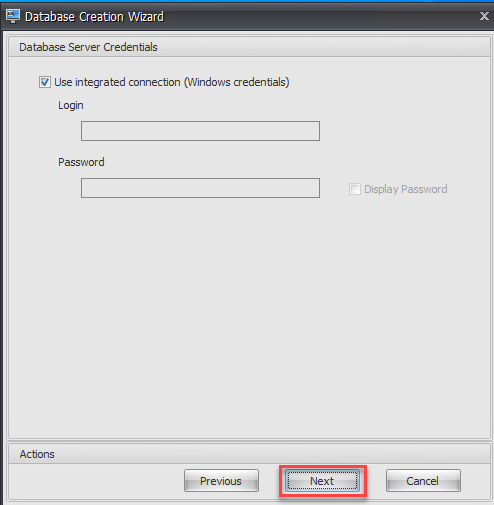
On theDatabase Server Credentialspage, type the required information and then clickNext.
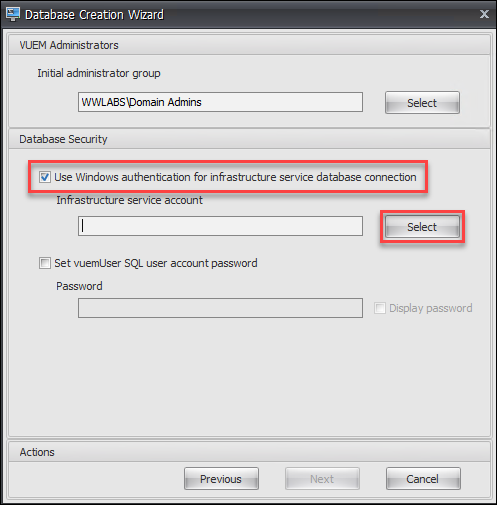
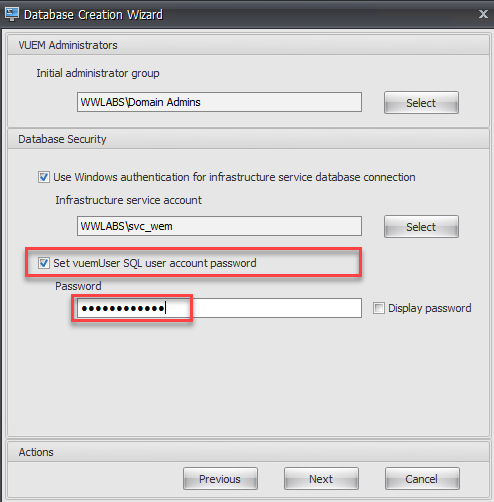
On theVUEM Administratorssection, clickSelect.

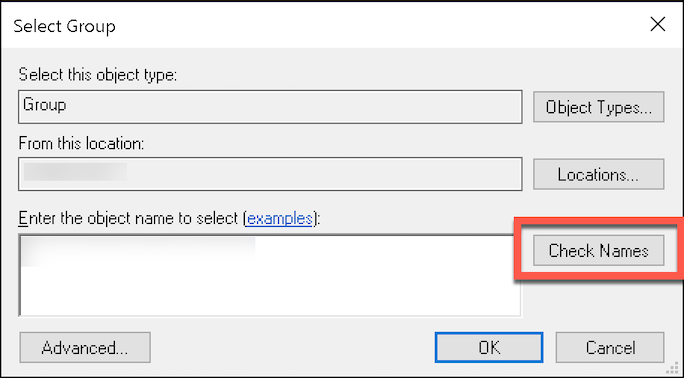
In theSelect Groupwindow, type a user group with administration permissions to the administration console, clickCheck Names, and then clickOK.
On theDatabase Securitypage, selectUse Windows authentication for infrastructure service database connectionand then clickSelect.
NOTE:
- If you select neitherUse Windows authentication for infrastructure service database connectionnorSet vuemUser SQL user account password, the SQL user account is used by default.
- To use your own vuemUser SQL account password (for example, if your SQL policy requires a more complex password), selectSet vuemUser SQL user account password.
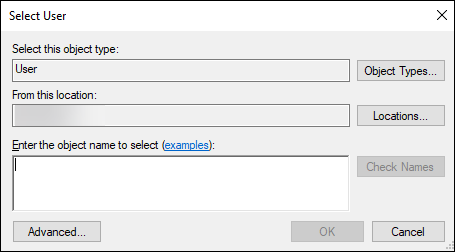
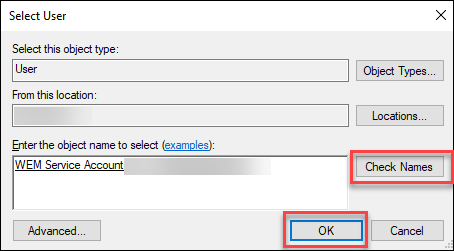
In the Select User window, type the name of the infrastructure service account, clickCheck Names, and then clickOK.
On theDatabase Securitypage, selectSet vuemUser SQL user account passwordand in thePassword box, specify a complex password.
Note:
If you intend to implement Microsoft SQL AlwaysOn Availability Group, then you must specify this password.
ClickNext.
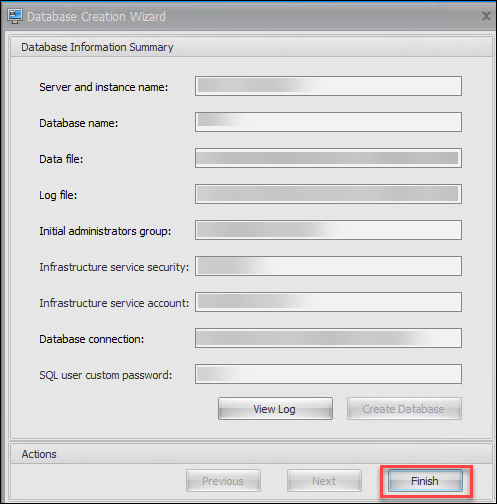
On theDatabase Information Summarypage, clickCreate Database.

On the *Database Information Summary page, clickFinish.
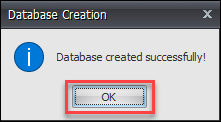
ClickOK.
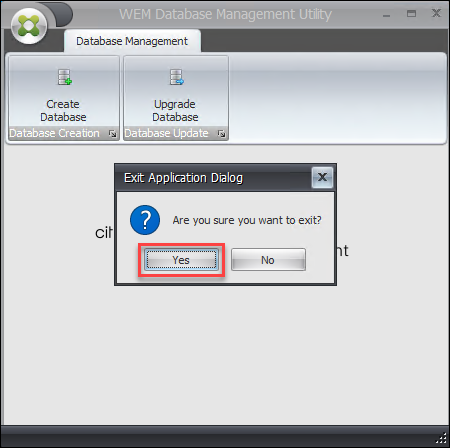
Close theWEM Database Management Utility.
On the Exit Application Dialog, clickYes.


Configure Infrastructure Services
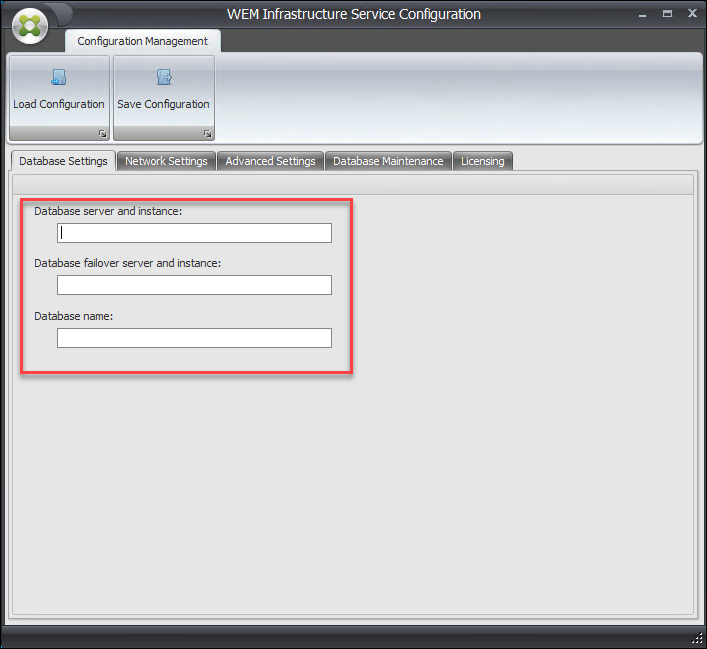
Open theWEM Infrastructure Service Configuration Utilityfrom theStart menu.
On theDatabase Settingstab, type the required information.
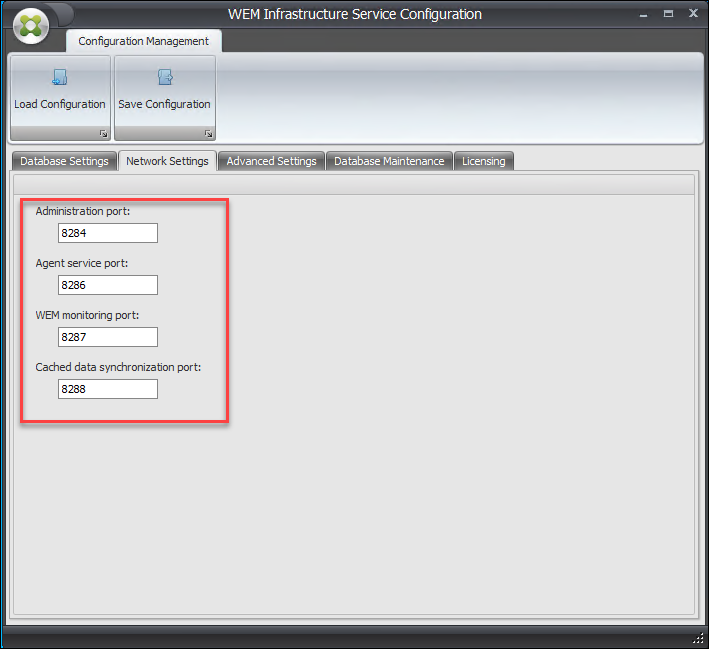
On theNetwork Settingstab, you can view the ports currently in use. Default ports should be used.
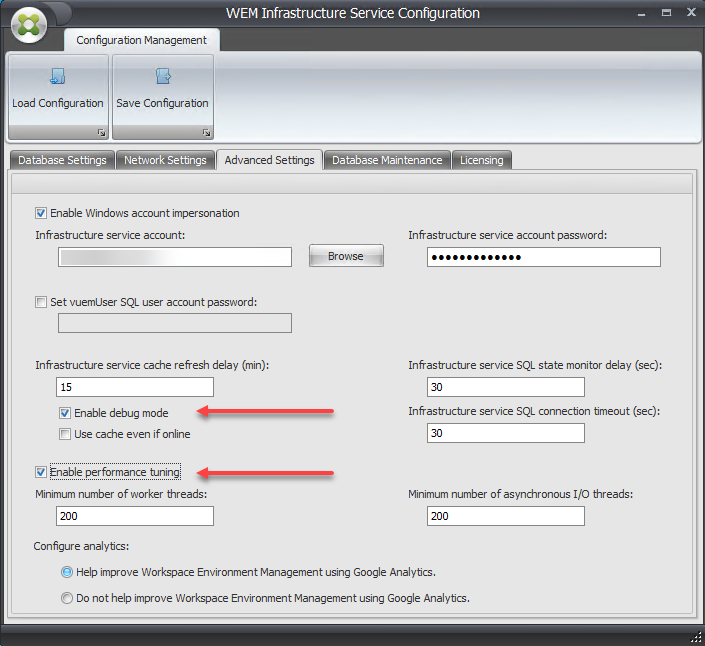
On theAdvanced Settingstab, selectEnable Windows account impersonationand then clickBrowse.
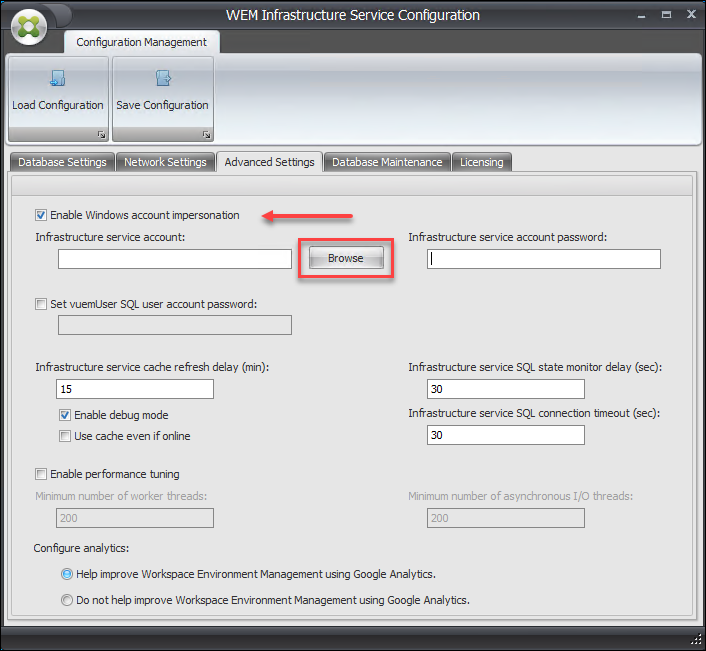
NOTE:
Depending on the choices you made during WEM database creation in Step 2, selectEnable Windows account impersonationorSet vuemUser SQL user account password.
Type a user name, clickCheck Names, and then clickOK.
Type the infrastructure service account password.
SelectEnable debug modeandEnable performance tuning.
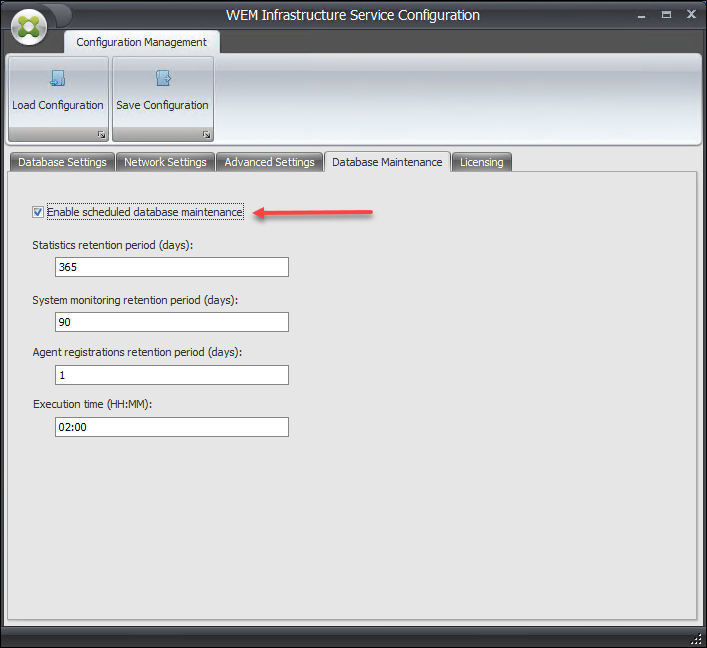
On theDatabase Maintenancetab, selectEnable scheduled database maintenance.
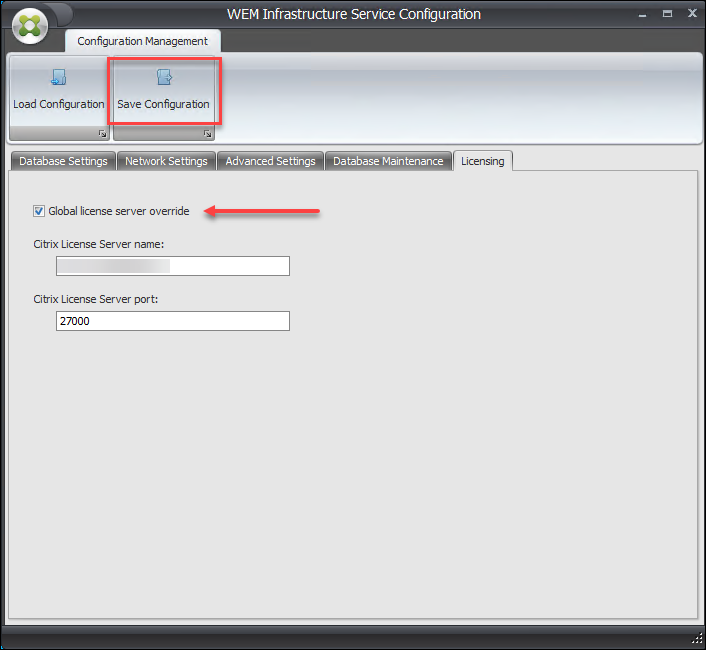
On theLicensingtab, selectGlobal license server override, type your license information, and then clickSave Configuration.
NOTE:
- For the Citrix License Server name, type the machine name, fully qualified domain name, or IP address of the license server.
- For the Citrix License Server port, the default port is 27000.
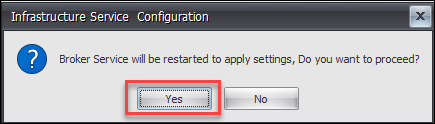
ClickYes.
Close the WEM Infrastructure Service Configuration utility.


Install the Administration console
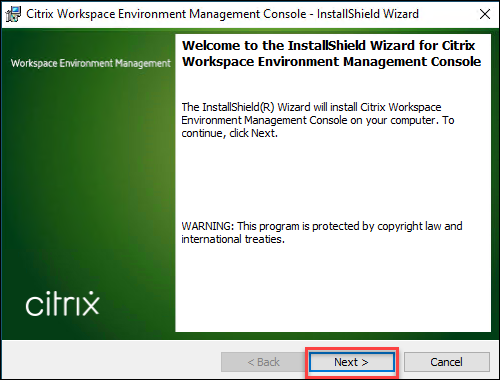
RunCitrix Workspace Environment Management Console.exe.
On theWelcome to the InstallShield Wizard for Citrix Workspace Environment Management Consolepage, clickNext.
On the License Agreement page, select“I accept the terms in the license agreement”and then clickNext.

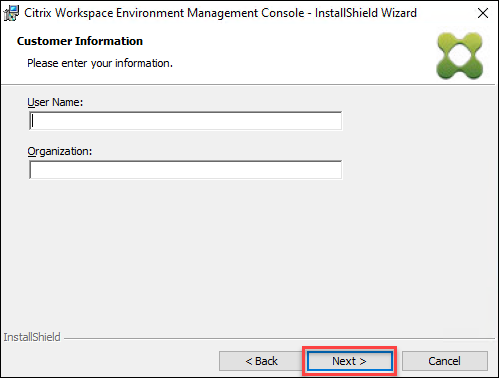
On theCustomer Informationpage, type the required information and then clickNext.
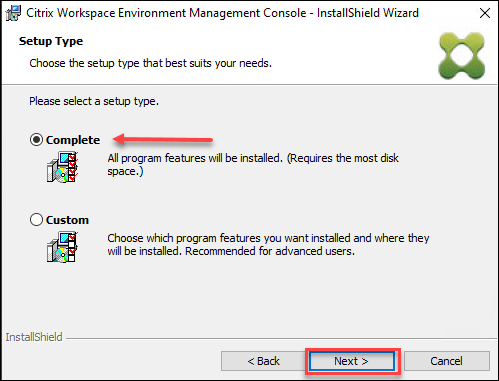
On theSetup Typepage, selectCompleteand then clickNext.
On theReady to Install the Programpage, clickInstall.
ClickFinishto exit the wizard.


Configure configuration sets
A configuration set is a logical container used to organize a set of Workspace Environment Management (WEM) configurations. There are two built-in configuration sets:
- Default Site. A built-in WEM configuration set.
- Unbound Agents. A built-in WEM configuration set. Available for use only with agents that are not bound to any configuration set. To apply the settings of this configuration set to those agents, go to Directory Objects > Advanced settings.
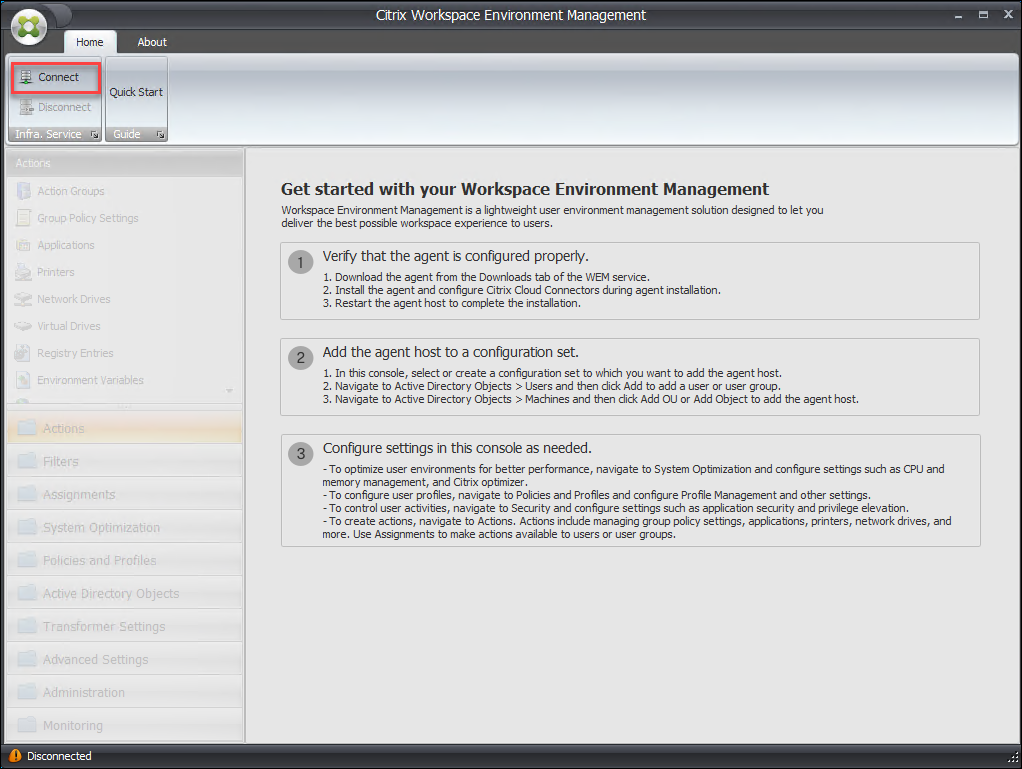
Open theWEM Administration Consolefrom theStartmenu and clickConnect.
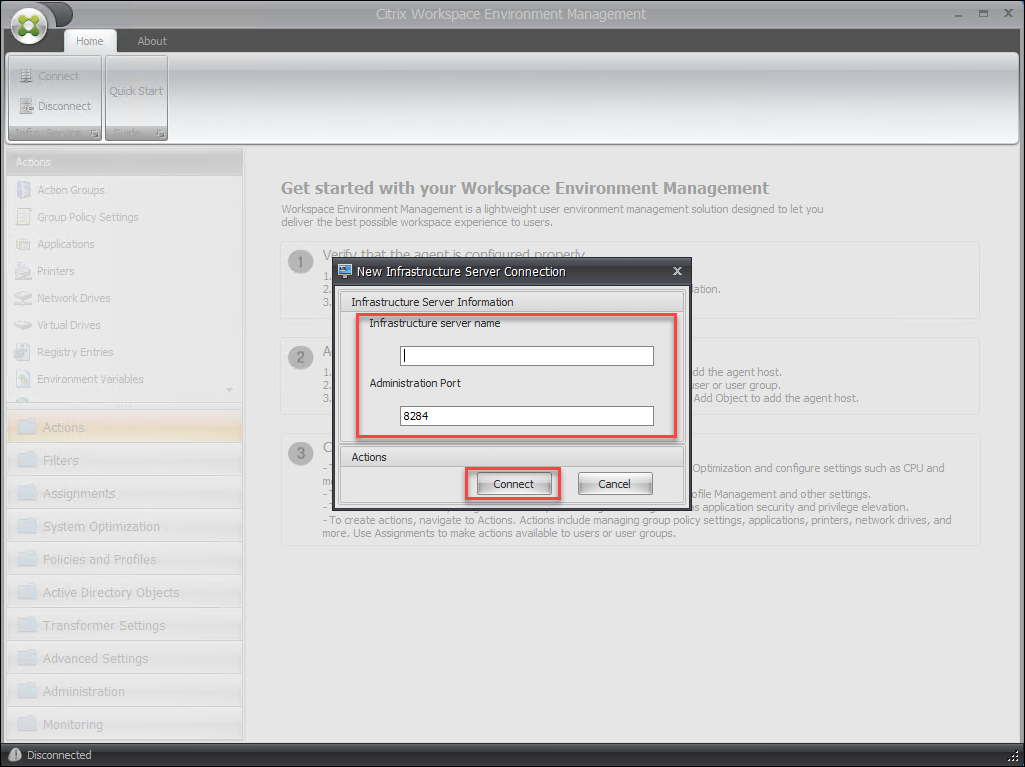
In the New Infrastructure Server Connection window, check the information and then clickConnect.
NOTE:
- For the Infrastructure server name, type the machine name, fully qualified domain name, or IP address of the WEM infrastructure server.
- For the Administration port, the default port is 8284.
On theHometab, on the ribbon, clickCreateto create your configuration set.
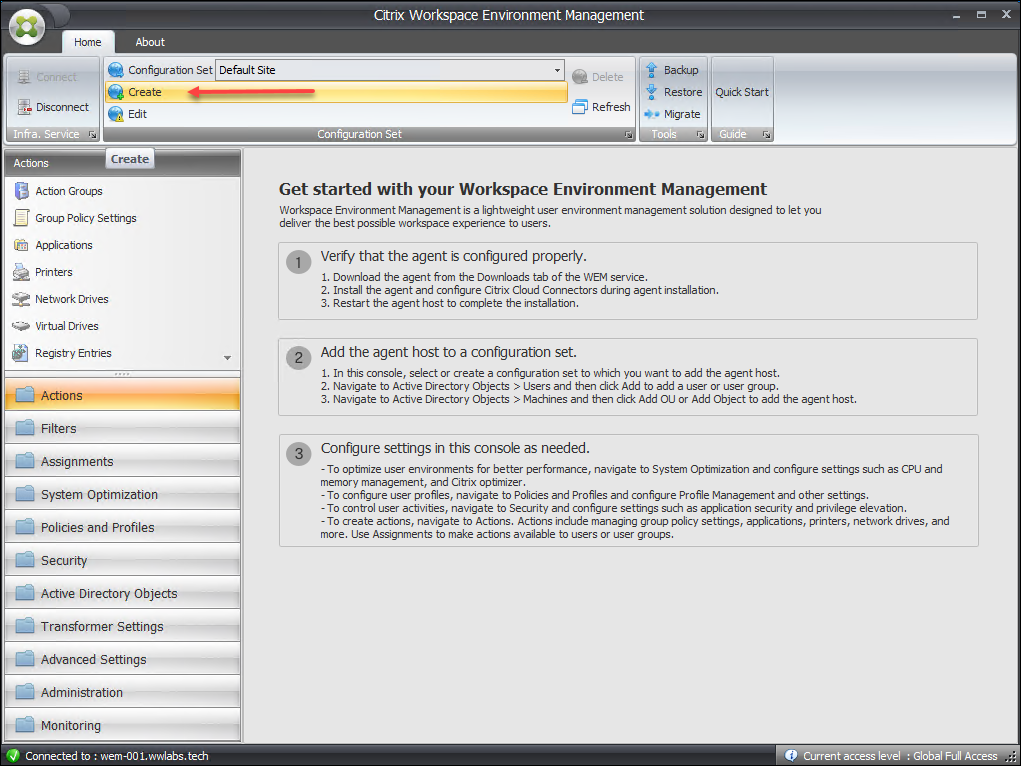
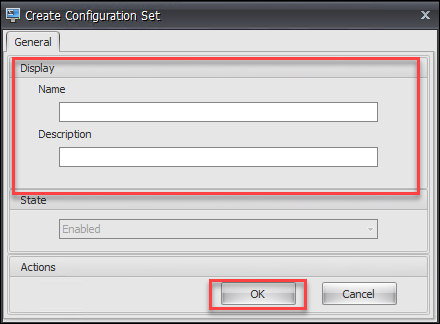
In theCreate Configuration Setwindow, type a name and description for your configuration set and then clickOK.
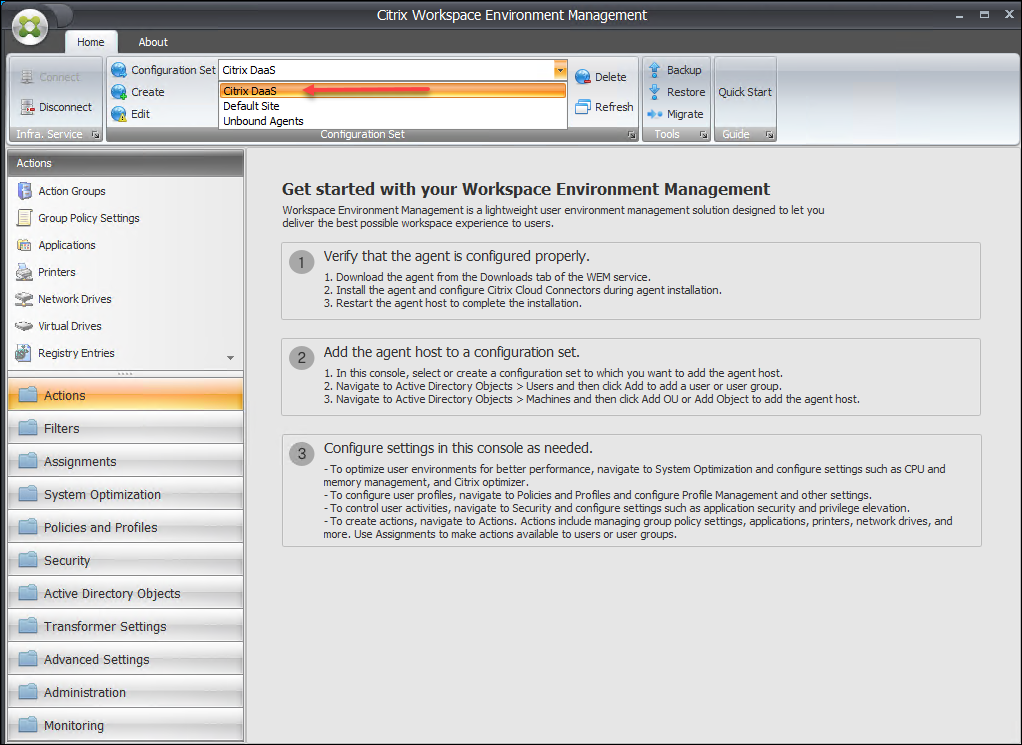
On the ribbon, underConfiguration Set, select the newly created configuration set.
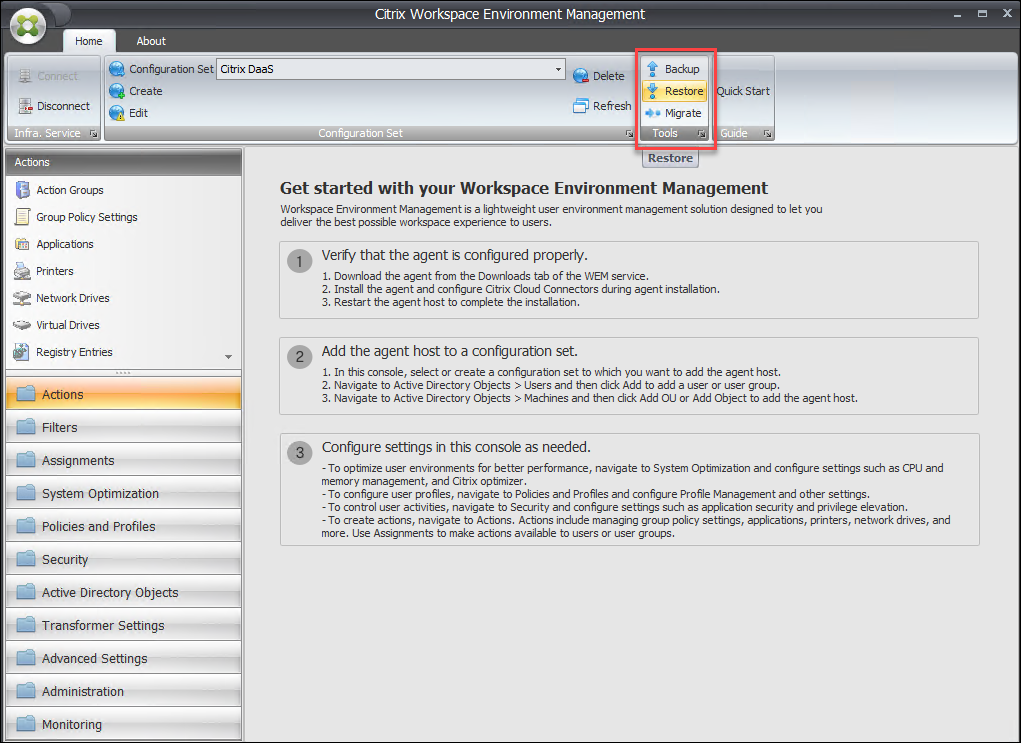
On the ribbon, underBackup, clickRestore. The Restore wizard appears.
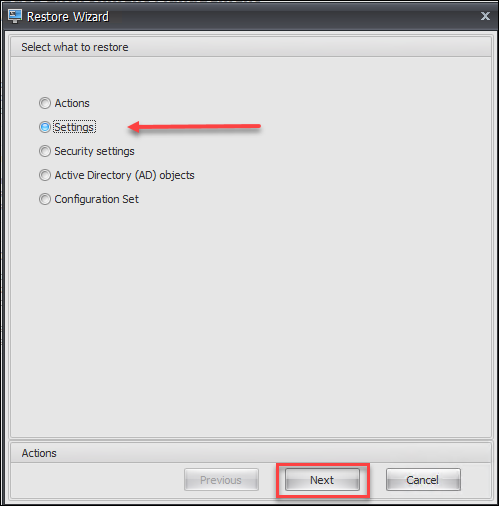
On theSelect what to restorepage, selectSettingsand then clickNext.
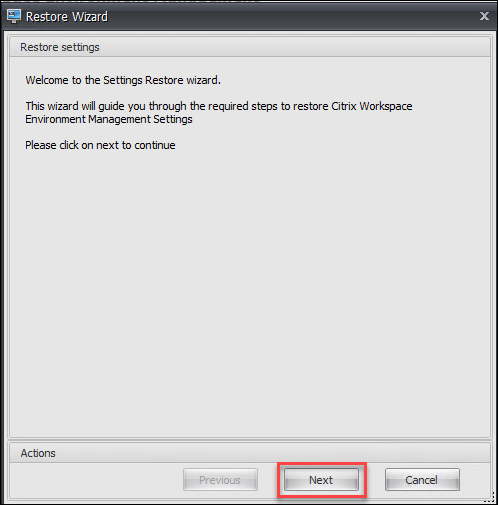
On the Restore settings page, clickNext.
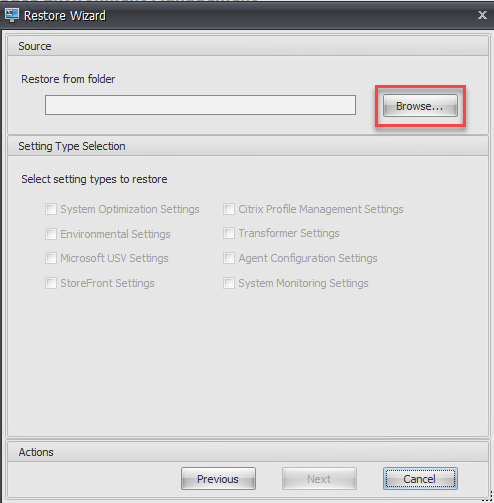
On theSourcepage, clickBrowse.
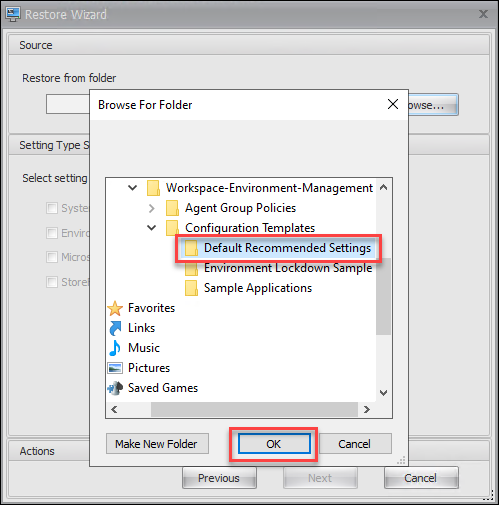
In theBrowse For Folderwindow, browse to theDefault Recommended Settingsfolder (provided with Workspace Environment Management media) and then clickOK.
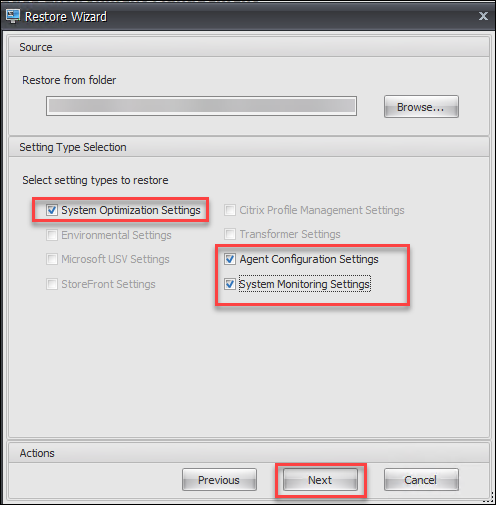
On theSourcepage, selectSystem Optimization Settings,Agent Configuration Settings, andSystem Monitoring Settings, and then clickNext.
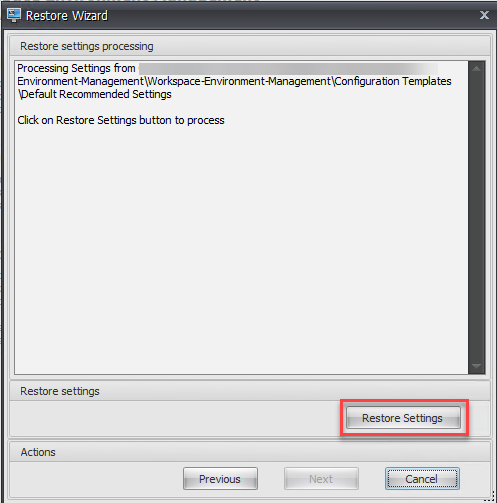
On theRestore settings processingpage, underRestore settings, clickRestore Settings.
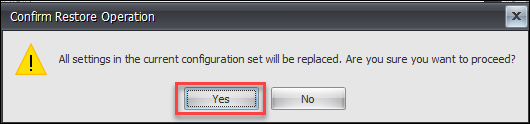
ClickYes.
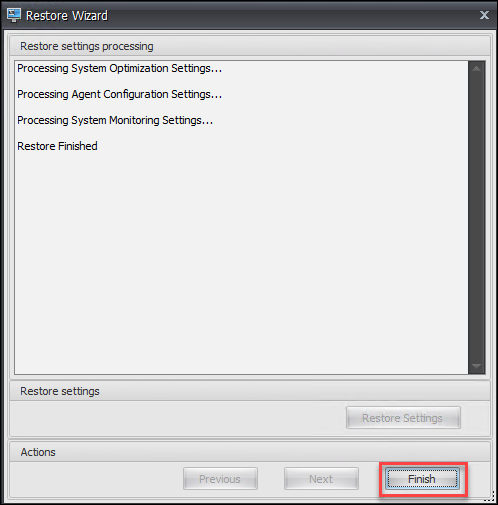
ClickFinish.


Install the Agent
RunCitrix Workspace Environment Management Agent.exeon your machine.
IMPORTANT:
Do not install the WEM agent on the infrastructure server.

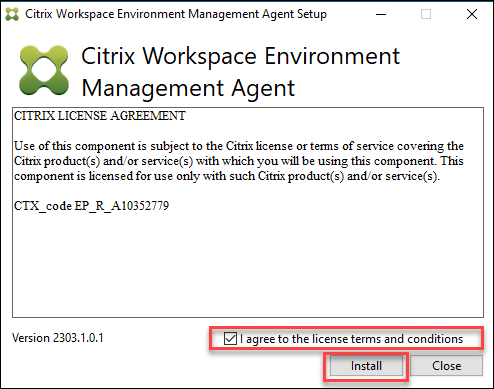
On theCitrix Workspace Environment Management Agentwindow, select“I agree to the license terms and conditions”and then clickInstall.
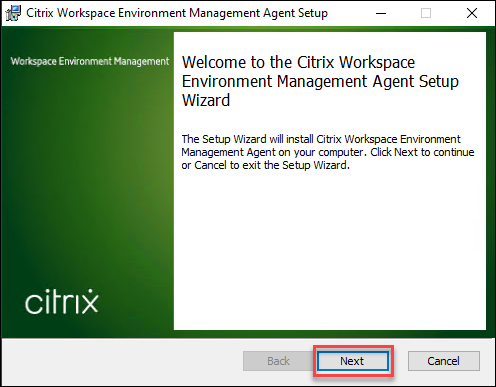
On theWelcome to the Citrix Workspace Environment Management Agent Setup Wizardpage, clickNext.
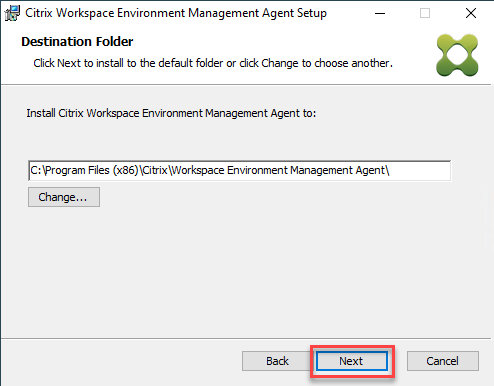
On theDestination Folderpage, clickNext.
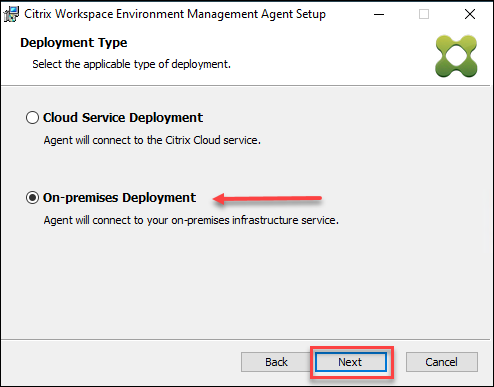
On theDeployment Typepage, select the applicable type of deployment and then clickNext. In this case, selectOn-premises Deployment.
On theInfrastructure Service Configurationpage, selectConfigure the Infrastructure Service, type the FQDN or IP address of the infrastructure service, and then clickNext.
NOTE:
For the agent service port, the default port is 8286. For the cached data synchronization port, the default port is 8288. For more information, seePort information.

On theAdvanced Settingspage, clickNext.

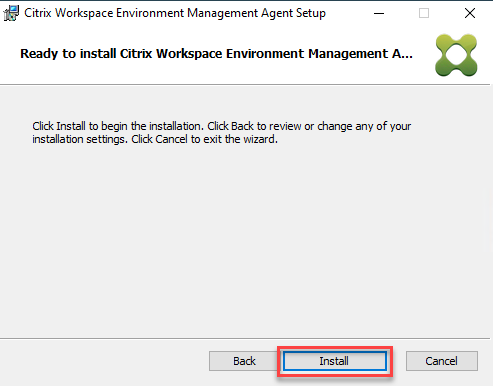
On theReady to install Citrix Workspace Environment Management Agentpage, clickInstall.
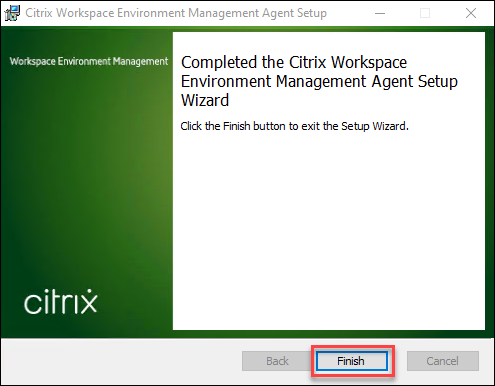
On theCompleted the Citrix Workspace Environment Management Agent Setup Wizard, clickFinishto exit the installation wizard.
On theInstallation Successfully Completedwindow, clickClose.


Policies and Profiles
On the left pane, navigate toPolicies and Profiles.
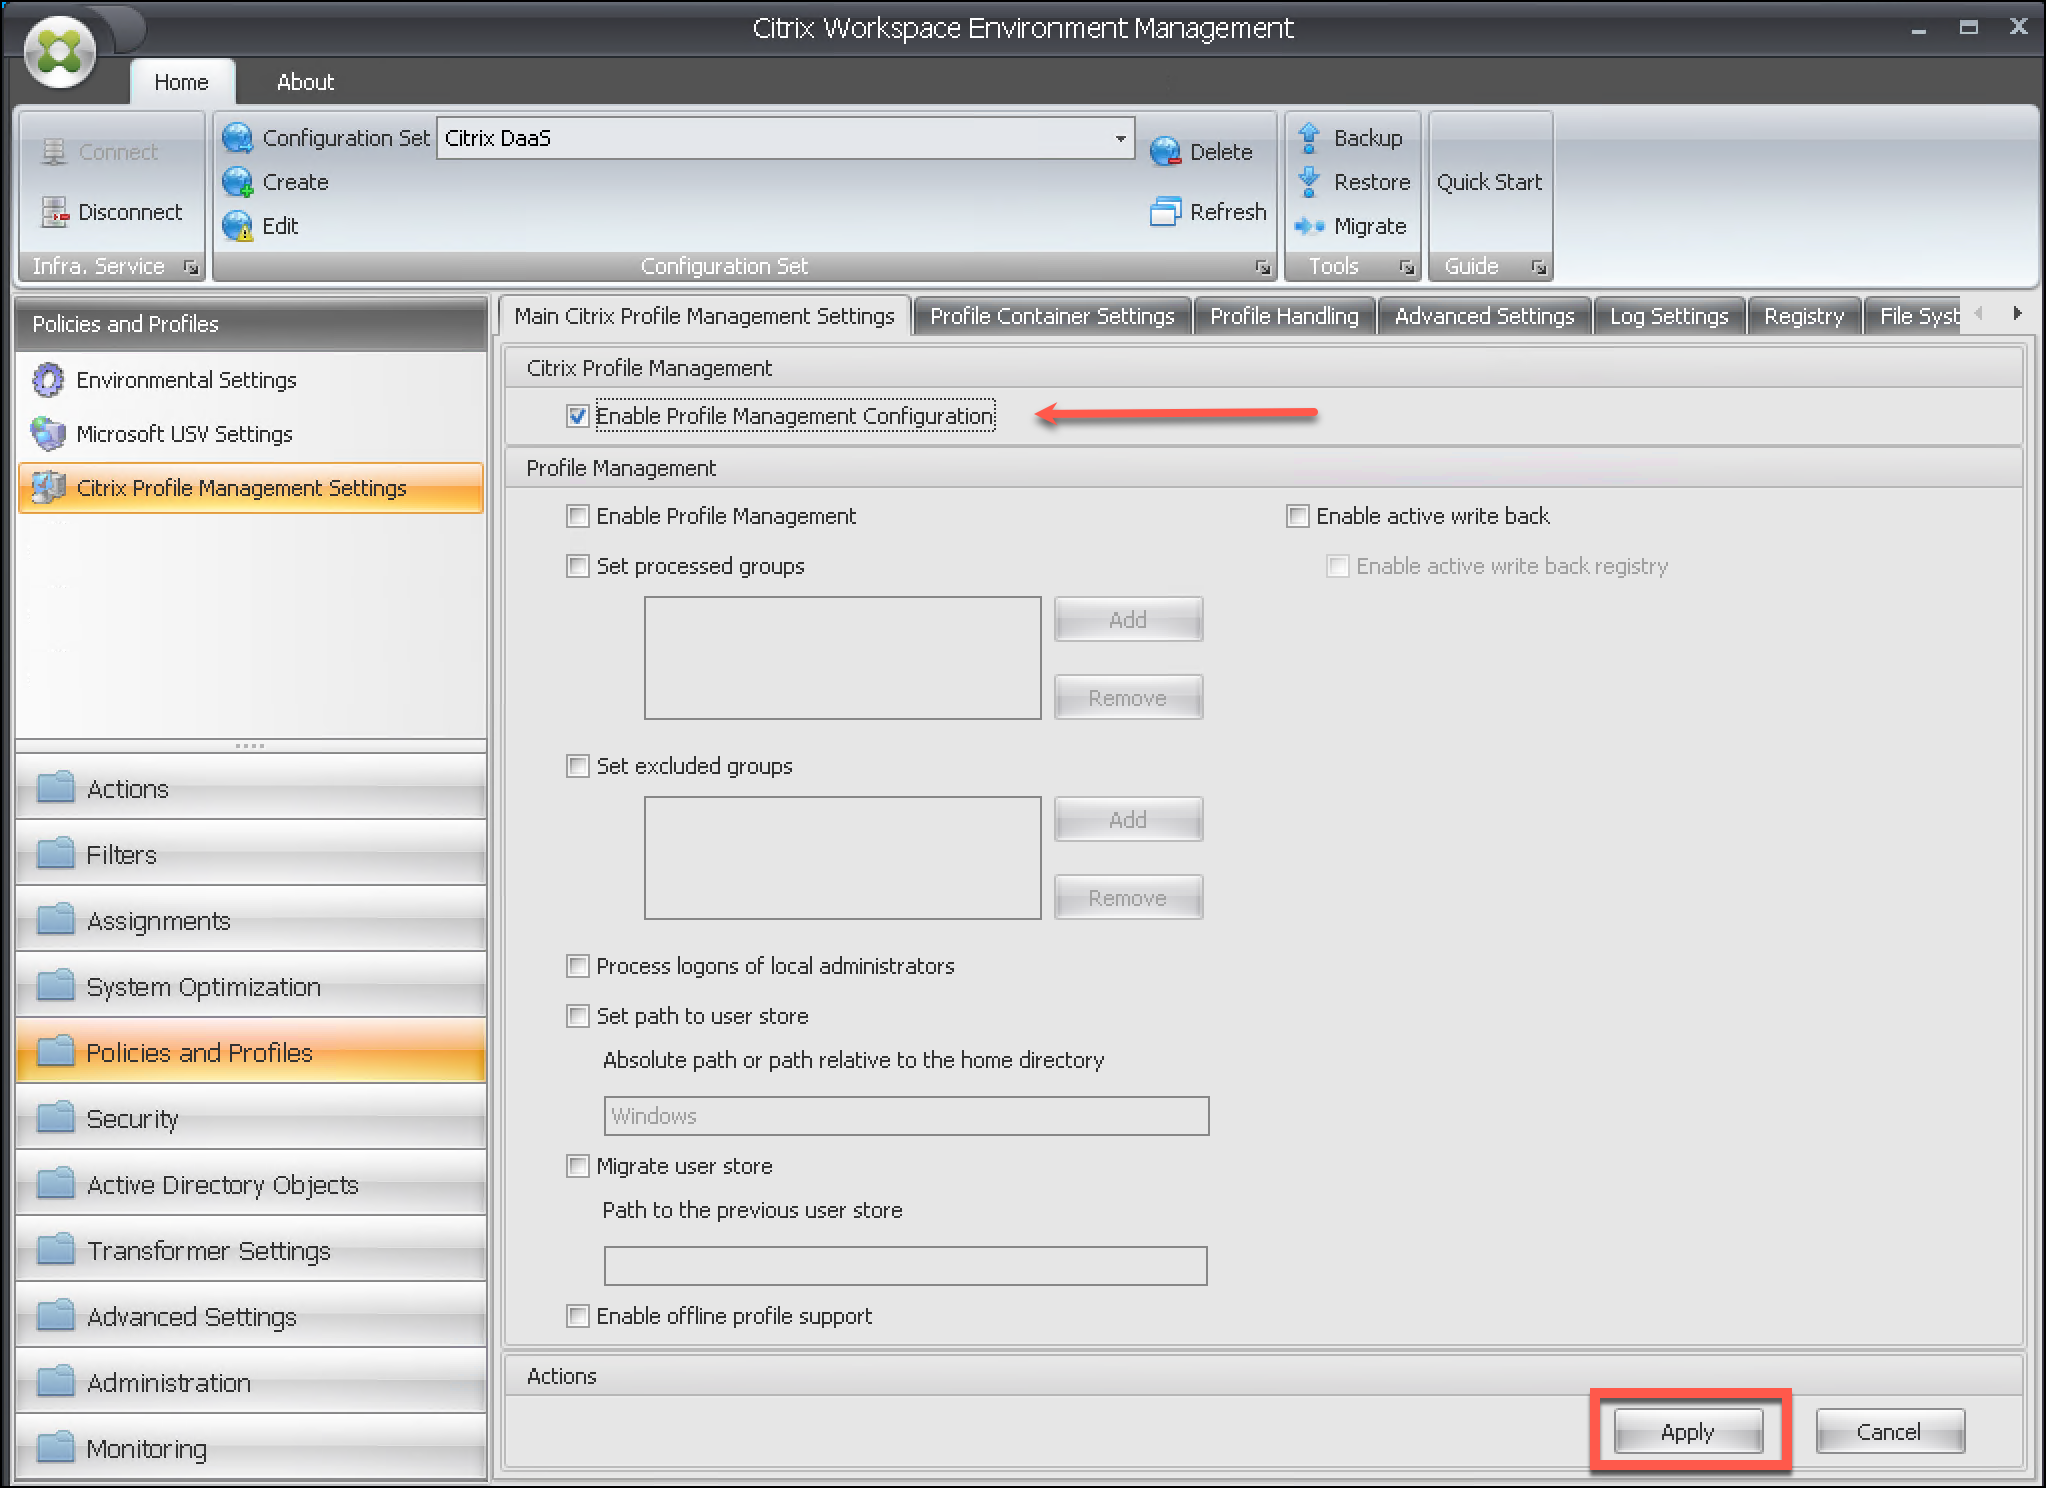
On the left pane, selectCitrix Profile Management Settings.
On theMain Citrix Profile Management Settingstab, selectEnable Profile Management Configuration.
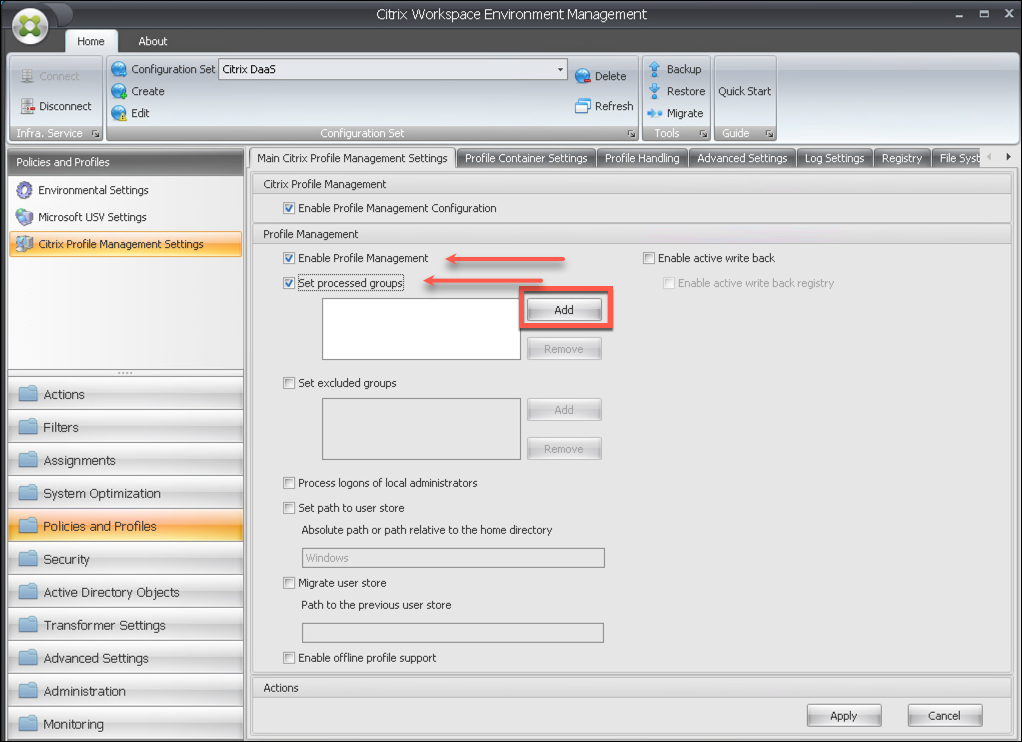
- 在概要文件管理部分,配置following settings:
- SelectEnable Profile Management
- SelectSet processed groups
- ClickAdd
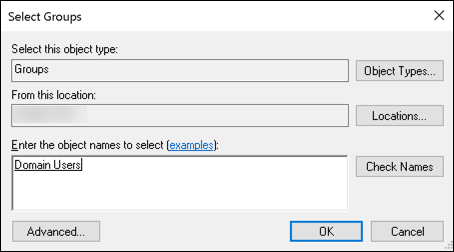
In the Select Groups window, typeDomain Usersin the box. ClickCheck Names. ClickOK.
- Continue to configure Profile Management:
- SelectProcess logons of local administrators
- SelectSet path to user store. Delete the existing text “Windows”.
- Enter the Absolute Path or path relative to the home directory:\servername\CitrixProfiles$#SAMAccountName#!CTX_OSNAME!!CTX_OSBITNESS!
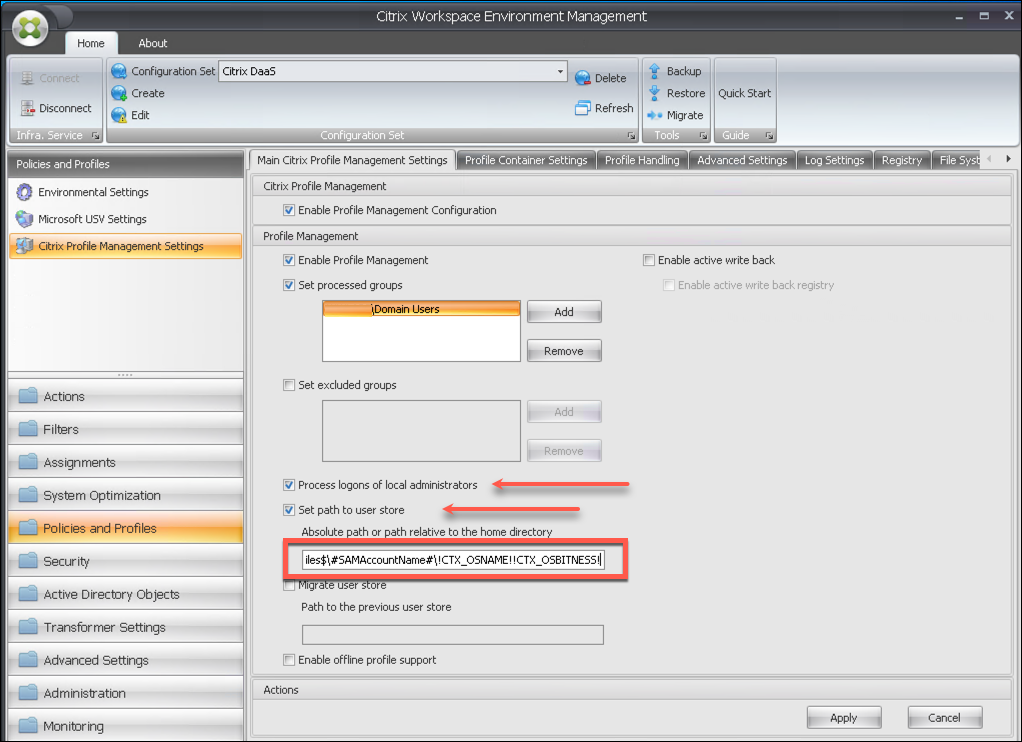
- Verify that all settings have been correctly configured and then clickApply.


System Optimization
Workspace Environment Management system optimization consists of the following:
- CPU Management
- Memory Management
- I/O Management
- Fast Logoff
- Citrix Optimizer
- Multi-session Optimization
These settings are designed to lower resource usage on the agent host. They help to ensure that freed-up resources are available for other applications. Doing so increases user density by supporting more users on the same server.
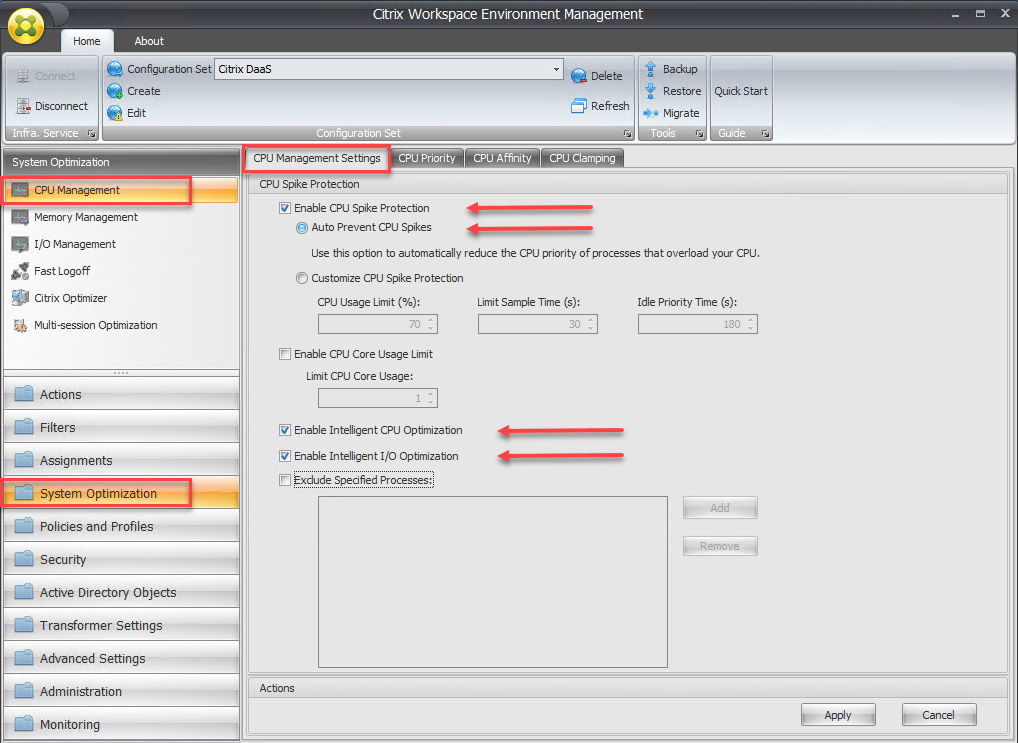
CPU Management
On the left pane, clickSystem Optimization.
Verify thatCPU Managementis selected in the upper-left pane.
On the CPU Management Settings page, selectEnable CPU Spikes Protection,Auto Prevent CPU Spikes,Enable Intelligent CPU Optimization, andEnable Intelligent I/O Optimization.
ClickApply.
Note:
For machine-based WEM settings, such as System Optimization, you must click the Apply button after making configuration changes. Otherwise, the changes will not be committed and saved to the WEM database.
NOTE:
By default, the settings of Auto Prevent CPU Spikes, Enable Intelligent CPU Optimization, and Enable Intelligent I/O Optimization are automatically selected, after enabling CPU Spikes Protection. Default settings are effective in most situations. NOTE:
The articleWEM protection and Skype for Business + Real-Time Optimization Packdetails processes that should be excluded from WEM CPU Spikes protection.

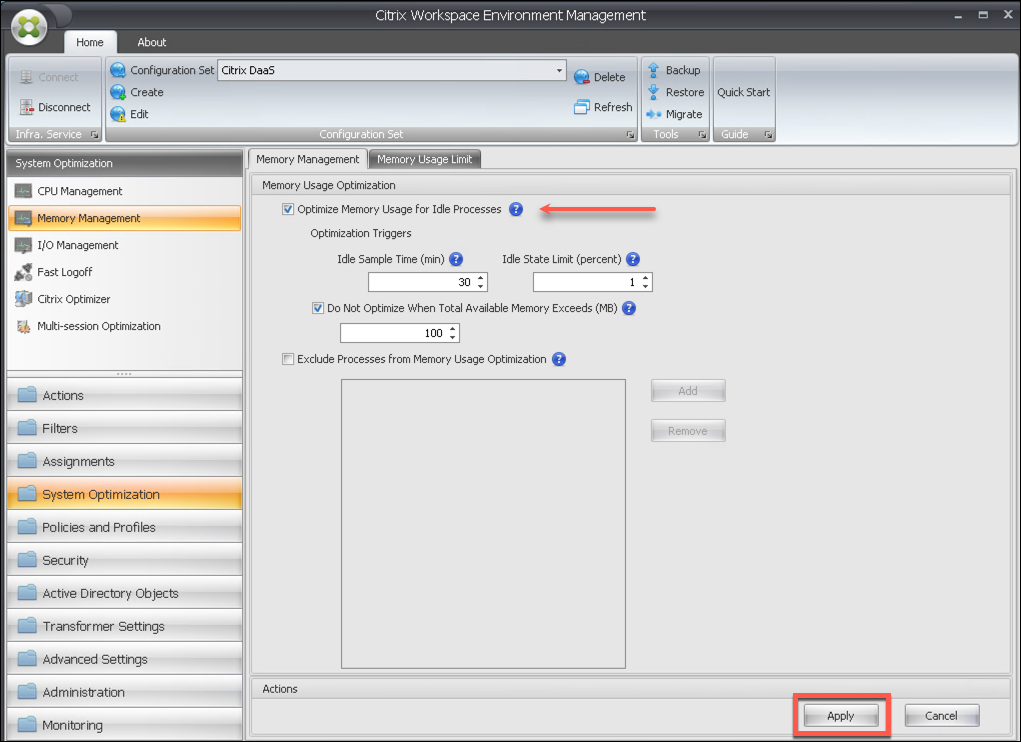
Memory Management
On the left pane, clickSystem Optimization.
Verify thatMemory Managementis selected in the upper-left pane.
On the Memory Usage Optimization page, selectOptimize Memory Usage for Idle Processes.
ClickApply.
NOTE:
By default, the settings of Idle Sample Time (min), Idle State Limit (percent) and Do Not Optimize When Total Available Memory Exceeds (MB) are automatically selected, after enabling Optimize Memory Usage for Idle Processes. Default settings are effective in most situations.

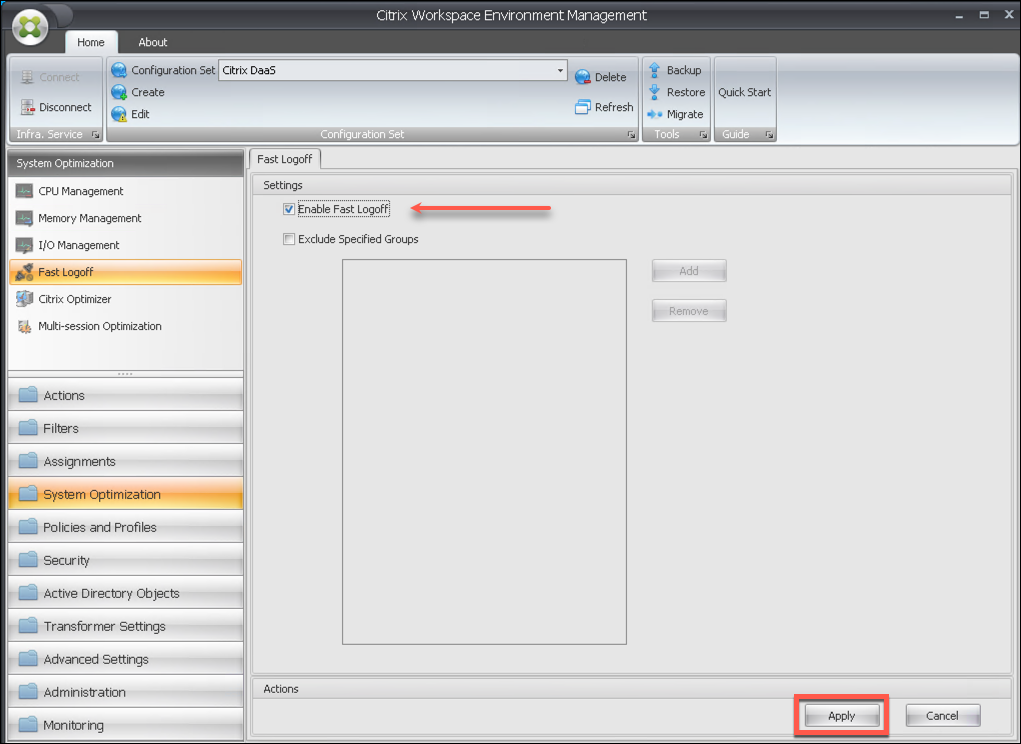
Fast Logoff
On the left pane, clickSystem Optimization.
Verify thatFast Logoffis selected in the upper-left pane.
On the Settings page, selectEnable Fast Logoff.
ClickApply.
NOTE:
Fast Logoff supports Citrix Virtual Apps and RDS resources only.

Citrix Optimizer
On the left pane, clickSystem Optimization.
Verify thatCitrix Optimizeris selected in the upper-left pane.
On the Settings page, selectEnable Citrix Optimizer.
SelectAutomatically Select Templates to Use.
ClickApply.
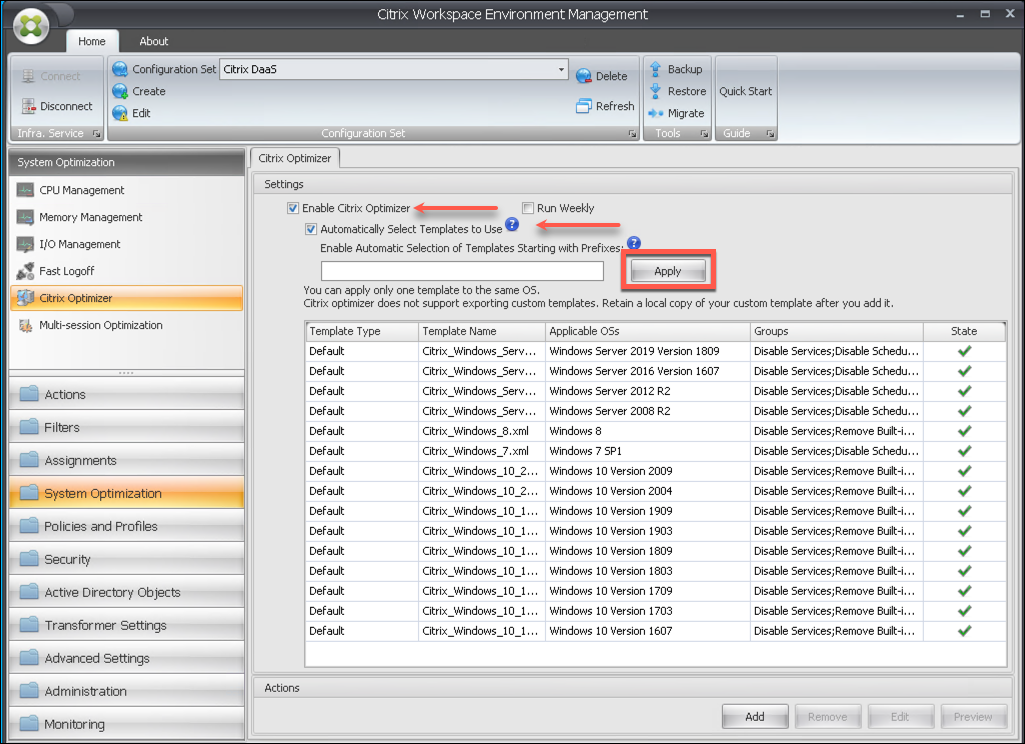
NOTE:
For a non-persistent VDI environment, WEM follows the same behaviour – all changes to the environment are lost when the machine restarts. In the case of Citrix Optimizer, WEM runs optimizations each time the machine restarts.

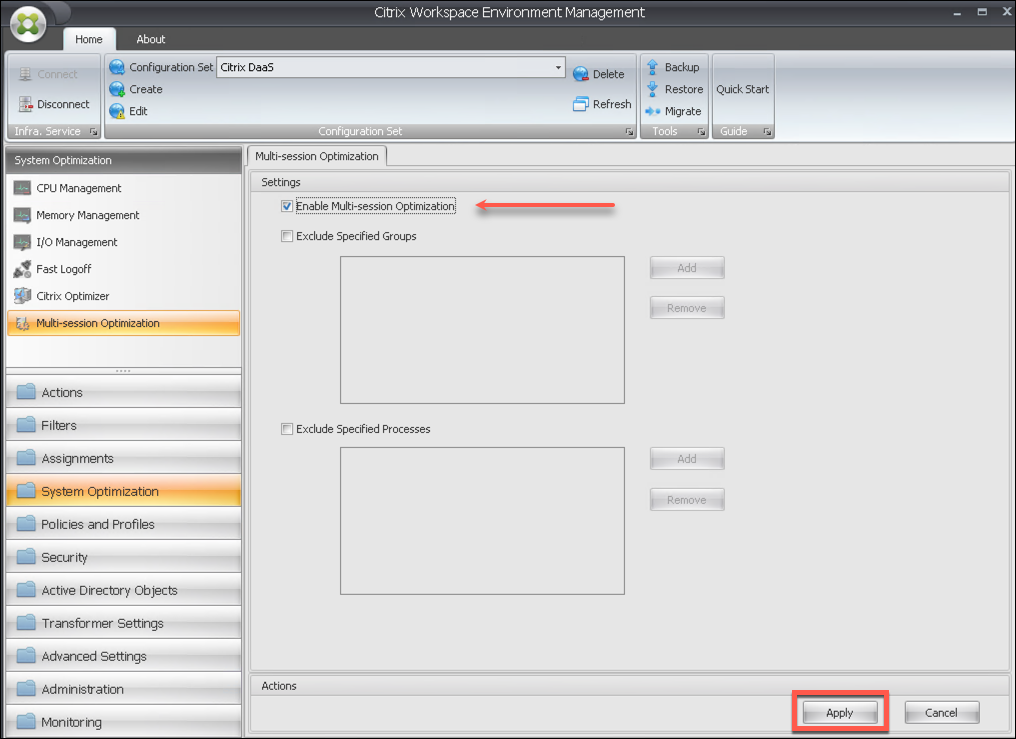
Multi-session Optimization
On the left pane, clickSystem Optimization.
Verify thatMulti-session Optimizationis selected in the upper-left pane.
On the Settings page, selectEnable Multi-session Optimization.
ClickApply.

WEM Web Console for on-premises deployment
我们的下一代Web控制台的电话management platform. It is a web-based management console offering full feature parity with the WEM legacy console. WEM Web Console modernizes your management experience by providing a native web experience.
Prerequisites
- 我们2305年或以后
- Domain joined Windows server
- Supporting Operating System
- Windows Server 2022 Standard and Datacenter Editions
- Windows Server 2019 Standard and Datacenter Editions
- Windows Server 2016 Standard and Datacenter Editions
- Windows Server 2012 R2 Standard and Datacenter Editions
Deploying WEM Web Console consists of configuring the API Service and Accessing the WEM Web Console. The following procedures detail how to configure these components:
Configure WEM API
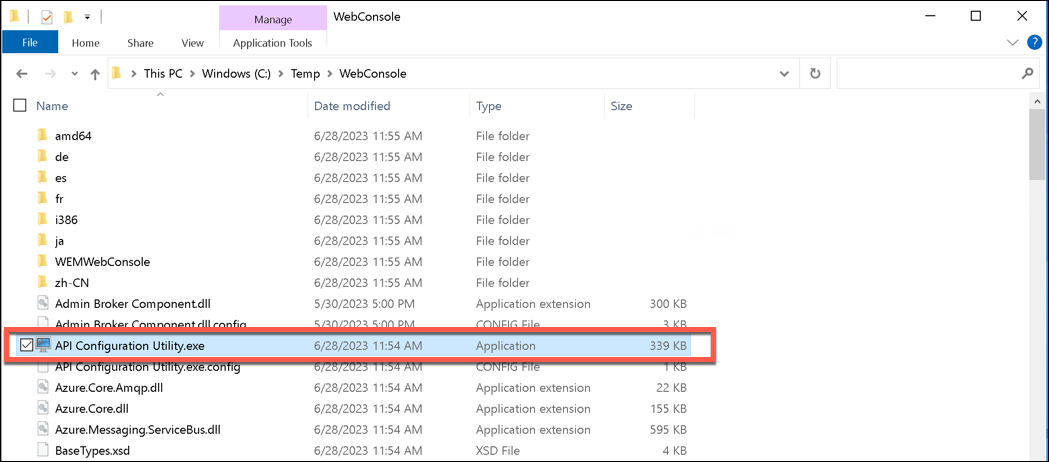
- Download the latest WebConsole package. Extract the zip file to a convenient folder.
Launch theAPI Configuration Utility.exein the WebConsole folder.
On theCitrix Workspace Environment Management web console setuppage, clickNext.
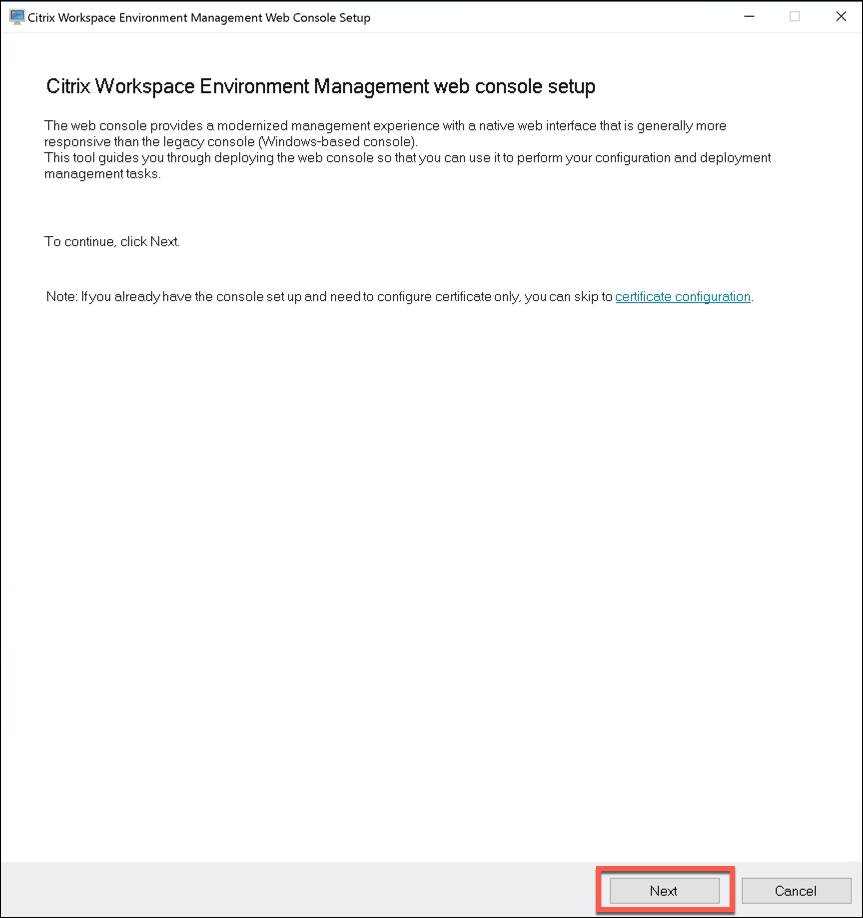
On the Citrix Workspace Environment Management web console setup page, configure the following settings:
- Web控制台端口。指定一个端口为web眉毛er to connect to the WEM Web Console. The default port is443.
- Infrastructure service server name. Specify the machine name, the fully qualified domain name (FQDN), or the IP address of the WEM Infrastructure server.
- Infrastructure service administration port. The default port is8284.
- Service impersonation account username and password. API service impersonates the specific account to improve security. You can create a new user account or select an existing user account.
- Create a new user account and add it to the WEM global full-access administrator group.
- Select an existing user account, which is a member of the WEM global access administrator group
- Data folder path. Specify a folder for storing data (databases, certificates, configuration files). The default path for the data folder isC:\ProgramData\Citrix\WEM\API
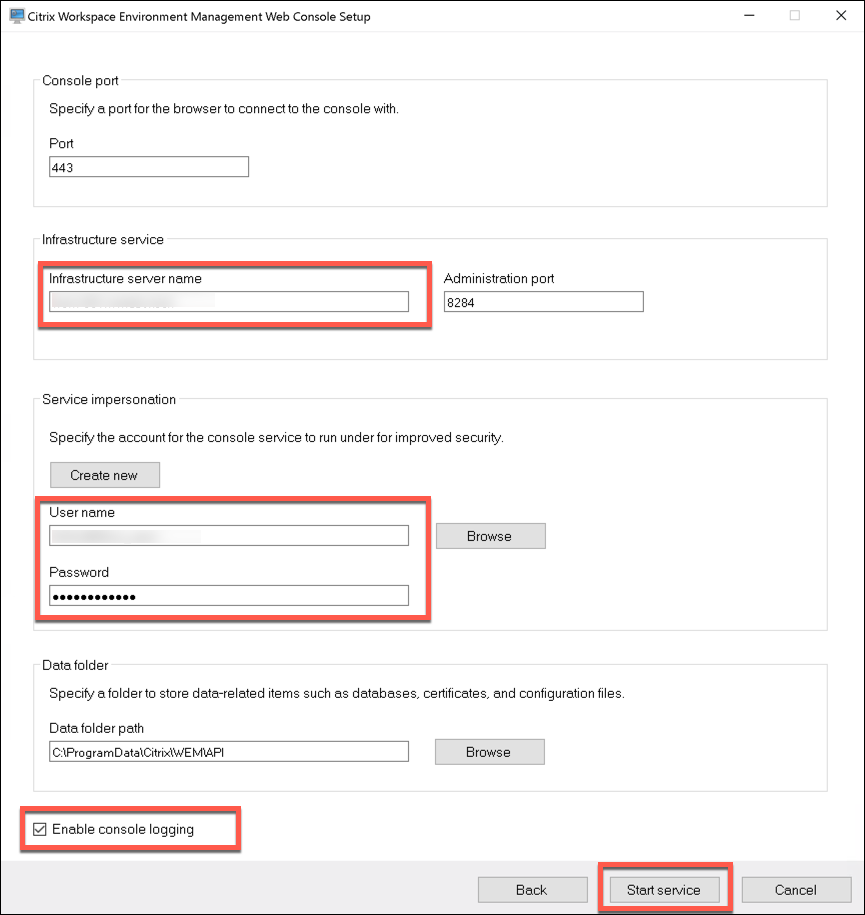
ClickStart serviceto start service.

ClickConfigure certificateto secure the WEM Web Console connection.
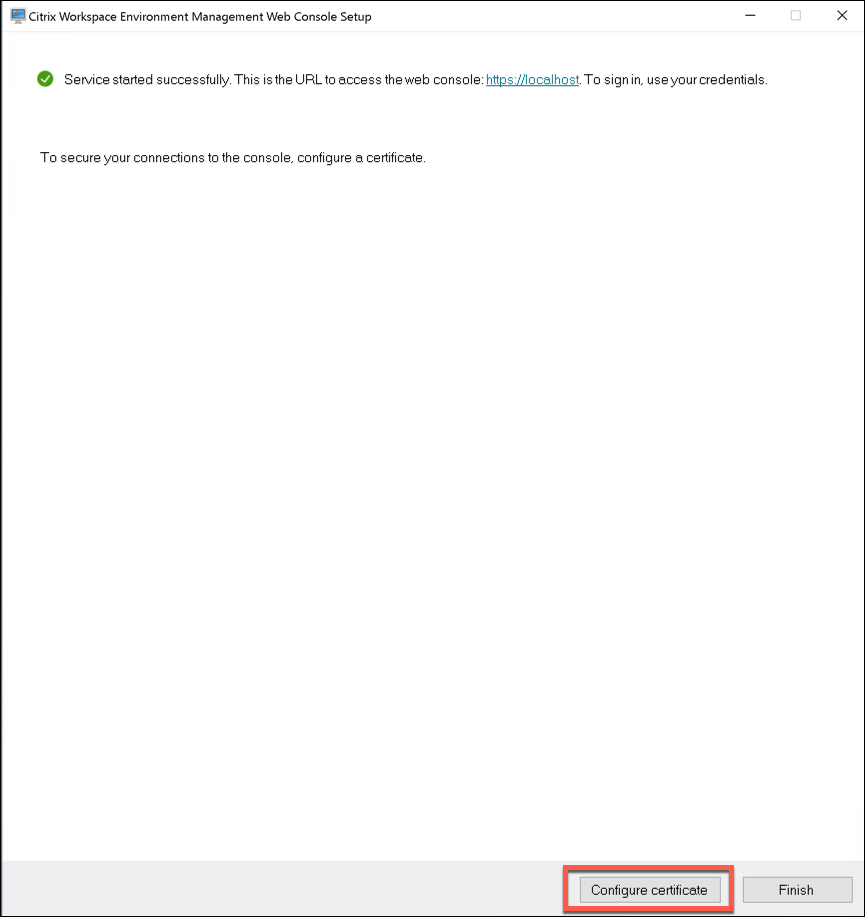
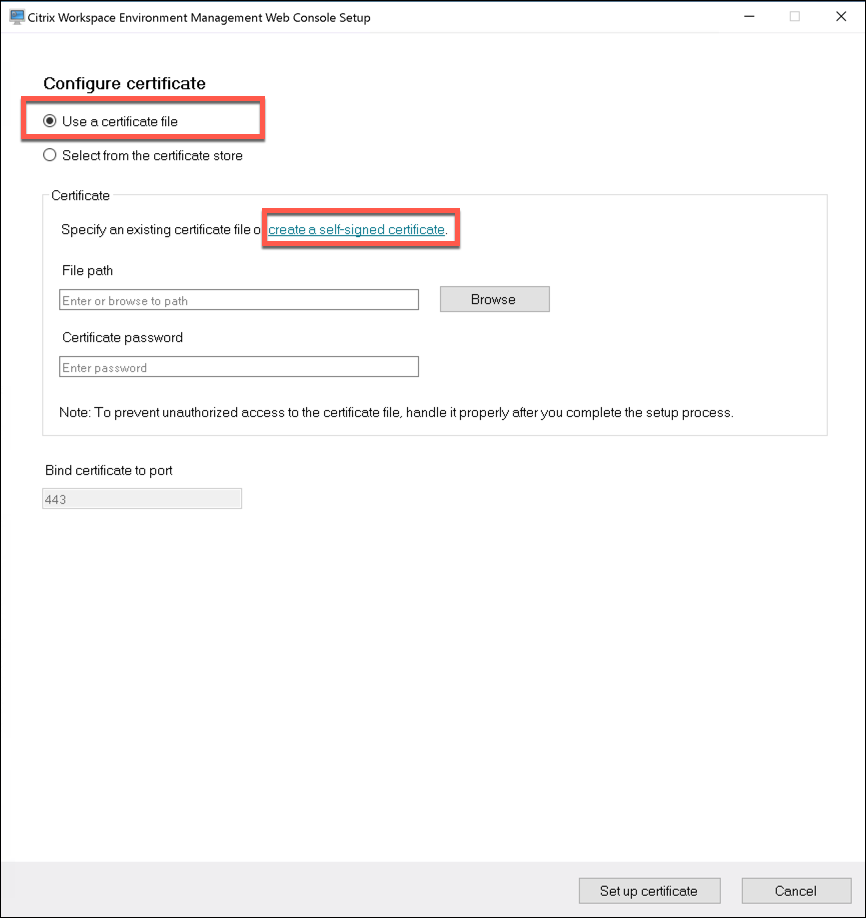
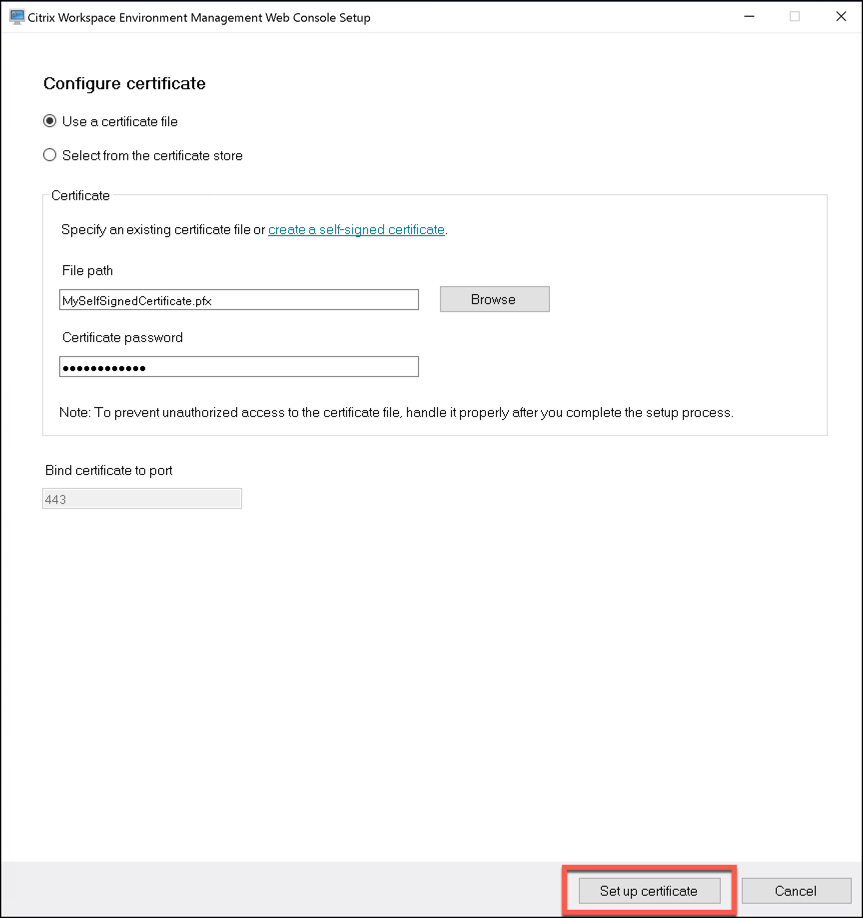
There are two methods for configuring certificates,Use a certificate fileorSelect from the certificate store. SelectUse a certificate fileand select the option tocreate a self-signed certificateto create a self-signed certificate.
- On theCreate self-signed certificatepage, configure the following settings:
- Domain to issue certificate to. Specify the domain that will be issued for the certificate.
- Certificate friendly name (optional). The default isWEM API SSL Certificate
- Certificate password. Specify certificate password.
- Validty period. Specify the certificate validity period. The default is one year.
- Save certificate file to. Specify the path for saving the certificate file. The default filename isMySelfSignedCertificate.pfx.
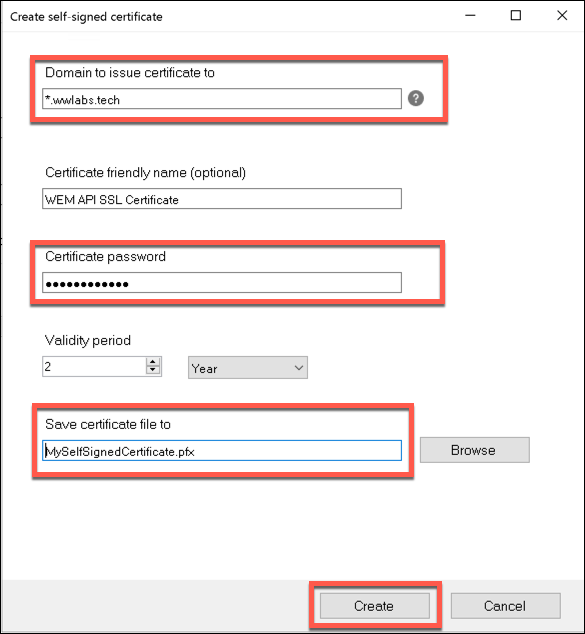
SelectCreate
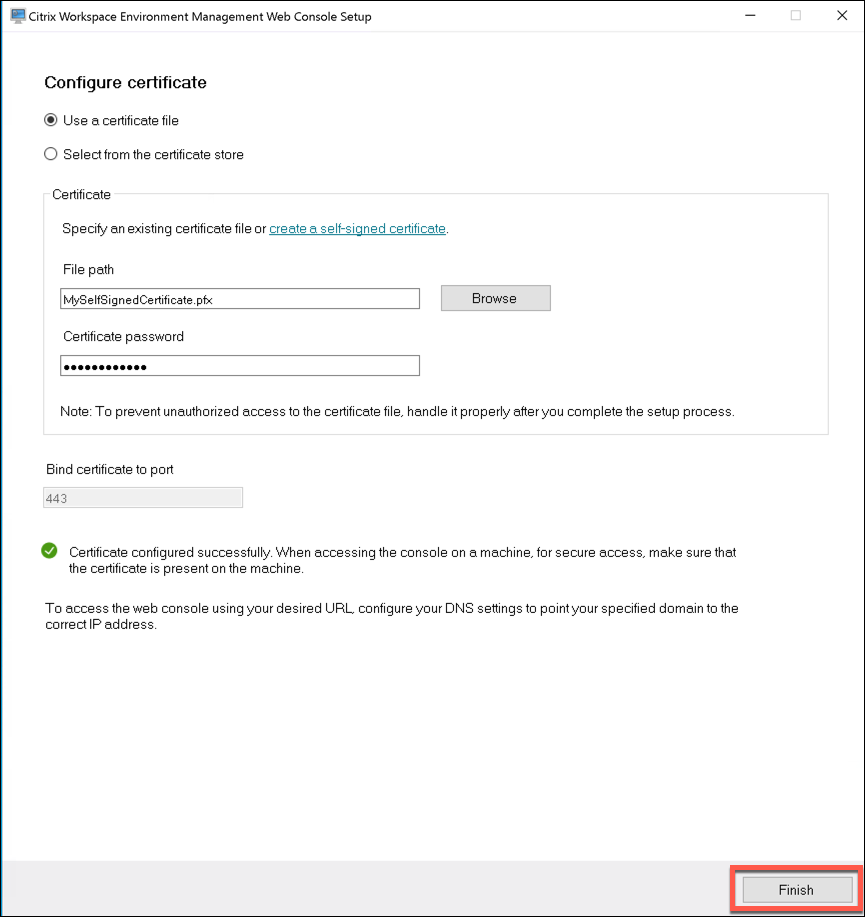
On theCreate self-signed certificatepage, SelectSet up certificate
When the certificate is configured successfully, SelectFinish


Access the WEM Web Console
You can access the WEM Web Console via the URLhttps://api-ip-address:api-port. The web browser will not trust the certificate and report an unsecured connection. To secure the connection, complete the following steps:
- Update DNS
- Use URLhttps://fqdn-ofapi-serverfor accessing the WEM Web Console.
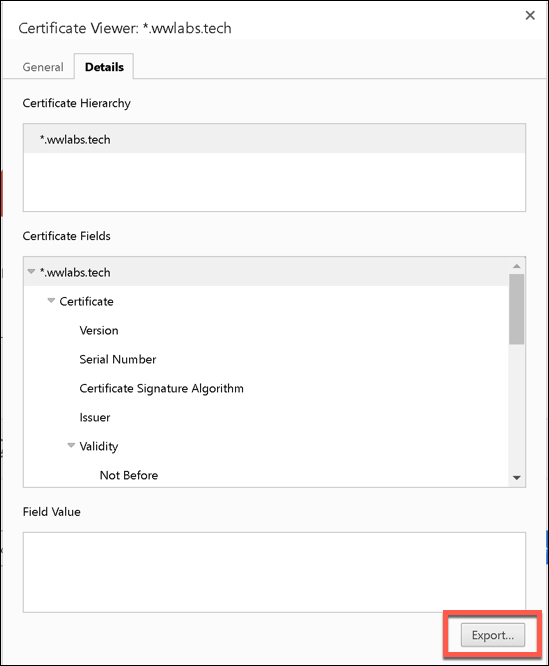
- Export the certificate throught the web browser and save it as a .crt file.
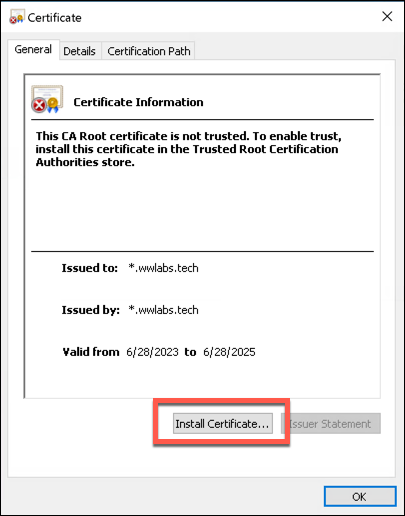
- ClickCertificate is not valid
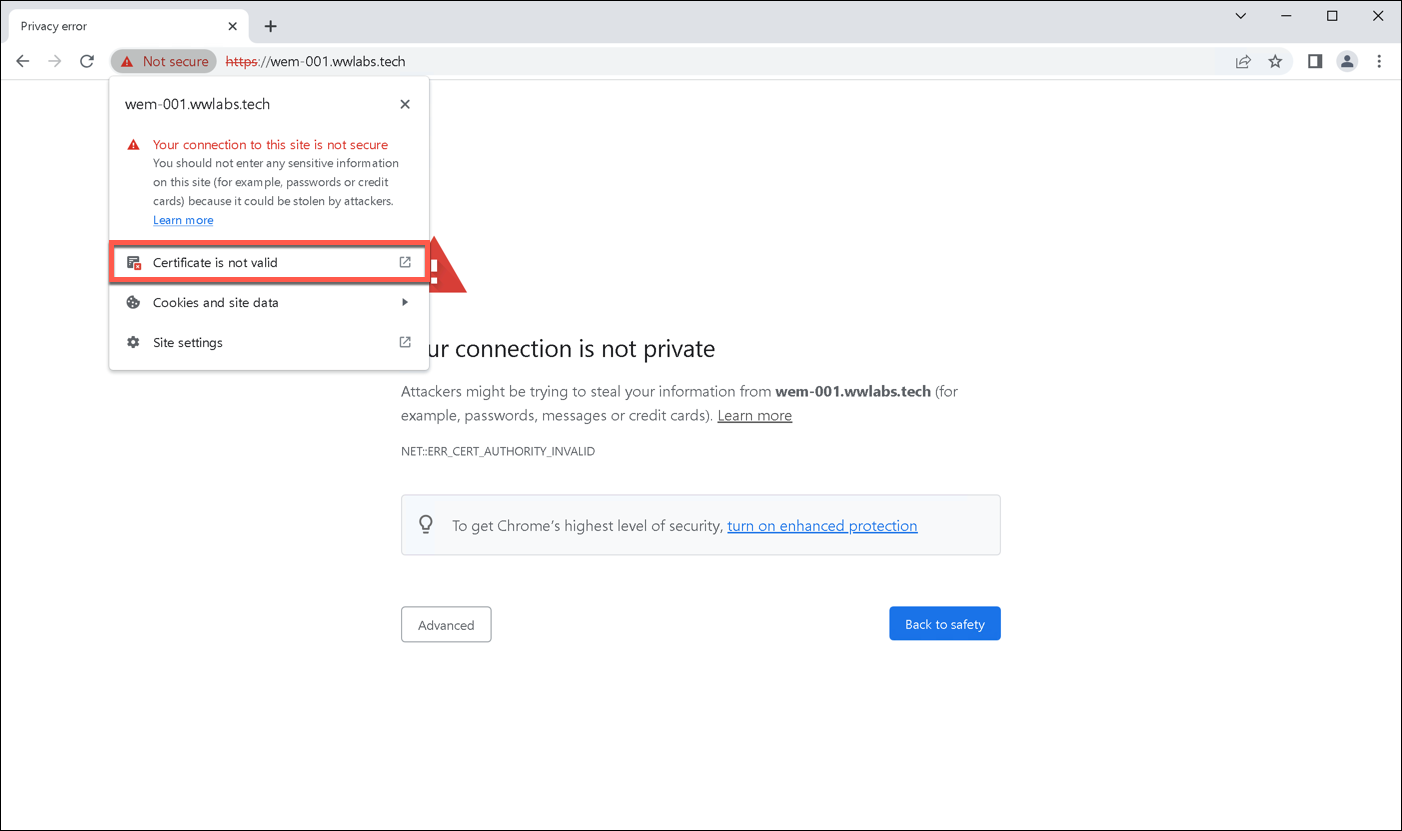
- SelectExportand specify name of certifcate (*.crt)file.
- Install the*.crtcertificate and ensure it is imported to the Trusted Root Certification Authorities on the local machine.
- Double-click the certificate file.
- SelectInstall Certificate file
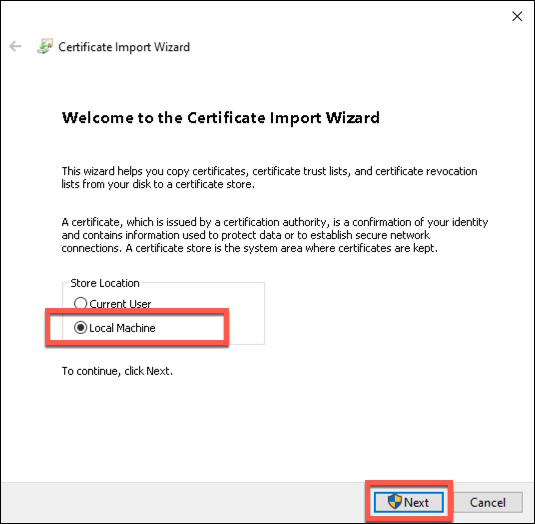
- On theWelcome to the Certificate Import Wizard, SelectLocal Machineand ClickNext.
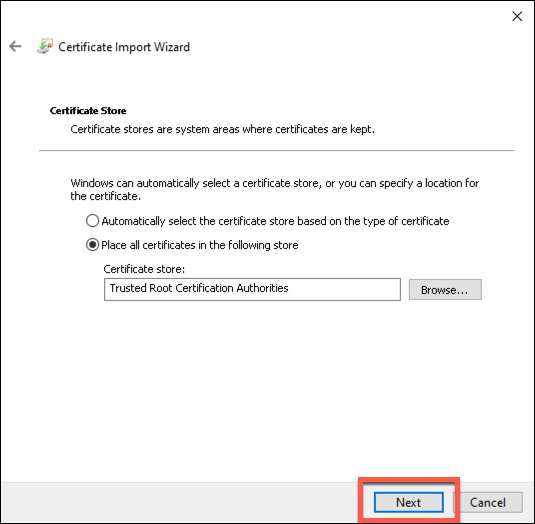
- On theCertificate Storepage, SelectPlace all certificates in the following store, SelectTrusted Root Certification AuthoritiesforCertificate Store.
- ClickNext.
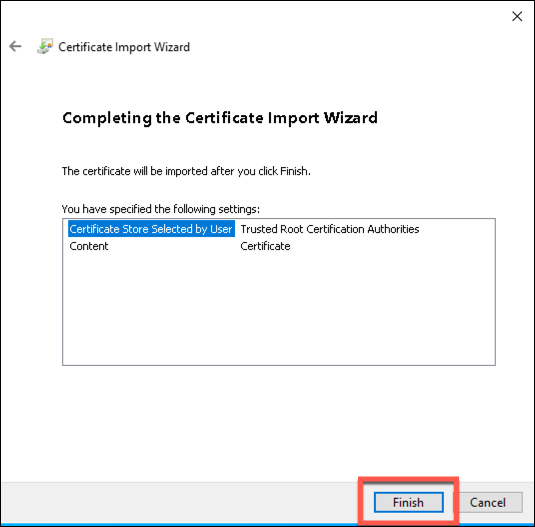
- On theCompleting the Certificate Import Wizardpage, ClickFinish.
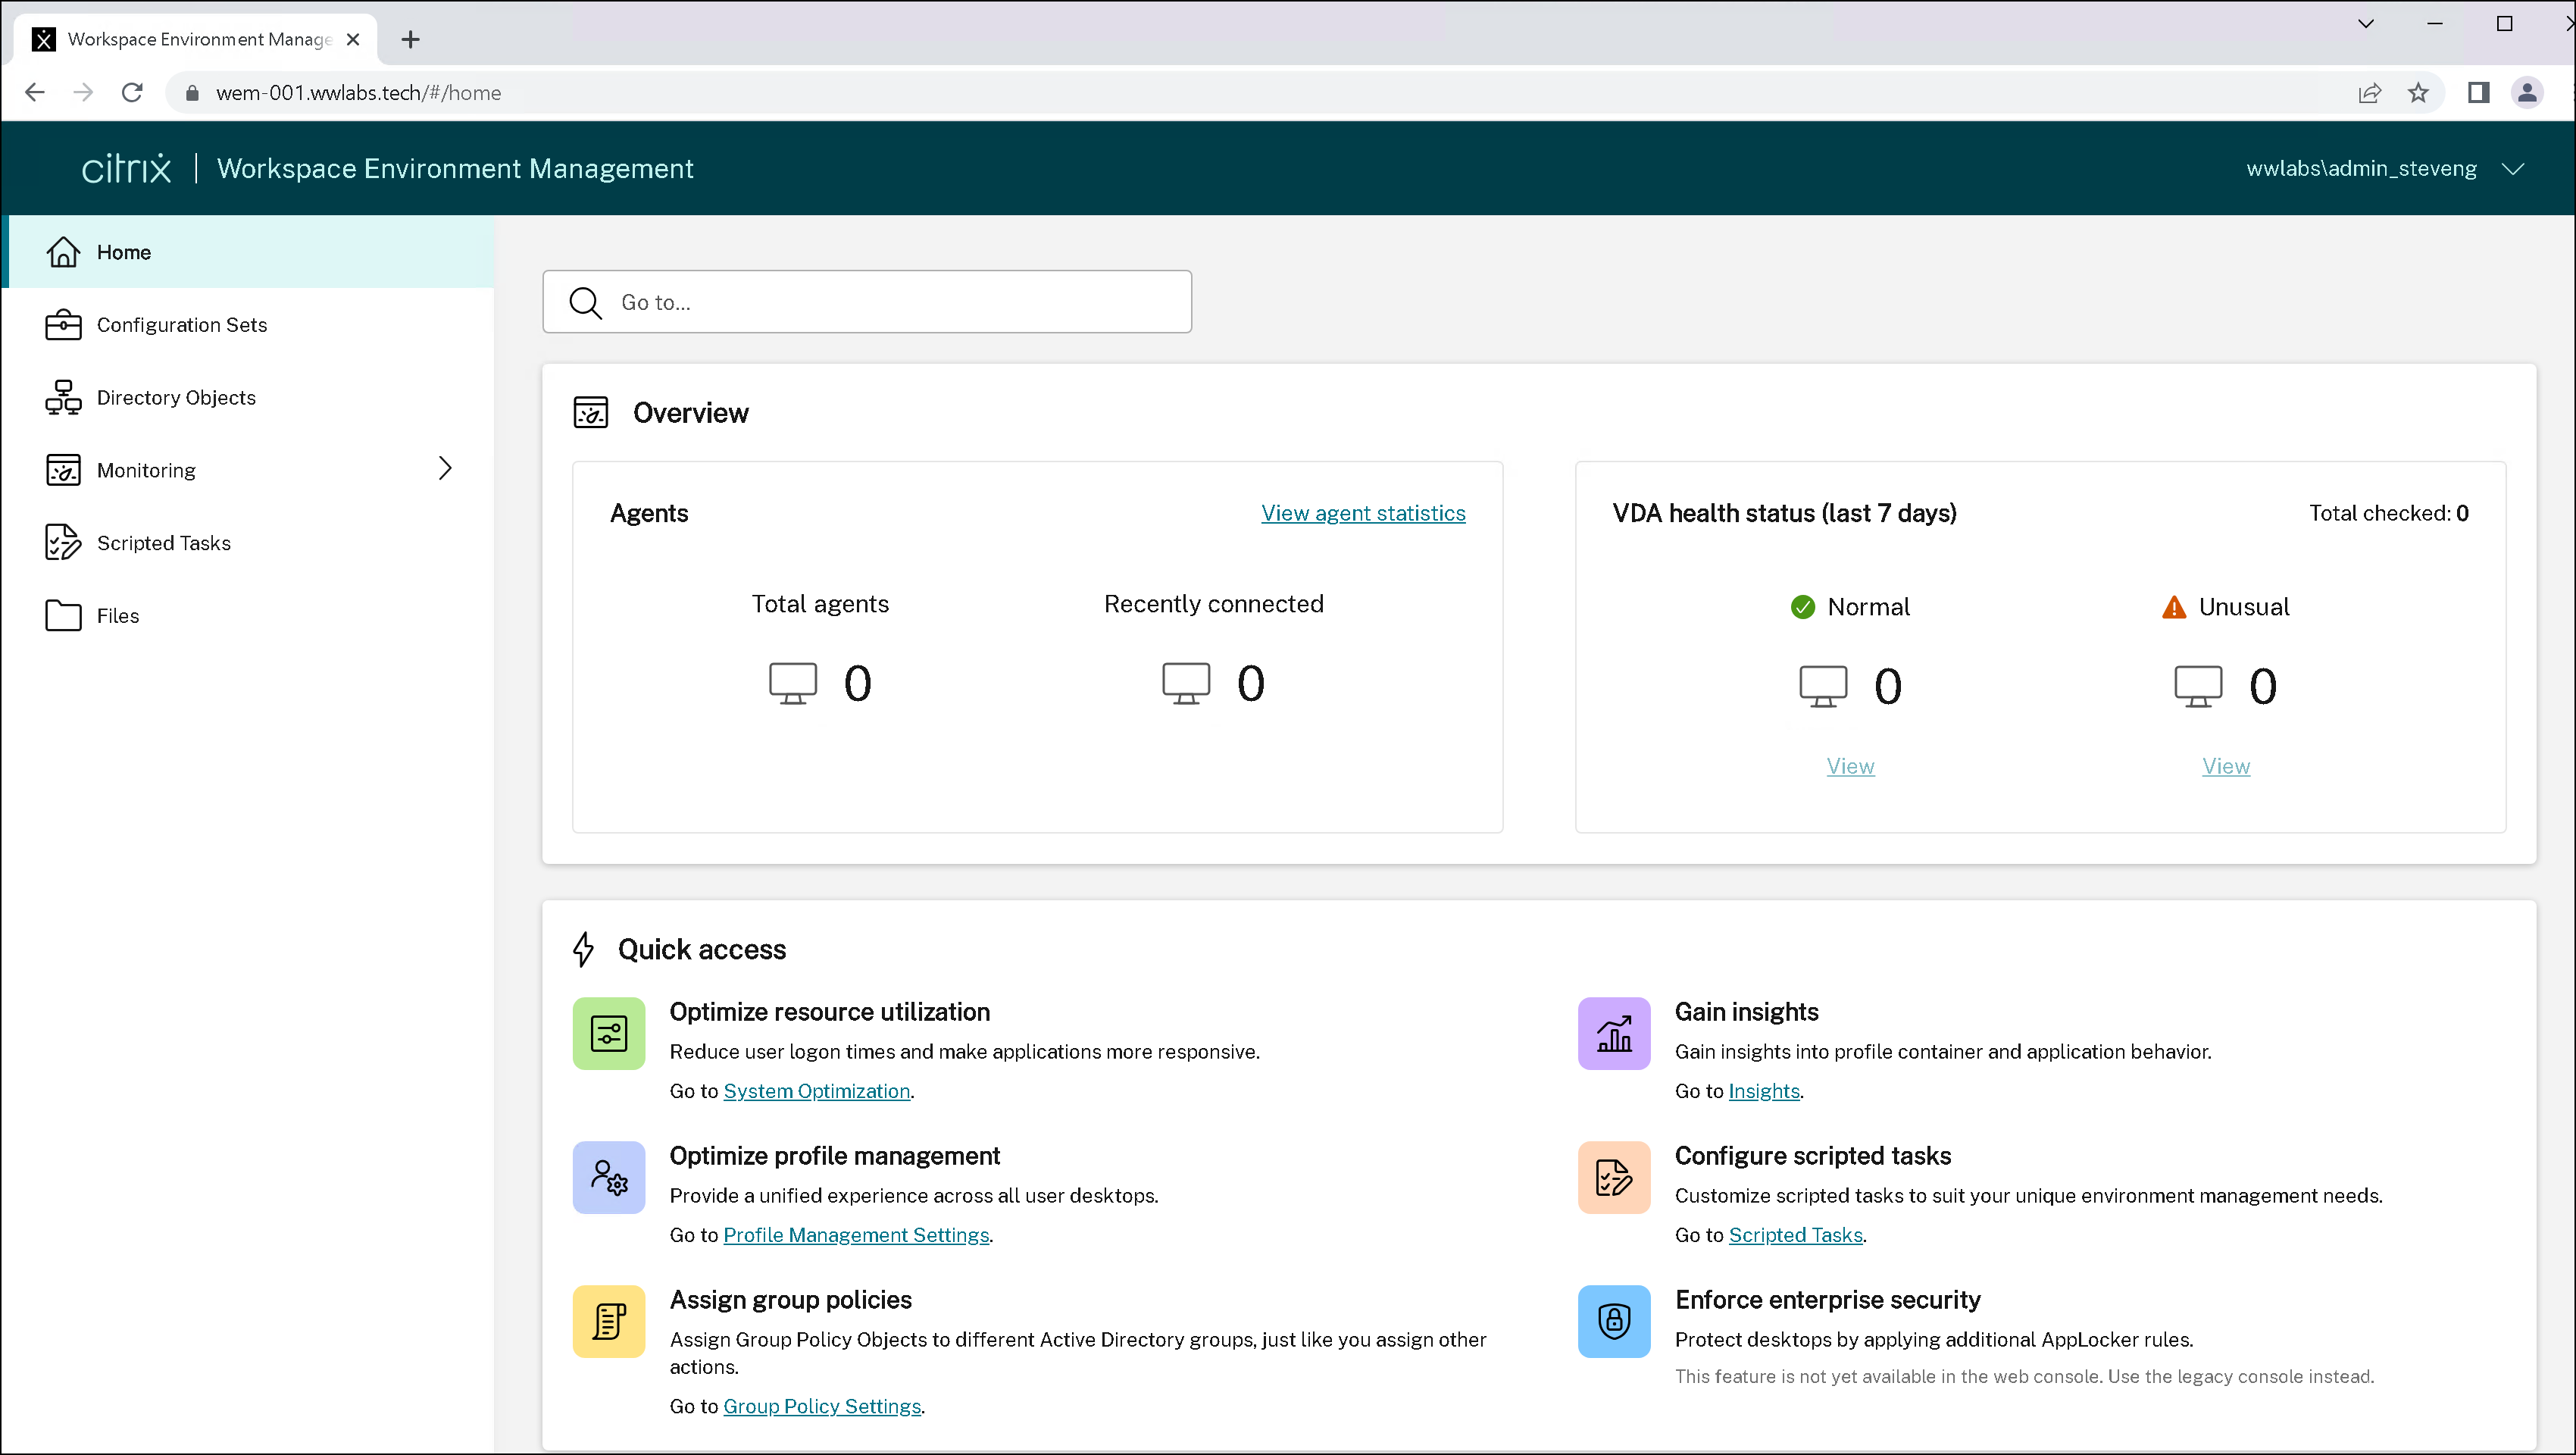
Restart the web browser and enter WEM Web Console URL. The connection is now secured.
Log into the WEM Web Console.


Summary
This guide walked you through the installation and configuration of Citrix WEM for an on-premises deployment. This consisted of installing and configuring the three core components: Infrastructure Service, Administration console and Agent. We created a Configuration Set, restored the Default Recommended Settings and enabled Citrix Profile Management. Finally we configured system optimization settings that are designed to lower resource usage on the agent host.
References
In this article
- Overview
- Prerequisites
- Installation
- Install the Infrastructure Services
- Create a WEM Database
- Configure Infrastructure Services
- Install the Administration console
- Configure configuration sets
- Install the Agent
- Policies and Profiles
- System Optimization
- WEM Web Console for on-premises deployment
- Summary
- References