
PoC Guide: Remote PC Access with Citrix DaaS
Overview
This Proof of Concept guide is designed to help you quickly configure Citrix DaaS to include Remote PC Access in your environment. At the end of this Proof of Concept guide you will be able to give users who are working remotely access to the on-premises physical desktops using Citrix DaaS. You will be able to let your users access their on-premises workstations on any device of their choice without having to connect over a VPN.
Conceptual Architecture

Scope
In this Proof of Concept guide, you will experience the role of a Citrix administrator and you will create a connection between your organization’s on-premises deployment of physical desktops and Citrix Daas. You will provide access to those on-premises workstations to an end user with Citrix DaaS using Citrix Workspace.
This guide will showcase how to perform the following actions:
- Create a Citrix Cloud account (if you don’t have one already)
- Obtain a Citrix DaaS account
- Create a new Resource Location (your office) and install the Citrix Cloud Connectors in it
- Install Citrix Virtual Delivery Agent on the Remote PC Access hosts
- Create a Machine Catalog in Citrix DaaS
- Create a Delivery Group
- Launch a session from Citrix Workspace
Prerequisites
Host machine requirements
The in-office workstations that your users must connect to are Windows single-session operating system machines, and are joined to a Windows Active Directory (AD) domain.
Citrix Cloud Connector
To install the Citrix Cloud Connectors in your environment, you require (at least two) Windows Server 2012 R2 or later server machines/VMs. You require static IPs for these two machines. Windows installation and domain join of these machines must have been done in advance. The system requirements for the Cloud Connectors arehere. Review the guidance on the cloud connector installationhere. The machine the Citrix Cloud Connector runs on must have network access to all the physical machines that are to be made available on the internet via the Citrix Workspace.
Some requirements Citrix Cloud Connector installation (installer performs checks for these) are:
The Citrix Cloud Connector machine must have outbound Internet access on port 443, and port 80 to only*.digicert.com. The port 80 requirement is for X.509 certificate validation. See more infohere
Microsoft .NET Framework 4.7.2 or later must be pre-installed on the machine
Time on the machine must be synced with UTC
This guide provides detailed instructions on how to configure your environment including office workstations, connecting your on-premises setup up to Citrix Cloud. As a Citrix Cloud administrator, you enable your users to connect to their office workstations remote with Citrix DaaS.
Create a Citrix Cloud Account
If you are an existing Citrix Cloud customer, skip to the next section:Request Citrix DaaS Trial. Ensure that you have an active Citrix Cloud account. If your account has expired, contact your account manager to enable it.
If you need to sign up for a new Citrix Cloud account please follow the step by step instructions here:Signing up for Citrix Cloud
Request a Citrix DaaS Trial
- Sign in to your Citrix Cloud account
- From the management console, selectRequest Trialfor the service you wish to trial, in this caseCitrix DaaS.
NoteFor some services you must reqwuest a demo from a Citrix sales representative before you can try out the service. Requesting a demo allows you to discuss your organization’s cloud service needs with a Citrix sales representative. Also, the sales representative ensures you have all the information needed to use the service successfully.
When your trial is approved and ready to use, Citrix will send you an email notification.
Create a new Resource Location
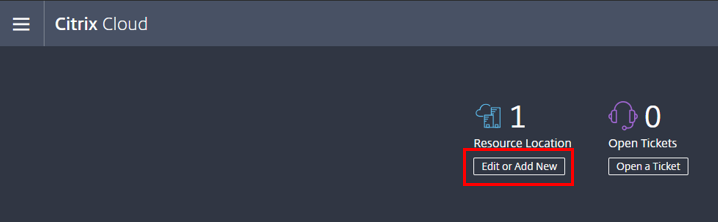
当服务被提供,我们可以凯p going. Return to the Citrix Cloud administration page. Scroll up, under Resource Locations ClickEdit or Add New
ClickAdd a Resource Locationor+ Resource Location(if there is already a resource location)

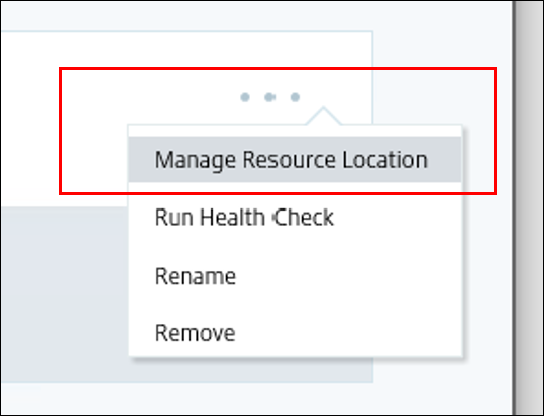
Click theellipseson the top right of the new resource location. ClickManage Resource Location.
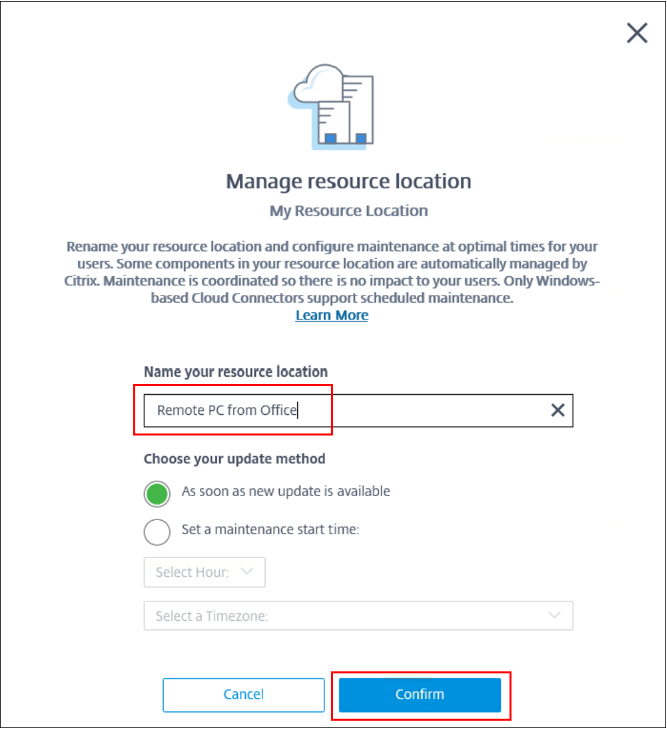
Enter anew nameof the New Resource Location. ClickConfirm.
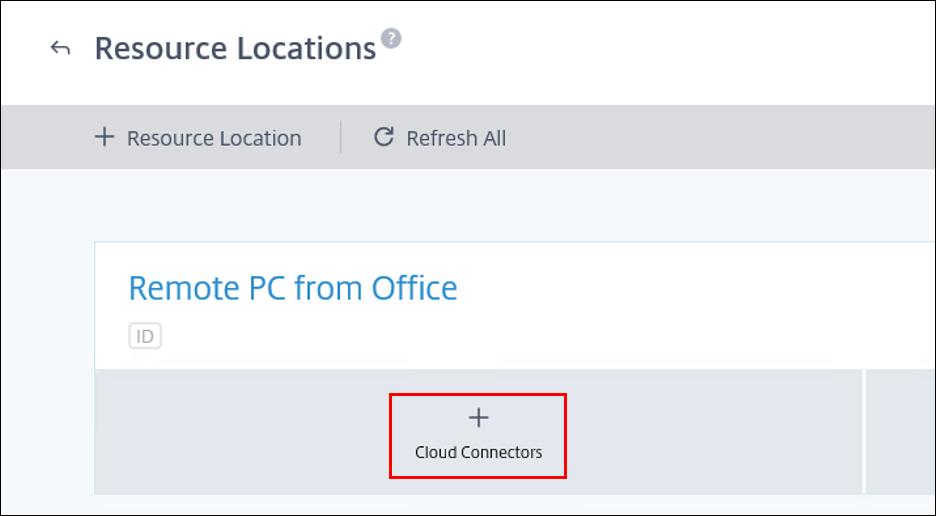
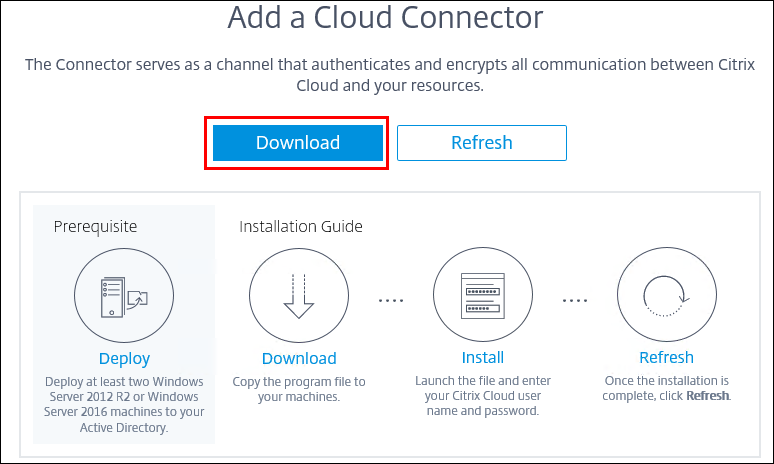
Under the newly created resource location click+ Cloud Connectors
ClickDownload. ClickRunonce the download completes.
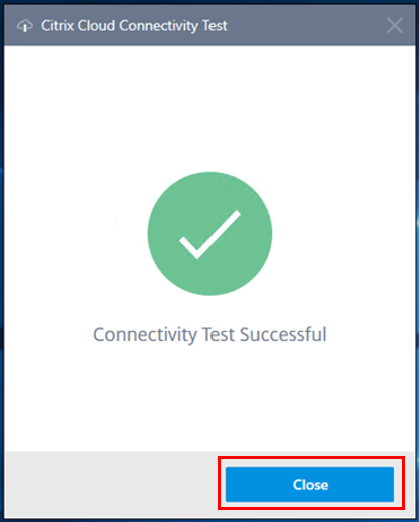
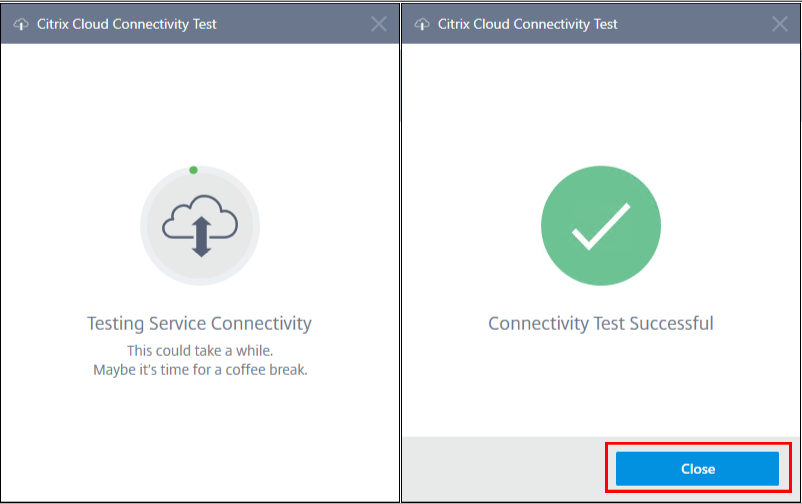
Citrix Cloud connectivity test successful message is displayed. ClickClose.Note: If the test fails, check the followinglink to resolve the issue
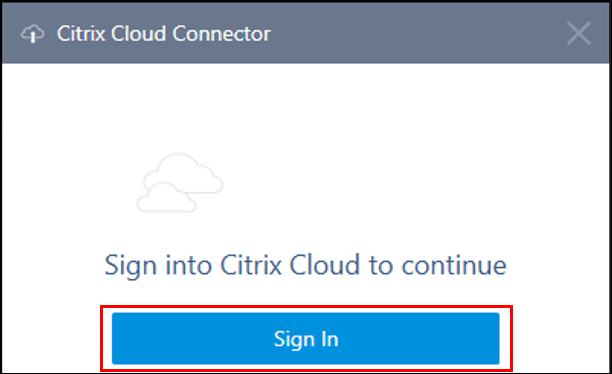
ClickSign Inandsign in to Citrix Cloudto authenticate the Citrix Cloud Connector.
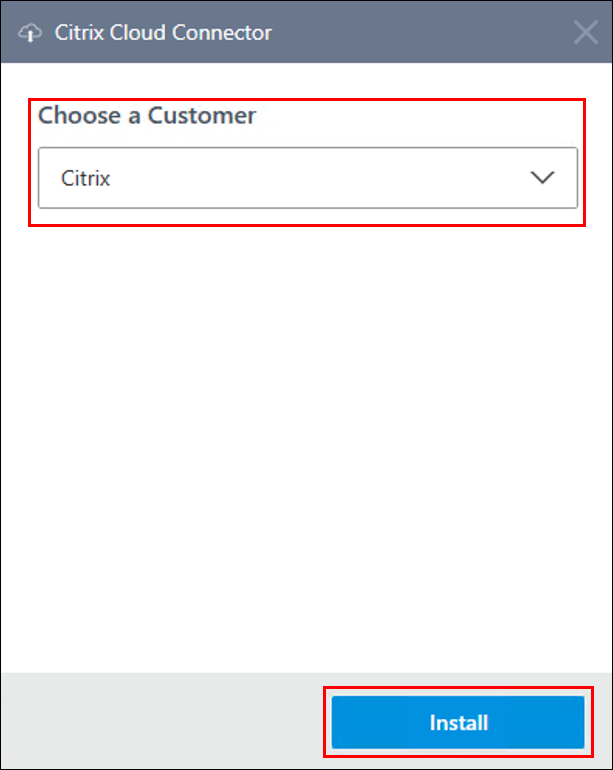
From the drop-down listsselect the appropriate Customer and Resource Location(Resource location drop-down list is not displayed if there is only one resource location). ClickInstall
Once the installation completes, a service connectivity test runs. Let it complete and you will again see a successful result. ClickClose
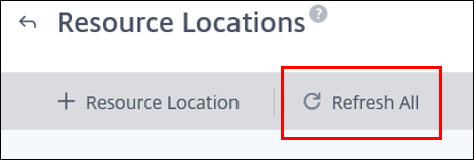
ClickRefresh allto refresh the Resource Location page in Citrix Cloud
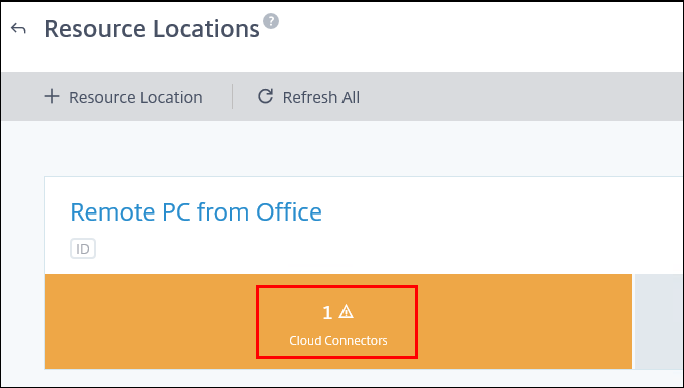
ClickCloud Connectors
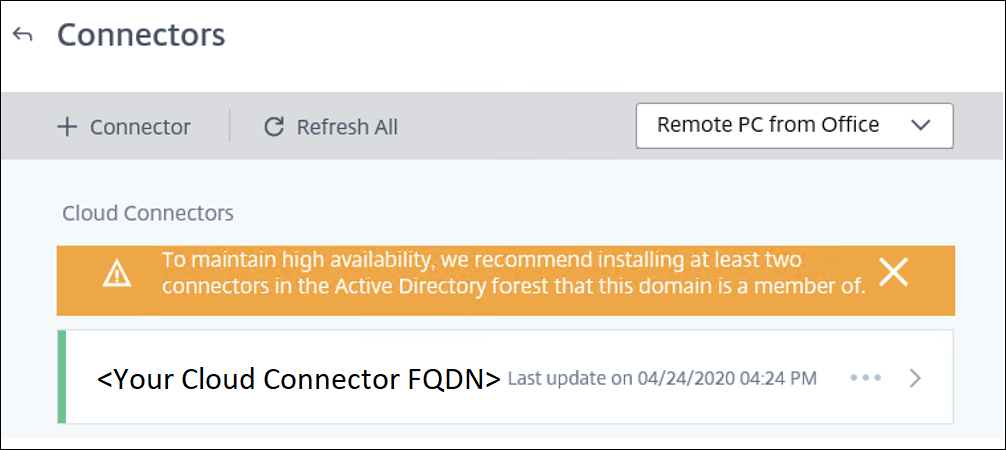
The newly added Cloud Connector is listed. Repeat the last 8 steps to install another Cloud Connector in the Resource Location on the second Windows server machine that you had prepared.


Install Citrix Virtual Delivery Agent on the Remote PC Access hosts
我们现在安装Citrix虚拟桌面,与启示l Delivery Agent on the physical machines that we are going to give users access to. If you want to install the Citrix Virtual Delivery Agent usingscriptsor a deployment tool likeSCCMfollow the appropriate links. Ensure to use the install command line parameters as shown in the following instructions.
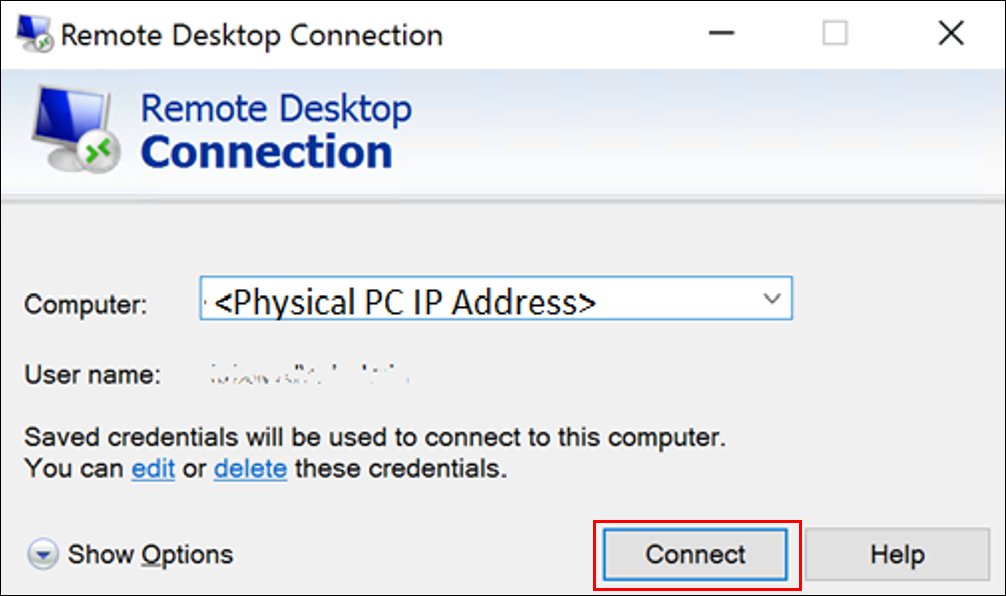
Connect to thephysical machine via RDP as the a local admin.
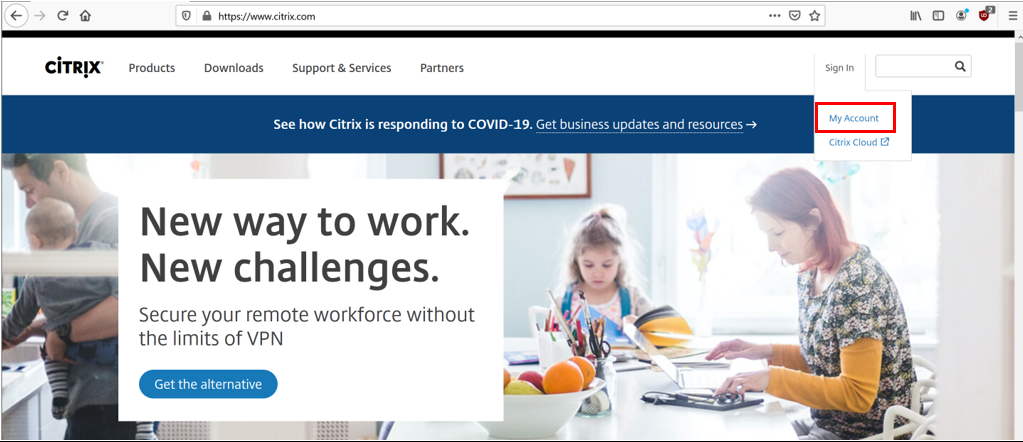
OpenCitrix.comin your browser. Hover overSign Inand clickMy Citrix account
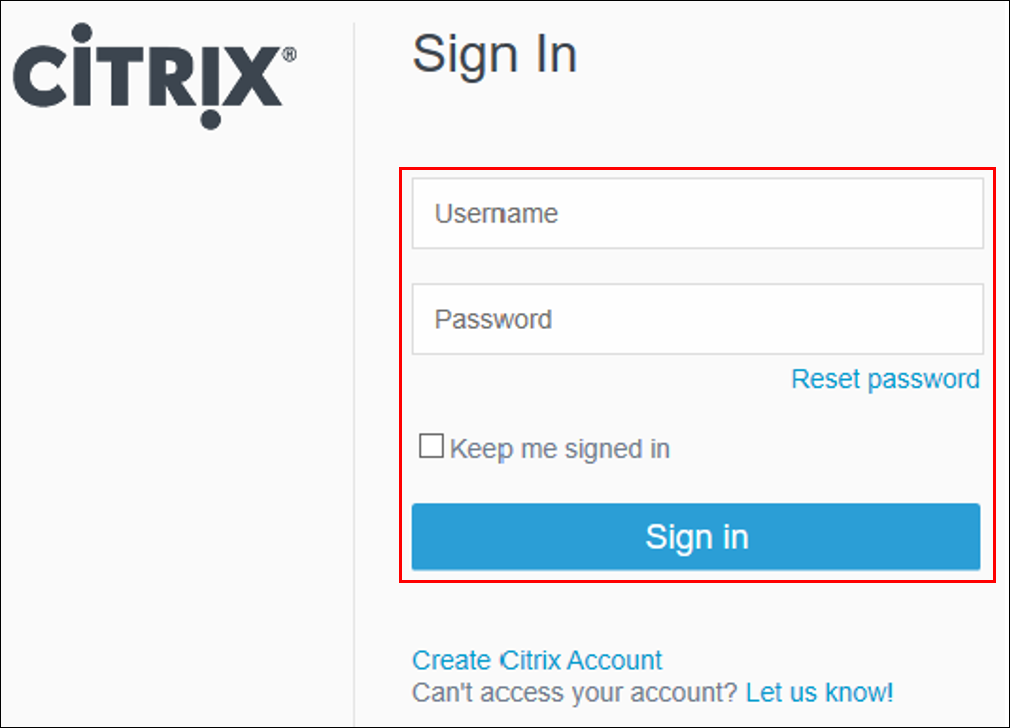
Sign in with yourusername and password. ClickDownloads.
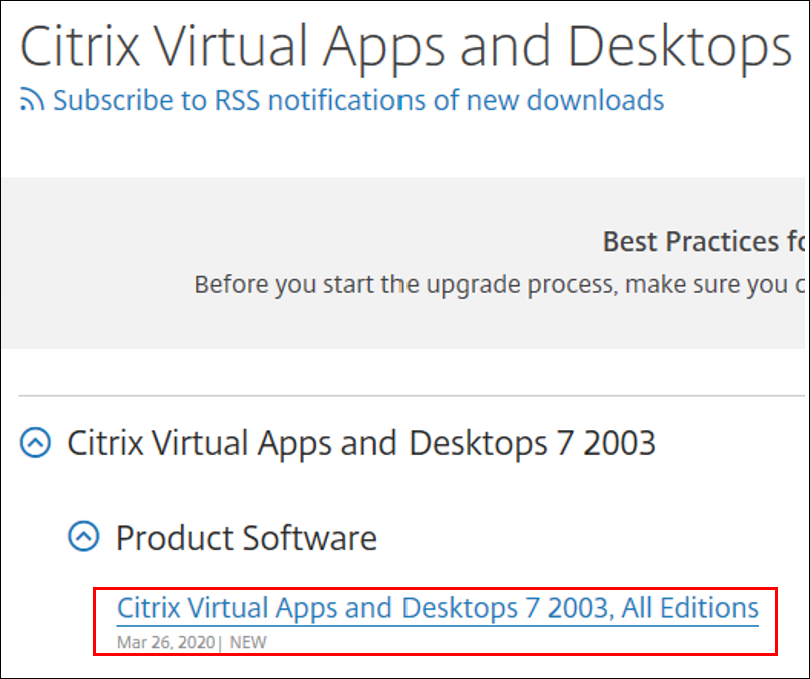
From theSelect a product…drop-down list, selectCitrix Virtual Apps and Desktops

In the page that opens, select thelatest version of Citrix Virtual Apps and Desktops 7(without the .x at the end)
Scroll down toComponents that are on the product ISO but also packaged separately. Clickchevronto expand the section. ClickDownload Fileunder theSingle-session OS Virtual Delivery Agentversion
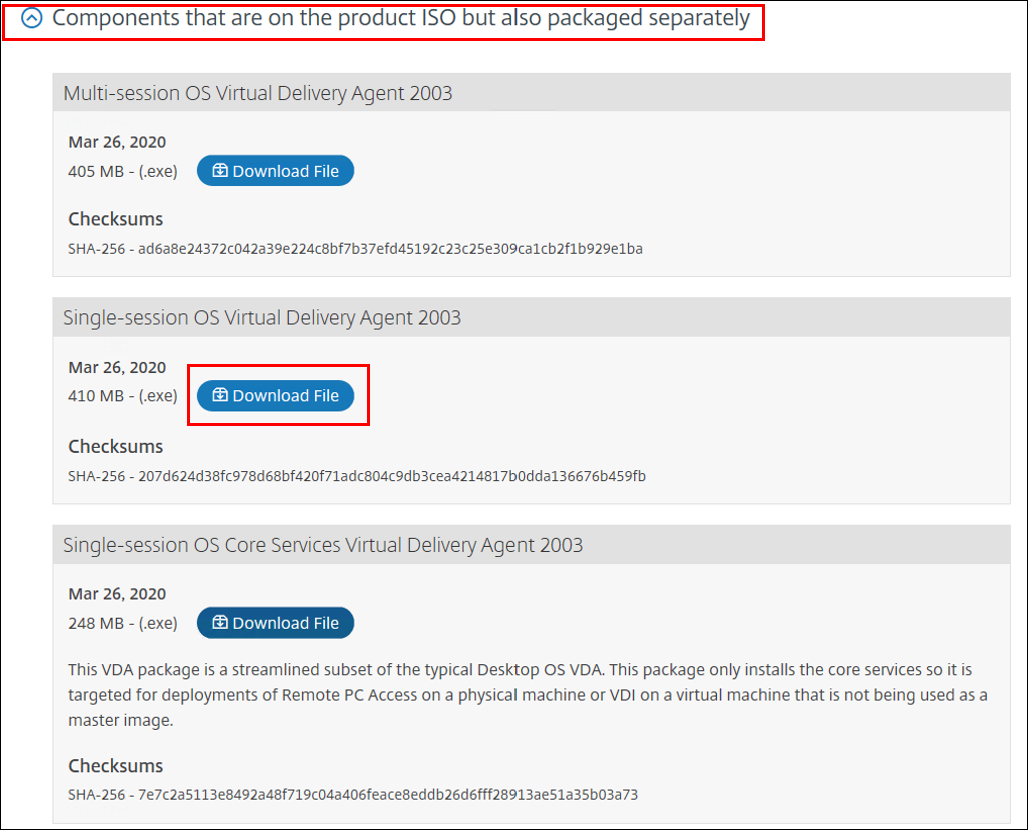
Check “I have read and certify that I comply with the above Export Control Laws”check box, if you agree. ClickAccept. The download begins.

Savethe file. When the download completes move to the next step.
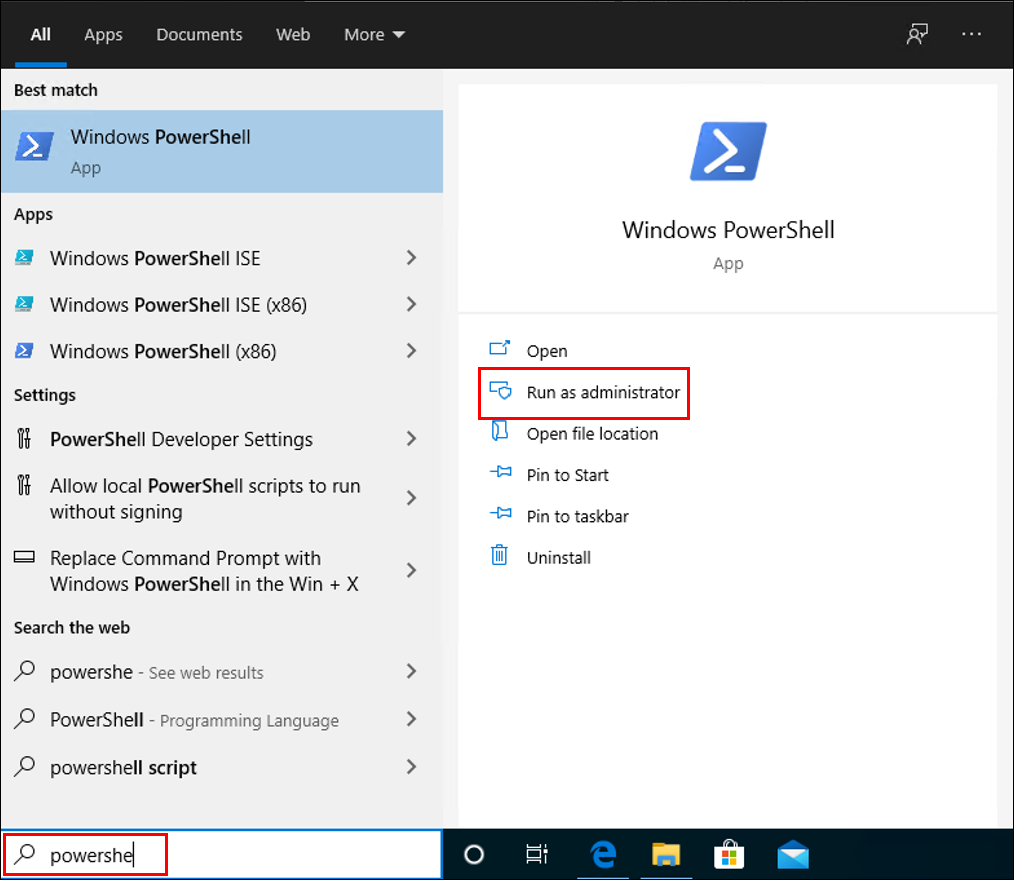
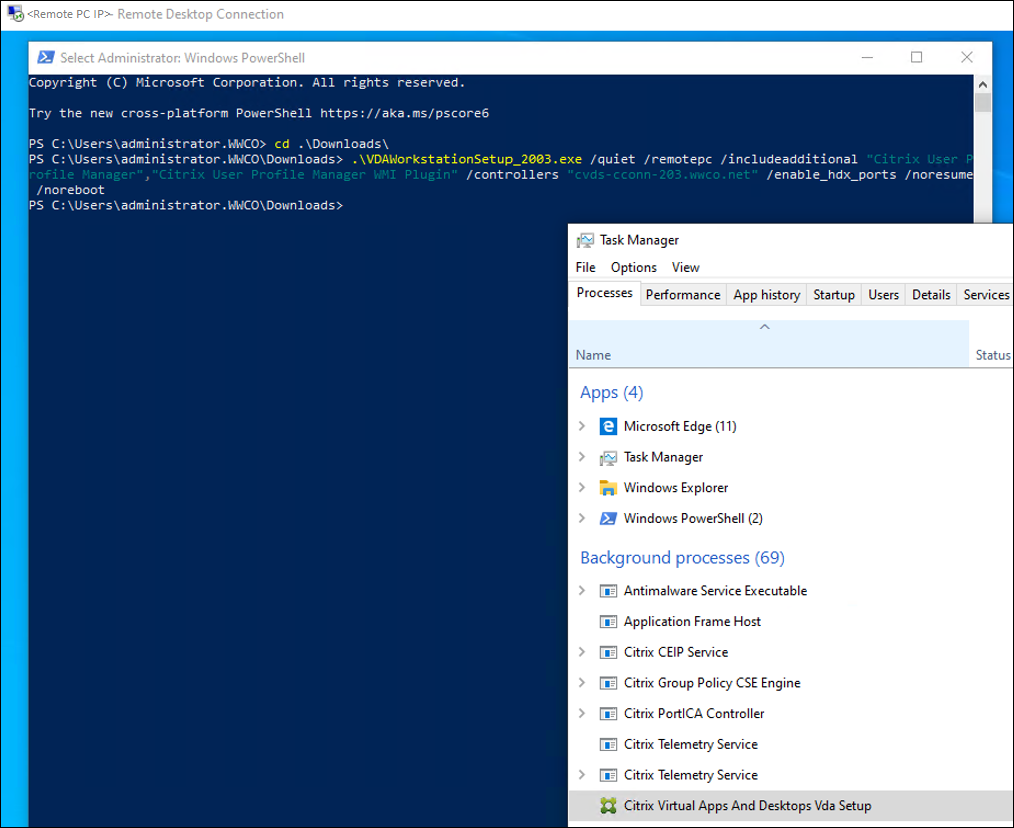
Search for PowerShellfrom the Start menu search bar and ClickRun as administrator
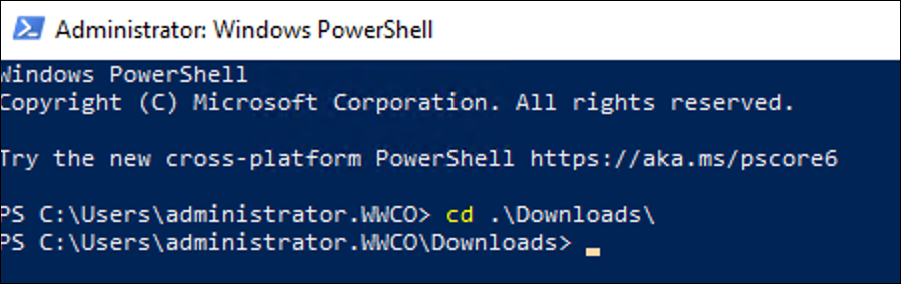
Traverse to the directory you downloaded the installer in.
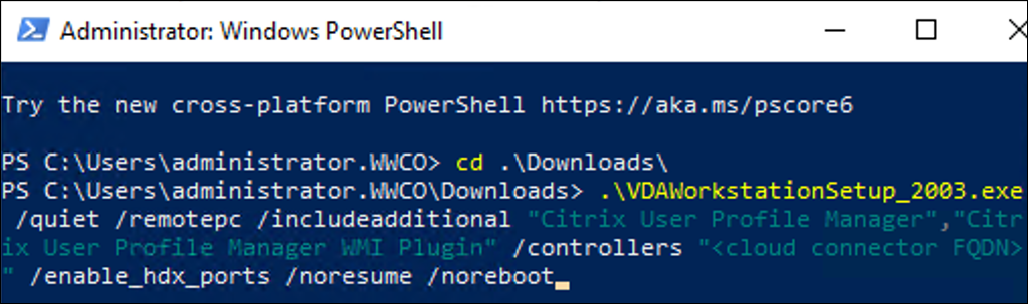
Run the following command. (Replace the name of the executable with the one you downloaded and the cloud connector FQDN).Note: The Citrix UPM and the Citrix UPM WMI Plugin are essential for monitoring and Citrix Analytics to collect data from the endpoint, so that logon duration, session resilliency and UX score can be reported.VDAWorkstationSetup_version.exe /quiet /remotepc /includeadditional “Citrix User Profile Manager”,“Citrix User Profile Manager WMI Plugin” /controllers “cloudconnecotrFQDN” /enable_hdx_ports /noresume /noreboot
Wait for the installation to complete.Rebootthe physical machine.


Repeat the procedure for all the physical hosts that you want to make available remotely.
Create a machine catalog in Citrix DaaS
Use Citrix DaaS to create a catalog of the physical machines
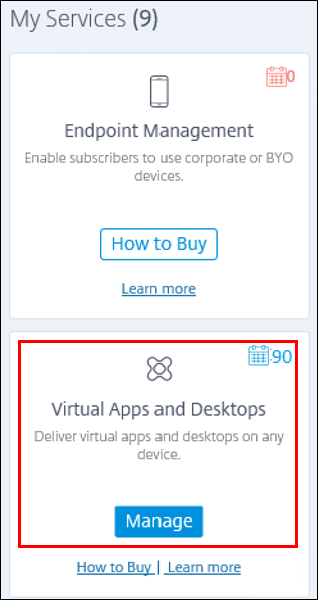
Once the trial is approved,Log in to Citrix Cloud from your local machine. Scroll toMy Services, and locateDaaSservice tile, clickManage
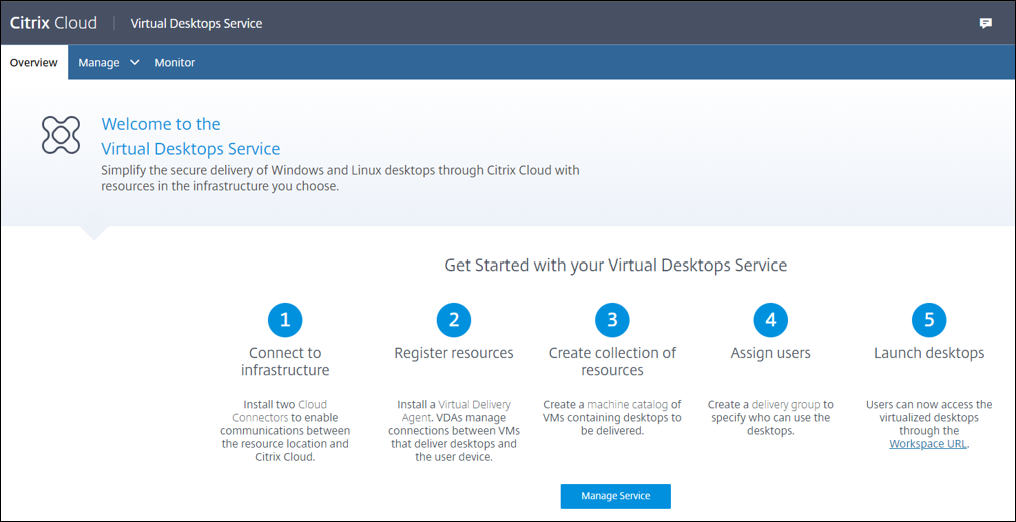
The service overview page is displayed.
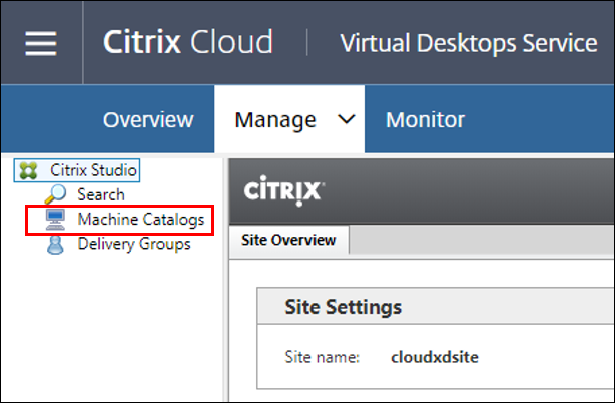
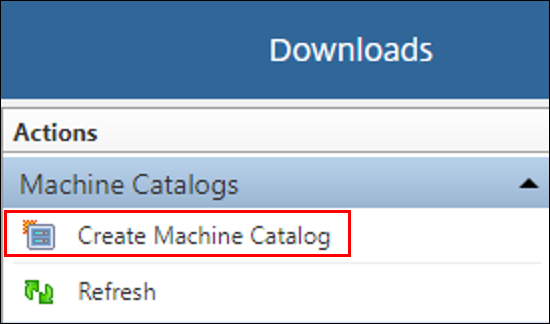
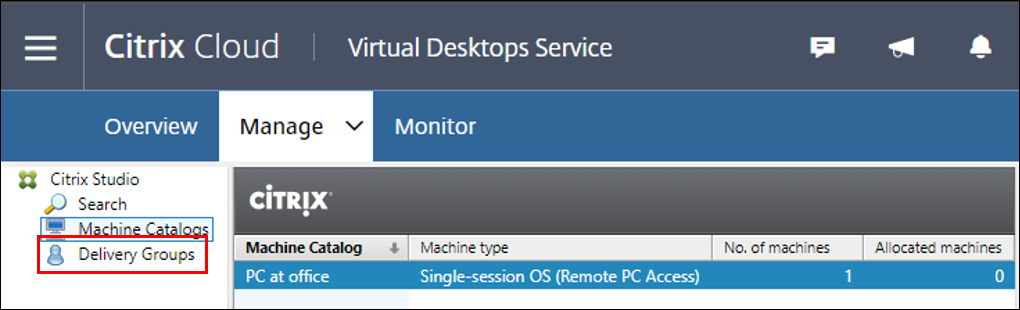
In the left menu, ClickMachine Catalogs
ClickCreate Machine Catalog.
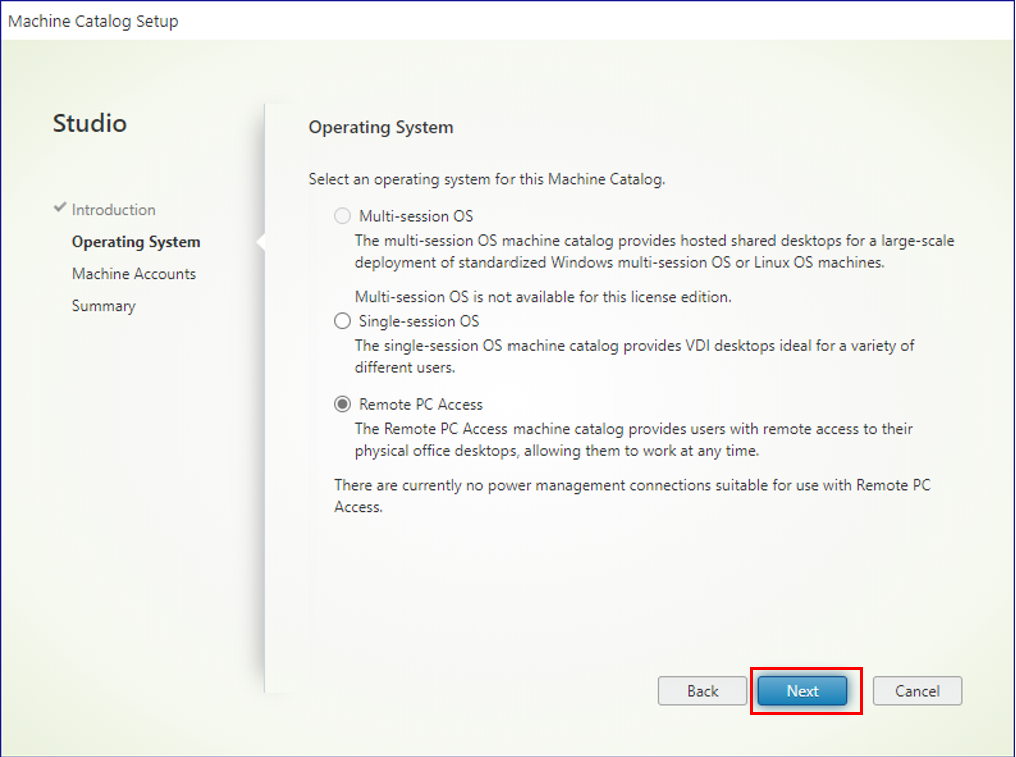
SelectRemote PC Access. ClickNext
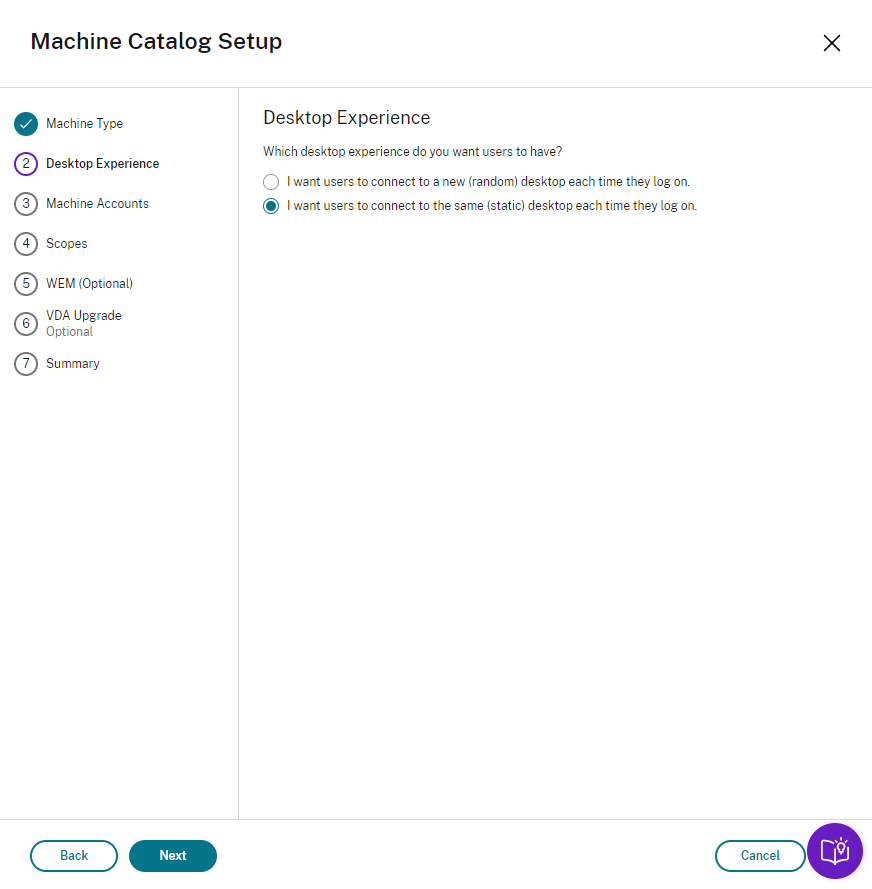
SelectI want users to connect to same(static) desktop each time they login. ClickNext
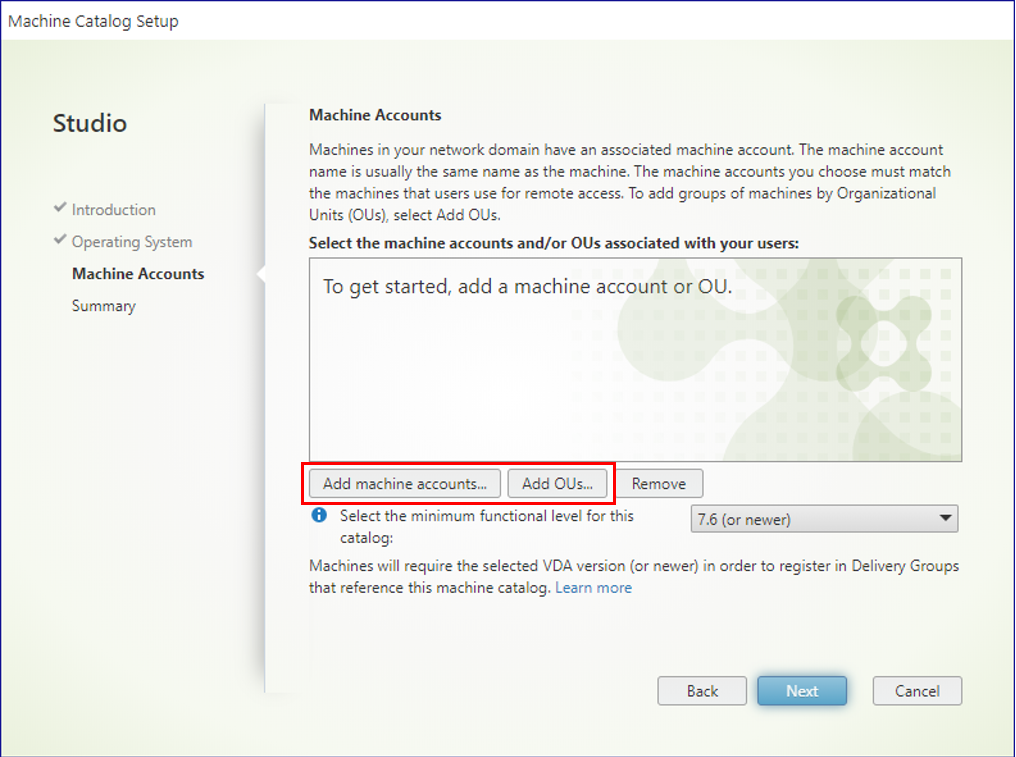
ClickAdd Machine Accountsor clickAdd OUsbased on whether you want to add machines or OUs (all the physical machines in the OU). In our example we are adding a machine.
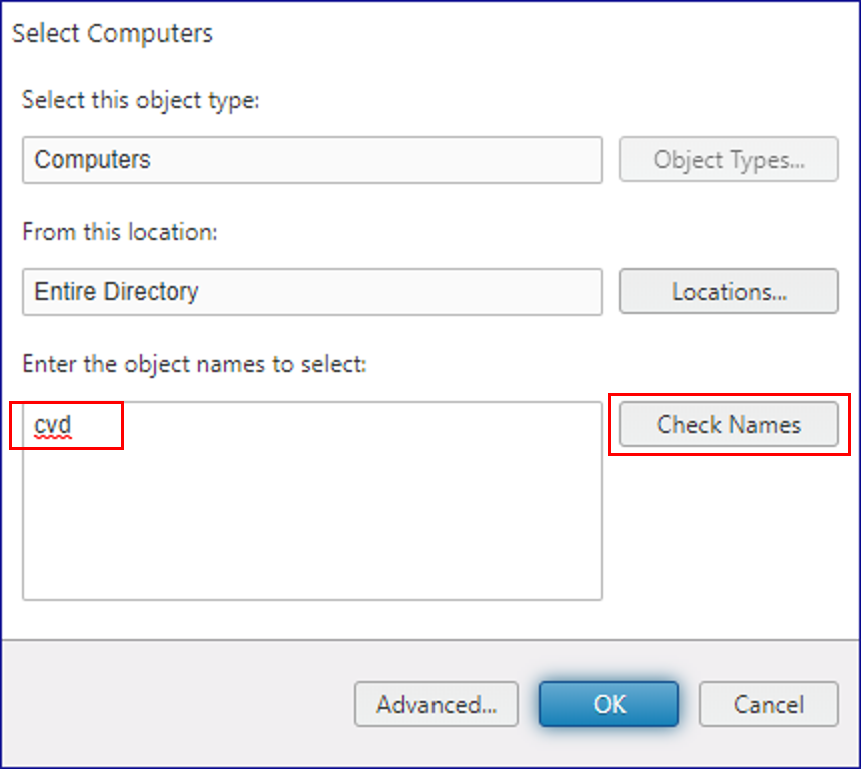
In the Select Computers pop up,enter the first few characters of the machine hostnameyou want to add. ClickCheck Names
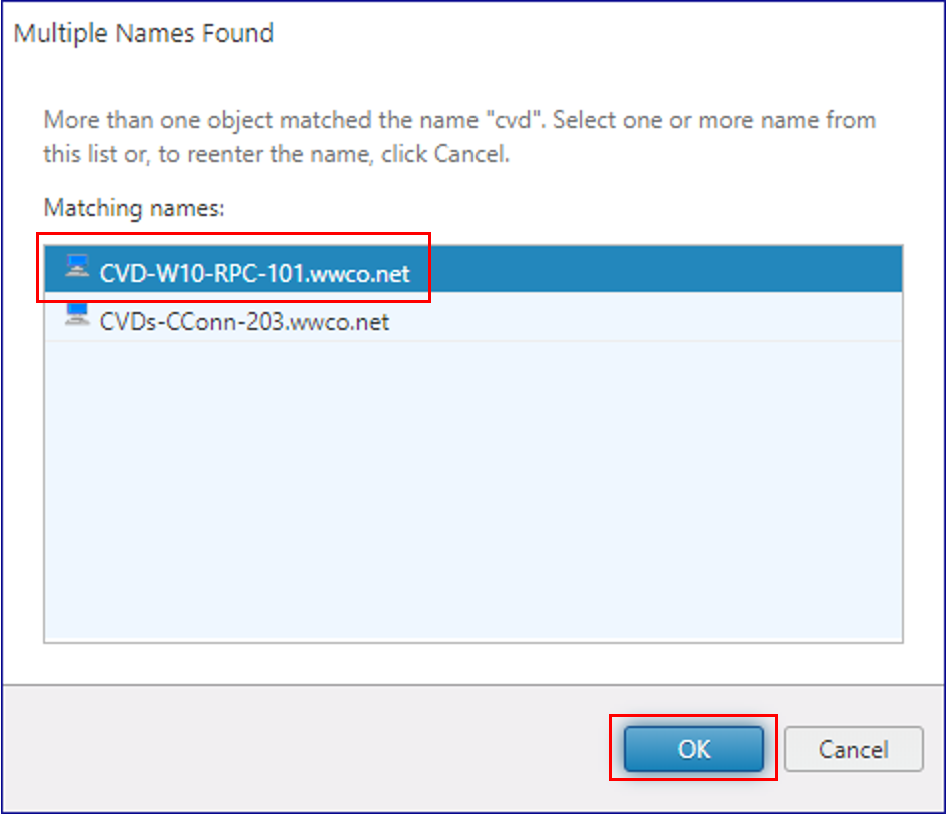
If the search returns more than one machine names,choose the ones you want to add(hold down the CTRL key to choose more than one). Once you have selected all the machines. ClickOK
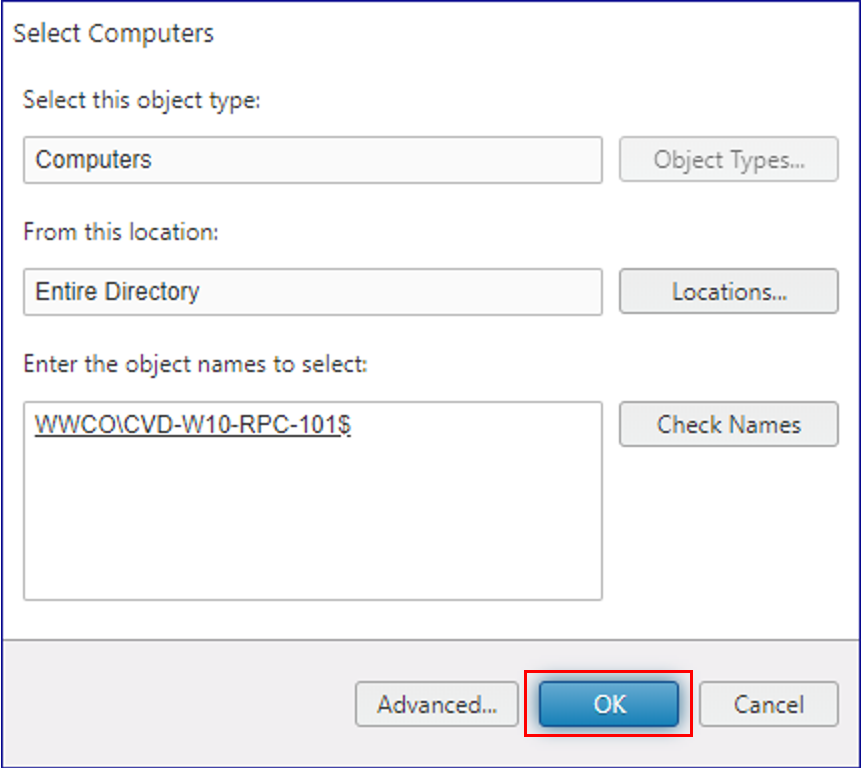
Repeat the last 2 steps to add all the machines you want to add to the catalog. Then clickSavein the Select Computers dialog
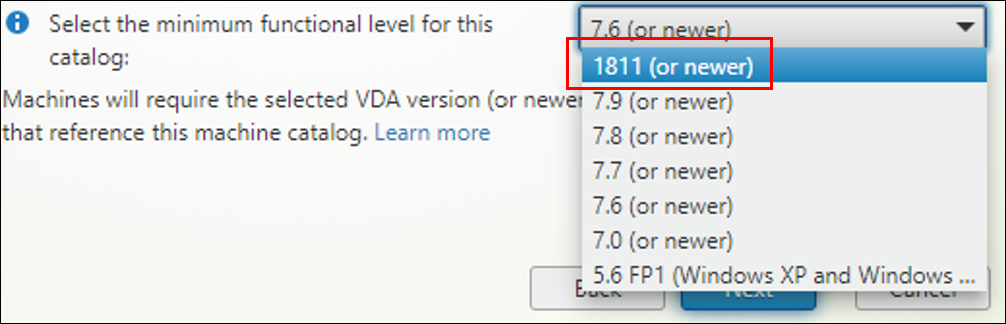
From theSelect the Zone and minimum functional level for this catalogdrop-down list, select1811 (or newer). ClickNext
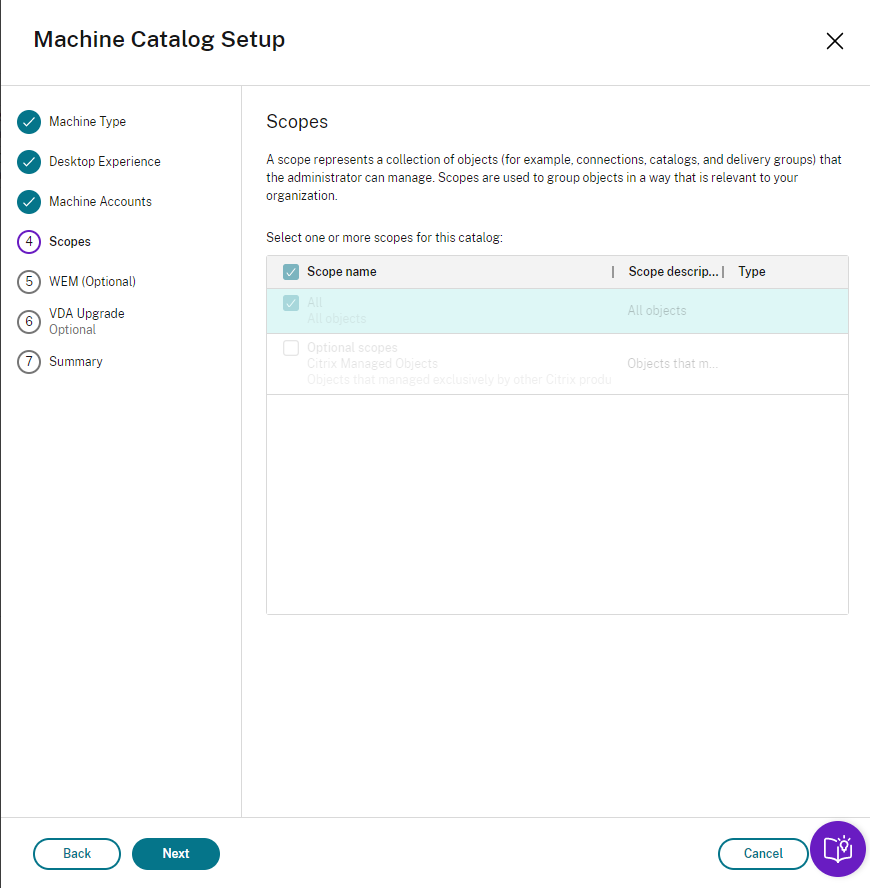
Leave the default select onScopesselection, ClickNext
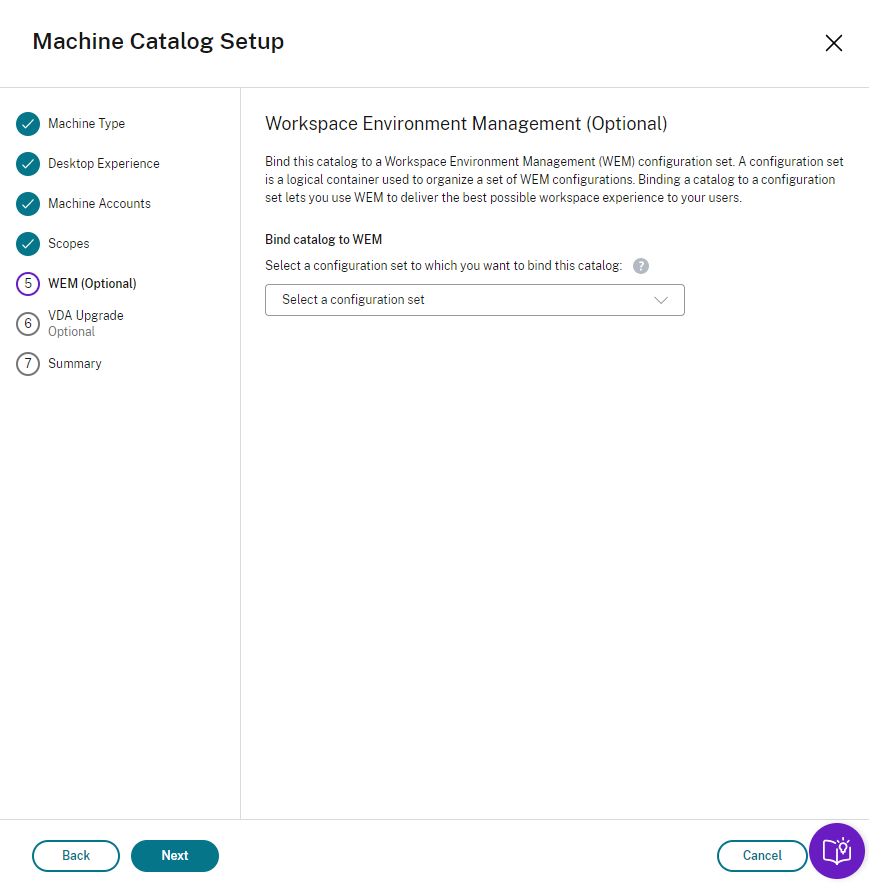
Leave the default select onWEMselection, ClickNext
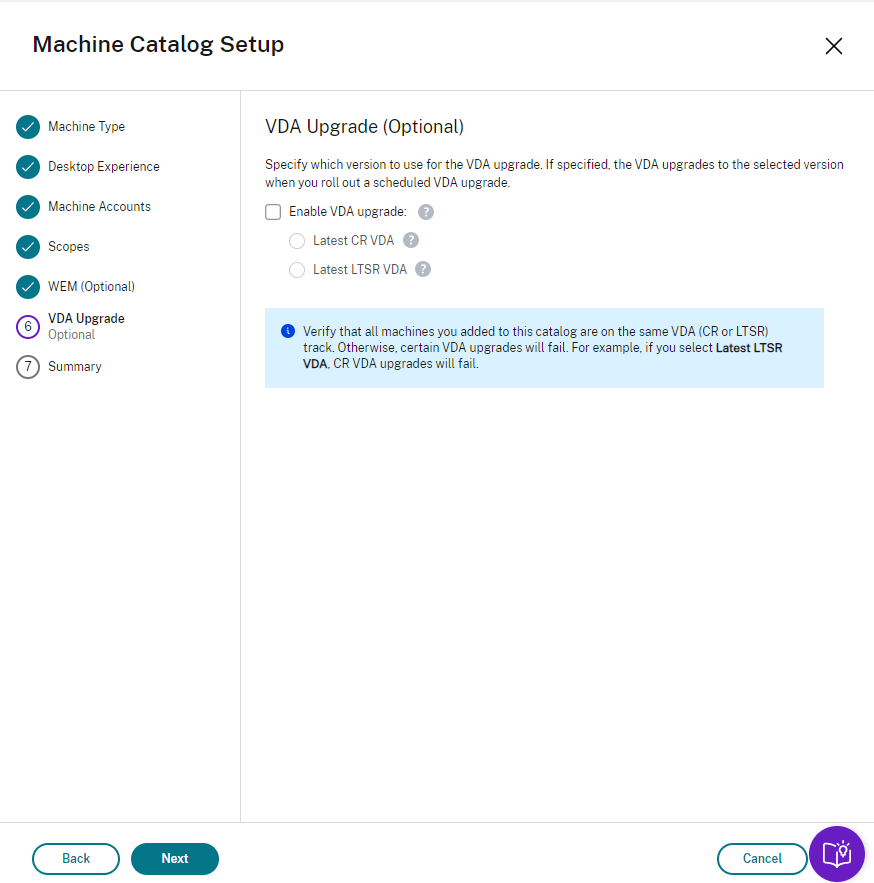
Do notselectEnable VDA upgradeselection, ClickNext
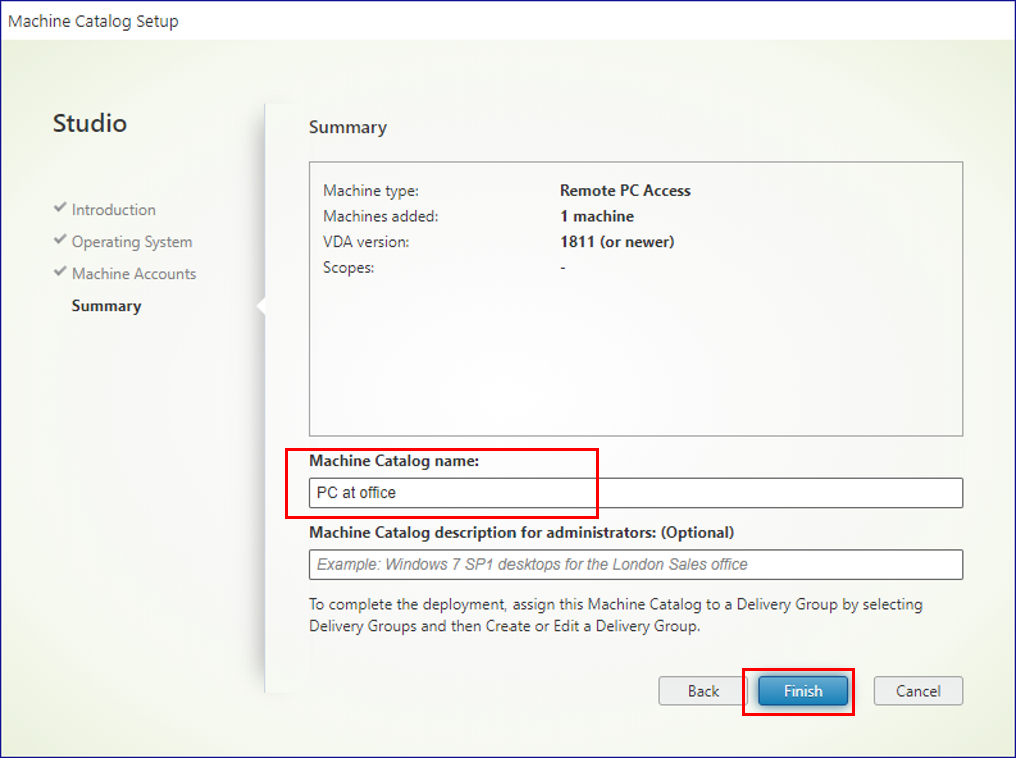
Enter a namefor the machine catalog. ClickFinish. You will be returned to the Machine Catalogs page.


Create a Delivery group
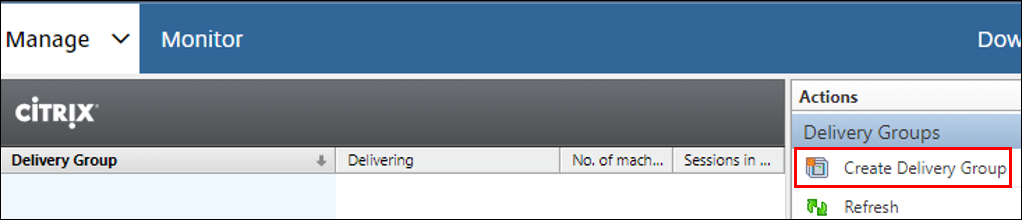
From the left side menu clickDelivery Groupsto start creating your delivery group.
From the Actions menu(right side), clickCreate Delivery Group.
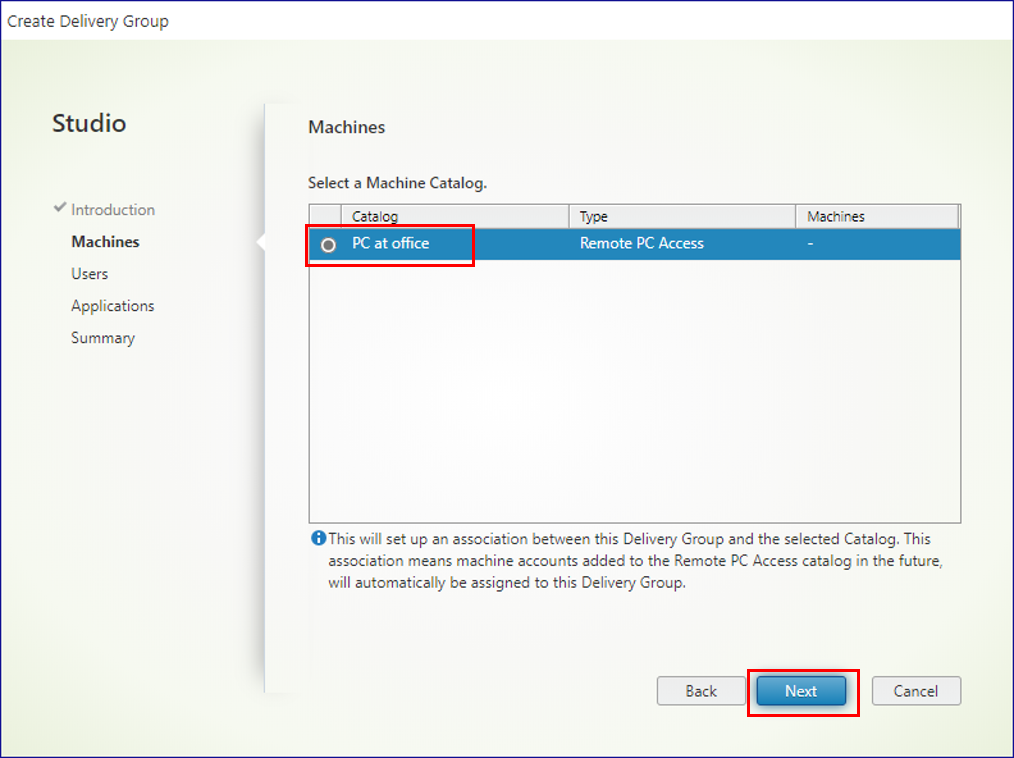
Select thecatalog you created earlier. ClickNext
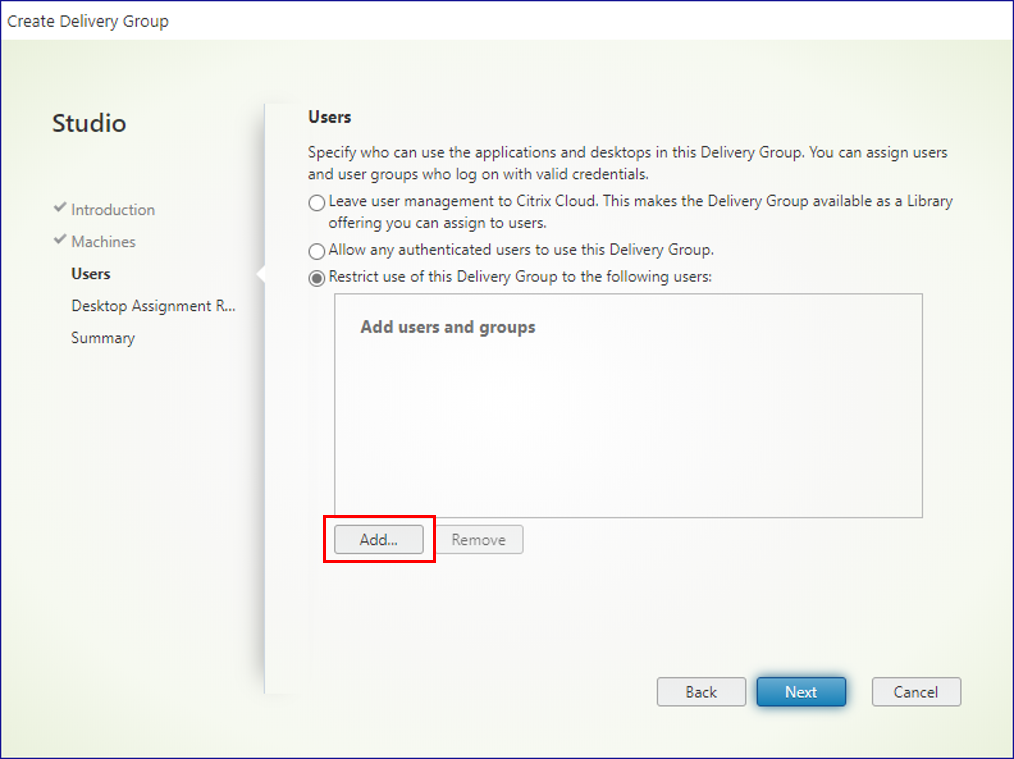
Specify which users can access these desktops. For our example we assign the desktops to a group of users, that have a 1:1 mapping for each of the machines in the delivery group for enhanced security. Click theRestrict use to this Delivery Group to the following users’radio button. ClickAdd
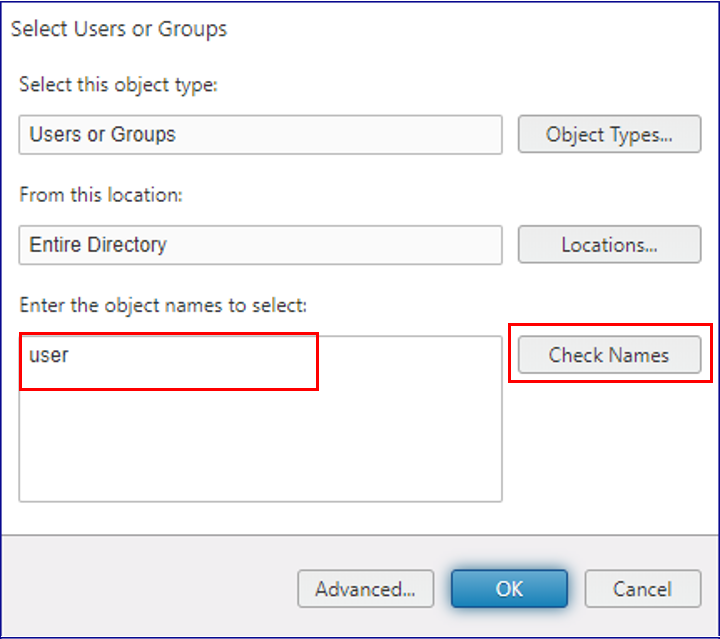
Add domain users / groupsthat you want to have access to the delivery group. You can check their names by clickingCheck Names. Once you are done clickOK
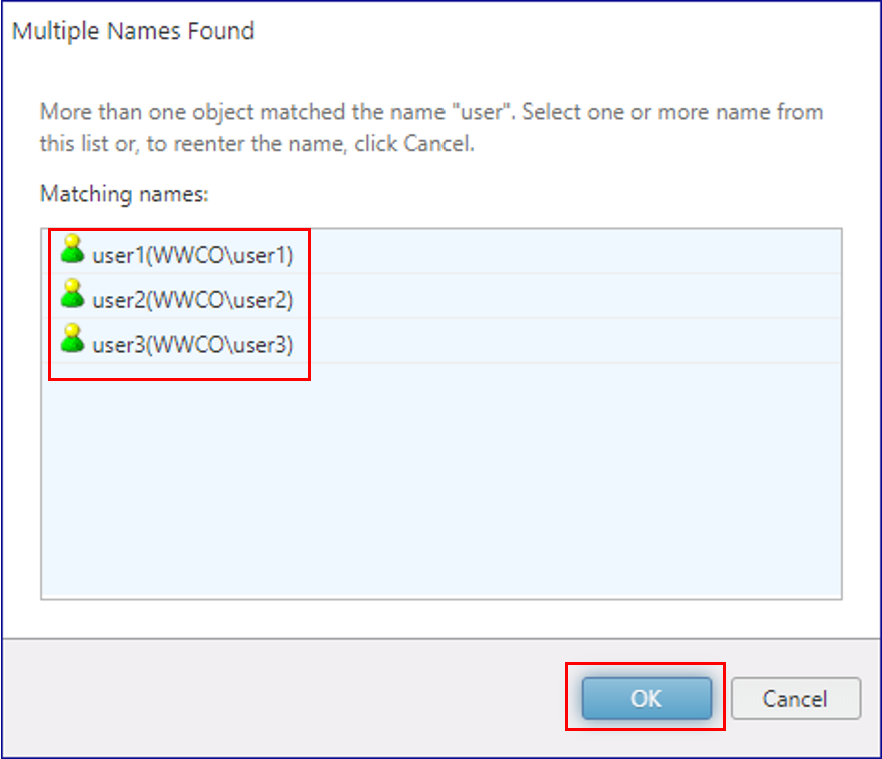
If the search returns more than one user name,choose the ones you want to add(hold down the CTRL key to choose more than one). Once you have selected all the users you want to add. ClickOK
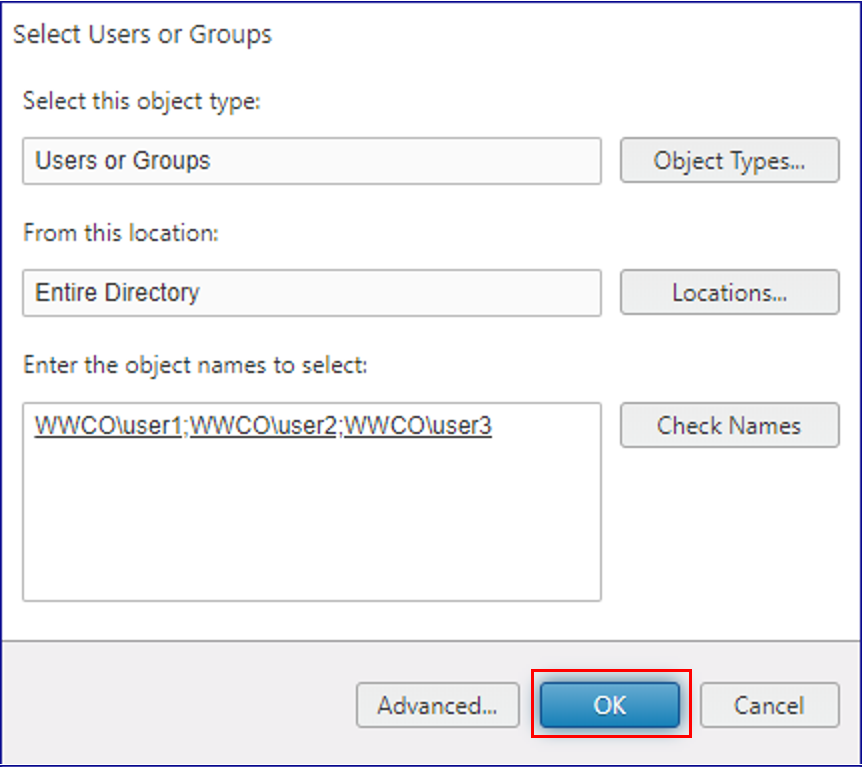
Repeat the last 2 steps for all the users you want to add to the delivery group. Then clickSavein the Select Users or Groups dialog. ClickNextin the Create Delivery group dialog
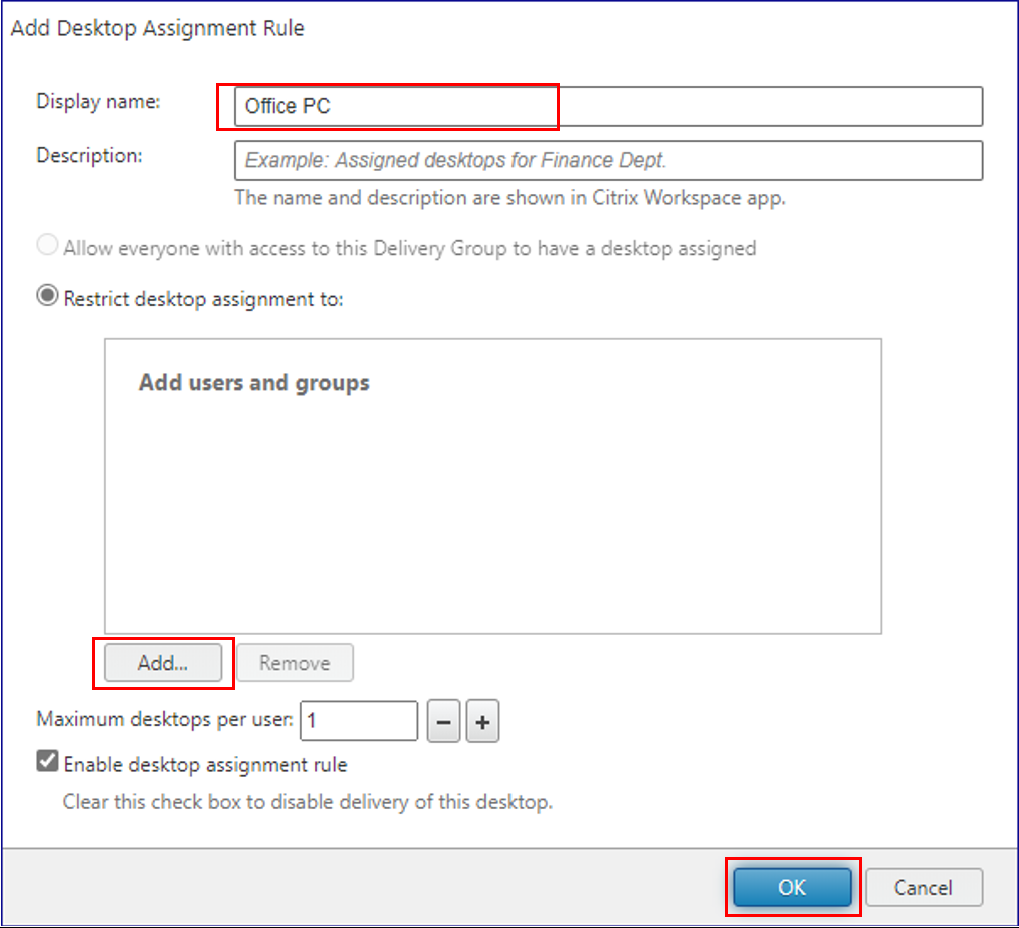
ClickAdd
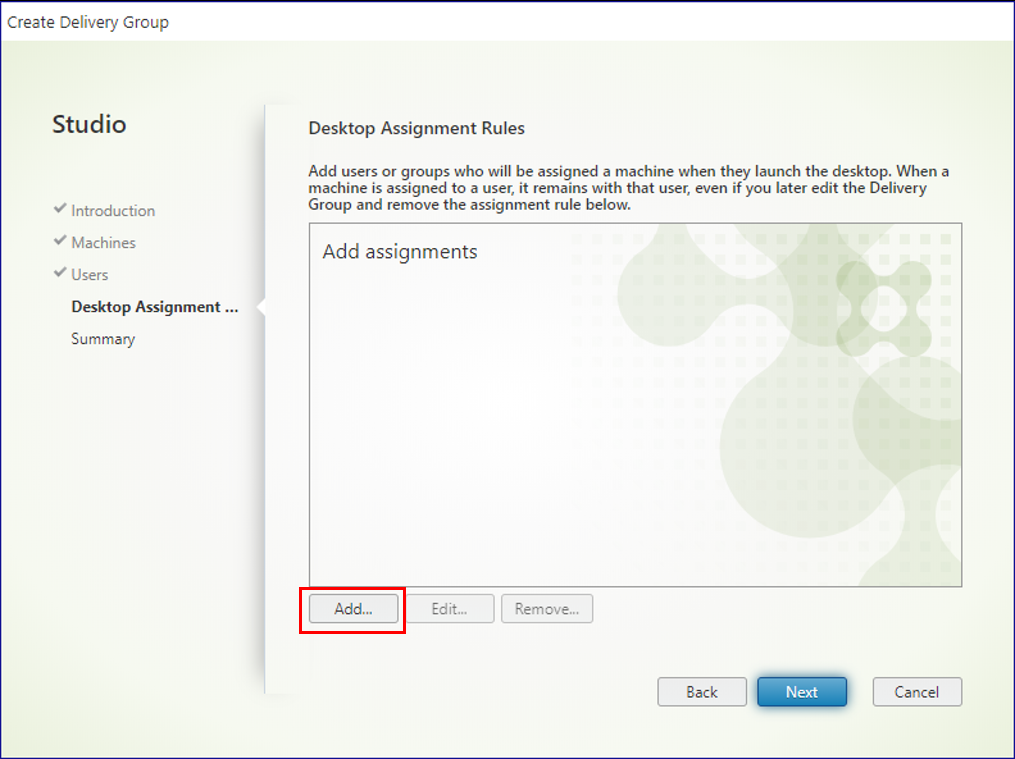
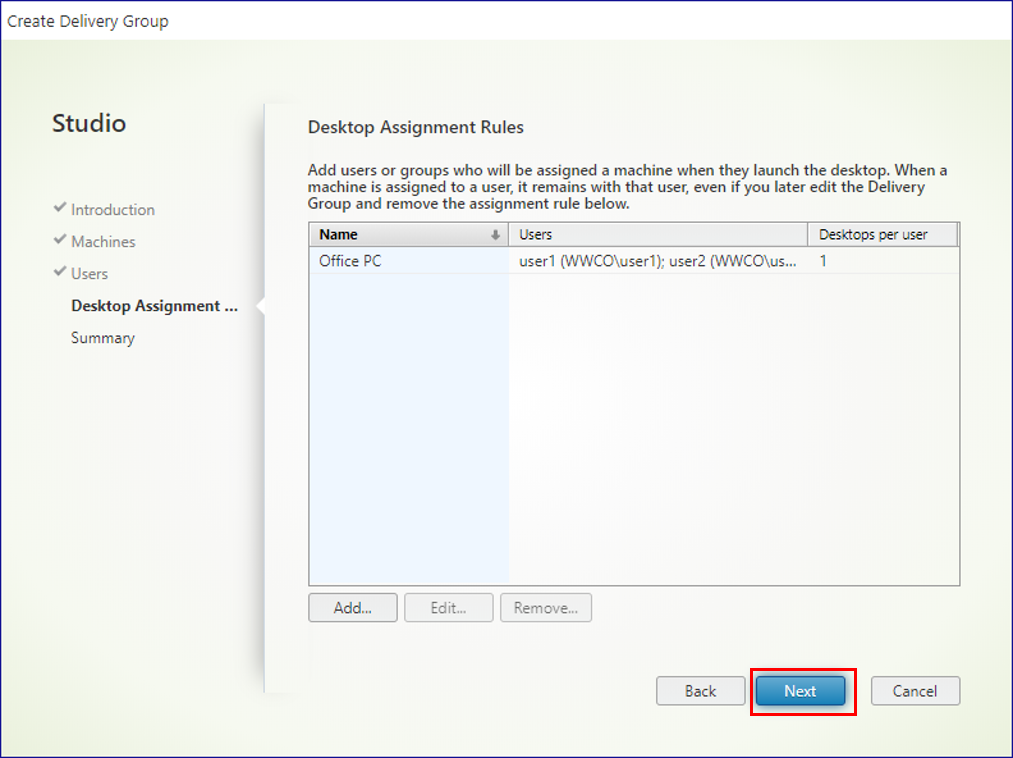
In the Add Desktops Assignment Rule dialog.Enter Display Namefor the delivery group. ClickAddandadd the same or a subset of the users you chose earlieragain.Ensure Enable desktop assignment rulecheck box is checked. ClickOK
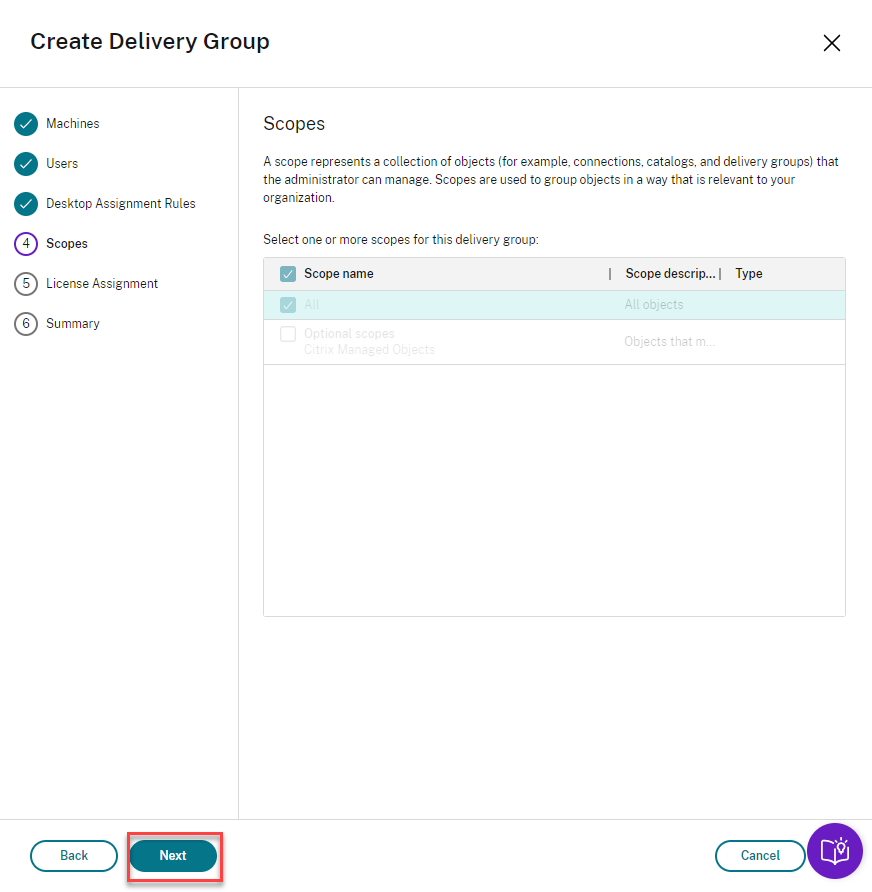
ClickNext
ClickNext
Select the appropriateLicense Type. ClickNext

Enter a Delivery Group name. ClickFinish


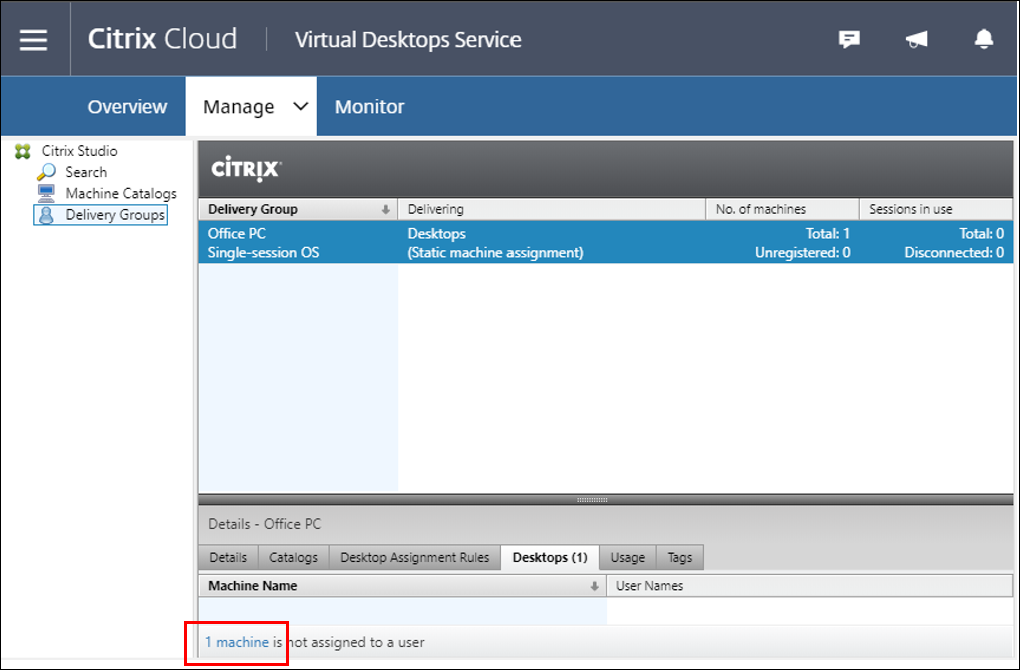
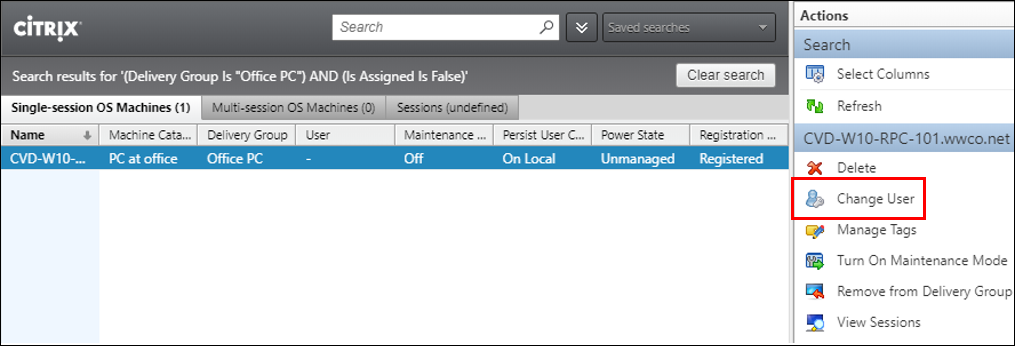
一旦delivery group is created, the Delivery Group Manage link looks like this. Click theDesktops tabin the Details section. Clickx machine(s)is/are not assigned to a user.
选择您想要的机器分配to a user. ClickChange Userfrom the Action menu
ClickAdd
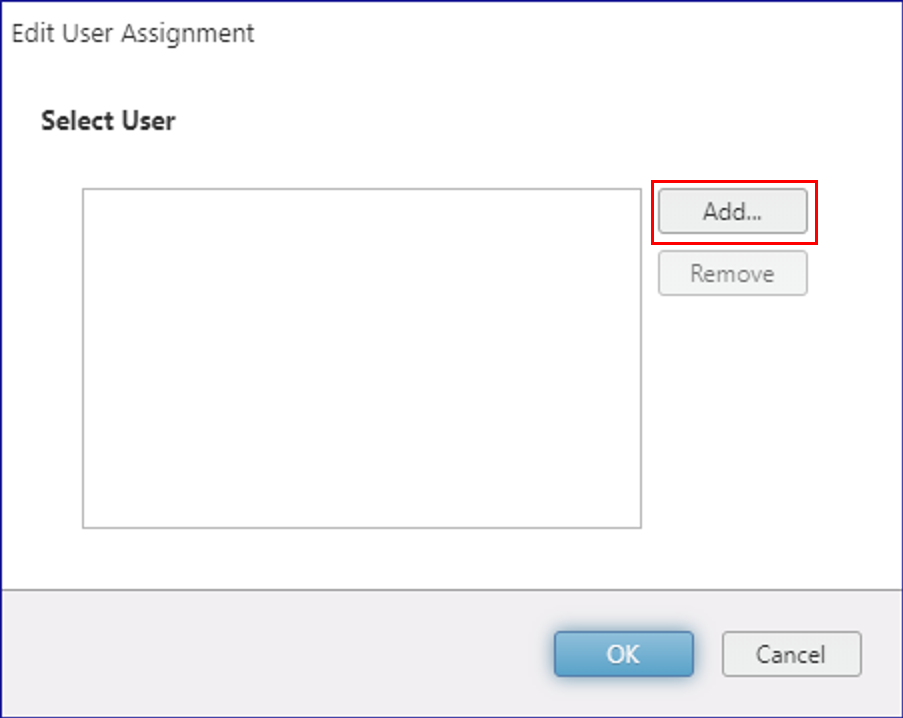
Search for the useryou want to assign to the machine using theCheck Namesbutton. Once found, clickOK. ClickSave.


Repeat the steps for the rest of the machines to assign each user to their physical machine.
Note: The last 4 steps are needed, if you want to assign specific users to specific desktops, else the users will be auto assigned to next available desktop in the delivery group or you can use PowerShell scripts to perform the assignment.
Launch the session from Citrix Workspace
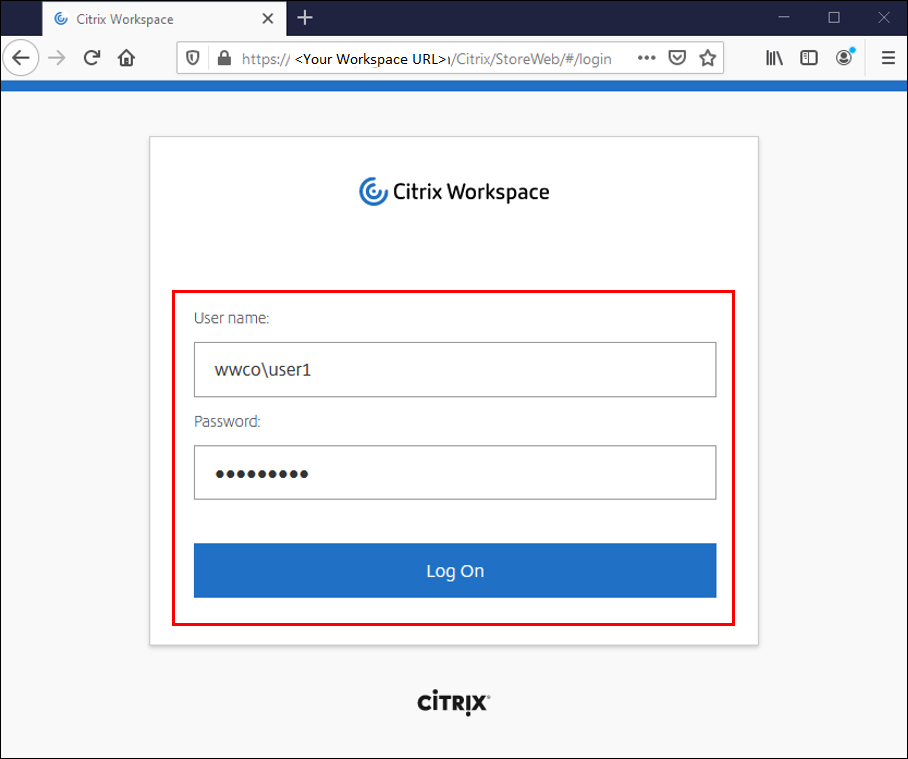
Open the Workspace URLyou had saved earlier (from Citrix Cloud) to gain access to the Citrix Workspace.Log in as a domain useryou have assigned the remote desktop to.
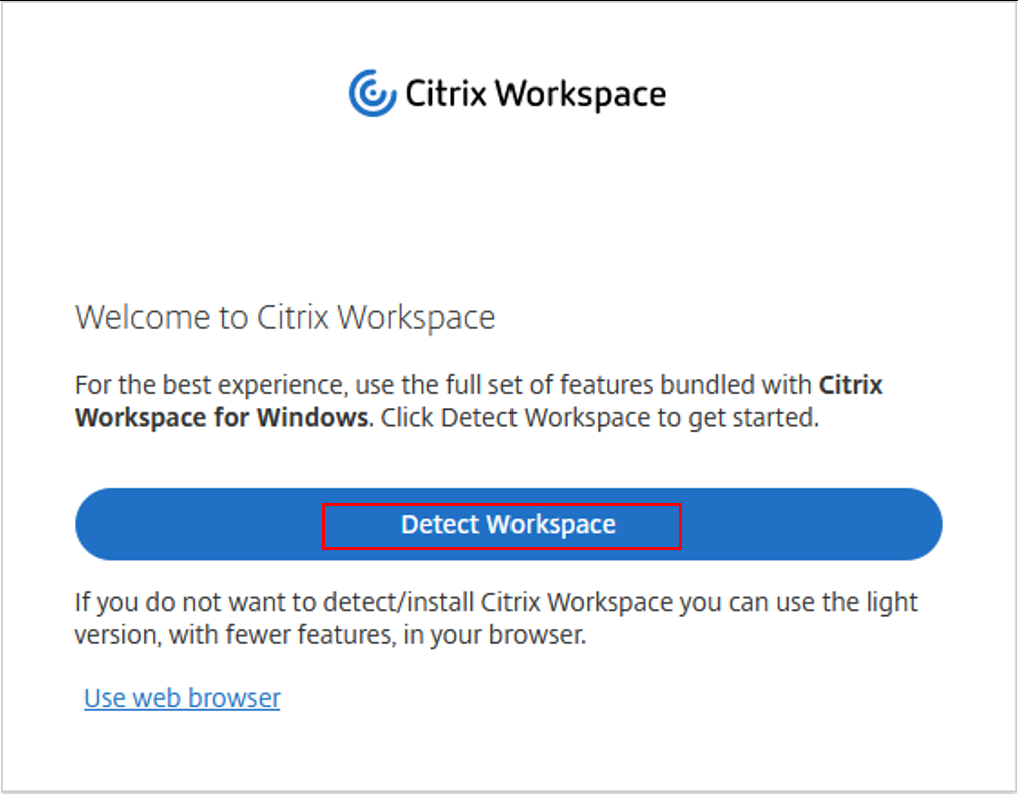
If this is the first time you are launching a session from the browser, you may get the following pop up.Ensure Citrix Workspace App is installedand clickDetect Workspace
ClickView All Desktops. Click theRemote PC Access delivery group
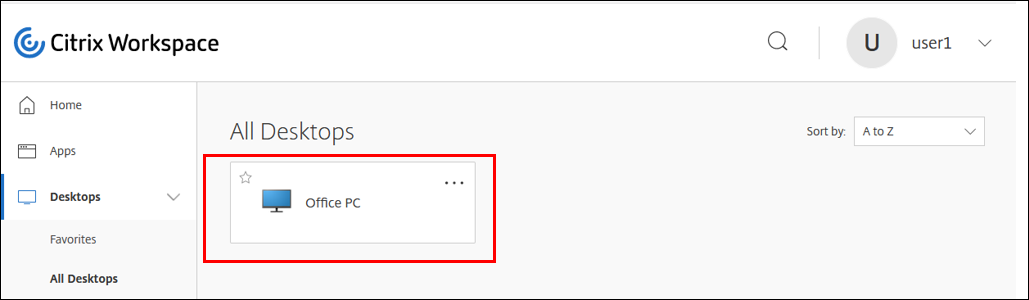
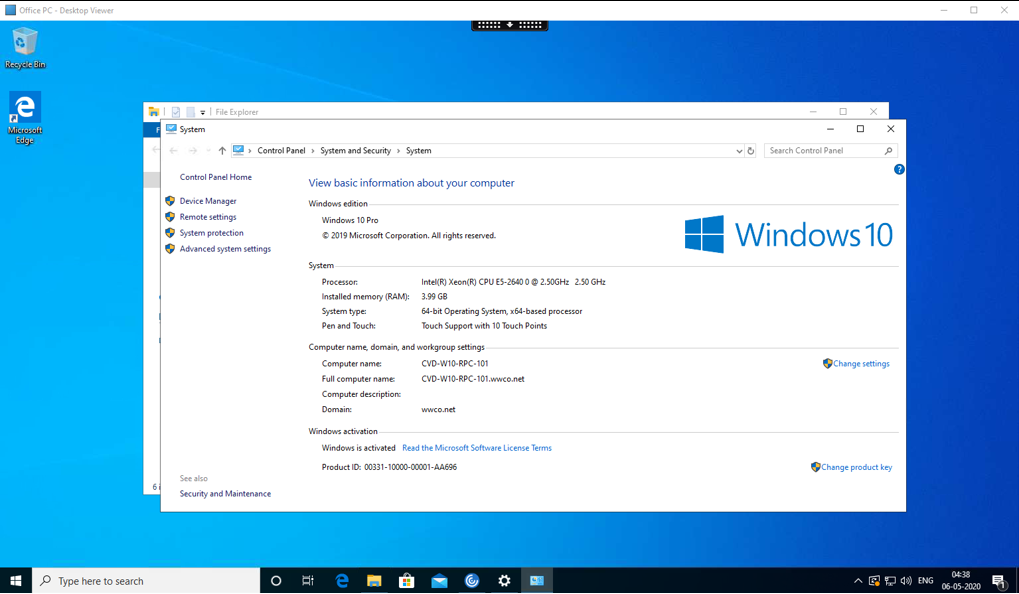
The session will launch giving the user access to the remote physical PC


Summary
The guide walked you through connecting your physical desktops in your office to the Citrix DaaS, so users access them remotely. You learned how use Citrix DaaS to allow users to access their desktops on any device from any location. The process included how to install a Citrix Cloud connector in your on-premises office location, installing Citrix Virtual Delivery agents on the desktop machines. Creating a machine catalog from those machines and then a delivery group. Assigning users to their machines and then allowing them to connect to those desktops using Citrix Workspace app.
To learn more about Citrix solutions for Business Continuity, read theTech Brief